
Creating a User Profile Widget with Activity Timeline in Flutter
User profile pages are fundamental components in almost every modern application, providing users with a personalized space to view and manage their information. Enhancing these profiles with an activity timeline significantly boosts user engagement by offering a chronological overview of their interactions, achievements, or system events. This article will guide you through building a dynamic and visually appealing User Profile widget with an integrated Activity Timeline in Flutter.
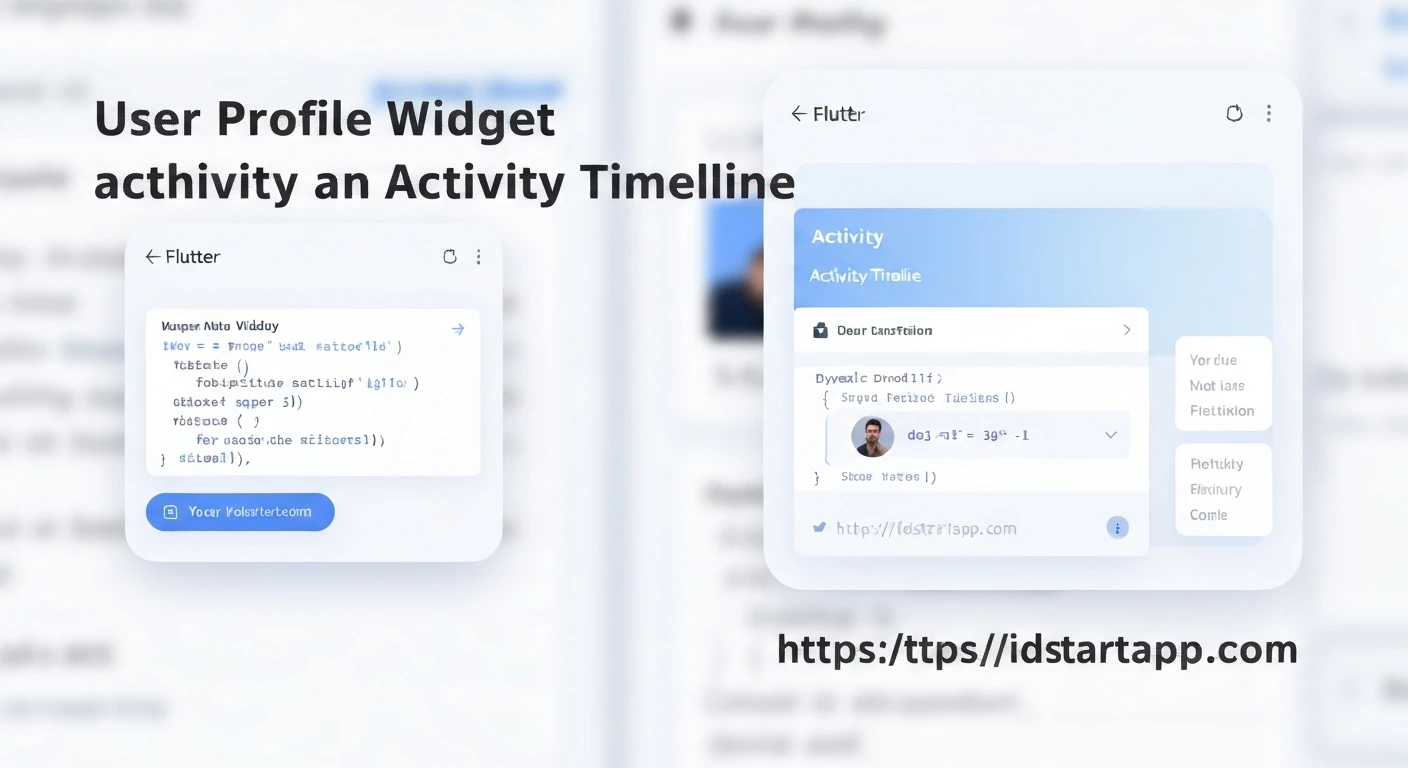
By the end of this tutorial, you will have a robust foundation for displaying user details and a list of their activities, making your Flutter application more interactive and informative.
Core Concepts
Our User Profile widget will consist of two main parts:
- User Profile Header: Displays essential user information such as an avatar, name, and a short bio or status.
- Activity Timeline: A scrollable list of events or actions performed by or related to the user, presented in chronological order with a visual timeline indicator.
Prerequisites
- Basic understanding of Flutter and Dart.
- Flutter SDK installed and configured.
Step 1: Define Data Models
First, let's create simple data models for our User and Activity. These models will hold the information we need to display.
class User {
  final String id;
  final String name;
  final String avatarUrl;
  final String bio;

  User({
    required this.id,
    required this.name,
    required this.avatarUrl,
    required this.bio,
  });
}

class Activity {
  final String id;
  final String description;
  final DateTime timestamp;

  Activity({
    required this.id,
    required this.description,
    required this.timestamp,
  });
}
Step 2: Create the User Profile Header Widget
This widget will display the user's avatar, name, and bio. We'll use CircleAvatar for the profile picture and Column/Row for layout.
import 'package:flutter/material.dart';

class UserProfileHeader extends StatelessWidget {
  final User user;

  const UserProfileHeader({Key? key, required this.user}) : super(key: key);

  @override
  Widget build(BuildContext context) {
    return Container(
      padding: const EdgeInsets.all(24.0),
      decoration: BoxDecoration(
        color: Theme.of(context).primaryColor,
        borderRadius: const BorderRadius.only(
          bottomLeft: Radius.circular(30),
          bottomRight: Radius.circular(30),
        ),
      ),
      child: Column(
        children: [
          CircleAvatar(
            radius: 50,
            backgroundImage: NetworkImage(user.avatarUrl),
            backgroundColor: Colors.white,
          ),
          const SizedBox(height: 16),
          Text(
            user.name,
            style: const TextStyle(
              fontSize: 24,
              fontWeight: FontWeight.bold,
              color: Colors.white,
            ),
          ),
          const SizedBox(height: 8),
          Text(
            user.bio,
            textAlign: TextAlign.center,
            style: TextStyle(
              fontSize: 16,
              color: Colors.white.withOpacity(0.8),
            ),
          ),
          const SizedBox(height: 16),
          // You can add more buttons or stats here
        ],
      ),
    );
  }
}
Step 3: Create the Activity Timeline Item Widget
Each item in the timeline will have a visual indicator (a dot and a line) and display the activity description and timestamp. We'll use a `Row` and `Column` to arrange these elements.
import 'package:flutter/material.dart';
import 'package:intl/intl.dart'; // For date formatting

class ActivityTimelineItem extends StatelessWidget {
  final Activity activity;
  final bool isFirst;
  final bool isLast;

  const ActivityTimelineItem({
    Key? key,
    required this.activity,
    this.isFirst = false,
    this.isLast = false,
  }) : super(key: key);

  @override
  Widget build(BuildContext context) {
    return IntrinsicHeight(
      child: Row(
        crossAxisAlignment: CrossAxisAlignment.stretch,
        children: [
          Column(
            children: [
              // Line above the dot
              Expanded(
                child: Container(
                  width: 2,
                  color: isFirst ? Colors.transparent : Colors.grey.shade400,
                ),
              ),
              Container(
                width: 12,
                height: 12,
                decoration: BoxDecoration(
                  color: Theme.of(context).primaryColor,
                  shape: BoxShape.circle,
                ),
              ),
              // Line below the dot
              Expanded(
                child: Container(
                  width: 2,
                  color: isLast ? Colors.transparent : Colors.grey.shade400,
                ),
              ),
            ],
          ),
          const SizedBox(width: 16),
          Expanded(
            child: Padding(
              padding: const EdgeInsets.only(bottom: 24.0), // Space between items
              child: Column(
                crossAxisAlignment: CrossAxisAlignment.start,
                children: [
                  Text(
                    DateFormat('MMM dd, yyyy - HH:mm').format(activity.timestamp),
                    style: TextStyle(
                      fontSize: 12,
                      color: Colors.grey.shade600,
                    ),
                  ),
                  const SizedBox(height: 4),
                  Text(
                    activity.description,
                    style: const TextStyle(
                      fontSize: 16,
                      fontWeight: FontWeight.w500,
                    ),
                  ),
                ],
              ),
            ),
          ),
        ],
      ),
    );
  }
}
Remember to add the `intl` package to your `pubspec.yaml` for date formatting:
dependencies:
  flutter:
    sdk: flutter
  intl: ^0.18.0 # Use the latest version
Then run `flutter pub get`.
Step 4: Create the Main User Profile Screen Widget
This widget will orchestrate the profile header and the list of activity timeline items. We'll use a CustomScrollView with a SliverList to combine them efficiently.
import 'package:flutter/material.dart';
// Import your data models and widgets
// import 'user_profile_header.dart';
// import 'activity_timeline_item.dart';
// import 'models.dart';

class UserProfileScreen extends StatefulWidget {
  const UserProfileScreen({Key? key}) : super(key: key);

  @override
  State createState() => _UserProfileScreenState();
}

class _UserProfileScreenState extends State {
  // Dummy Data (replace with real data fetching in a real app)
  final User _currentUser = User(
    id: 'user_123',
    name: 'Jane Doe',
    avatarUrl: 'https://cdn.pixabay.com/photo/2015/10/05/22/37/blank-profile-picture-973460_960_720.png', // Replace with a real image URL
    bio: 'Flutter developer | Tech enthusiast | Nature lover.',
  );

  final List _userActivities = [
    Activity(id: 'act_001', description: 'Joined the app community.', timestamp: DateTime(2023, 1, 15, 10, 0)),
    Activity(id: 'act_002', description: 'Updated profile picture.', timestamp: DateTime(2023, 1, 20, 14, 30)),
    Activity(id: 'act_003', description: 'Posted a new article.', timestamp: DateTime(2023, 2, 1, 9, 0)),
    Activity(id: 'act_004', description: 'Commented on "Flutter Widgets" article.', timestamp: DateTime(2023, 2, 5, 11, 45)),
    Activity(id: 'act_005', description: 'Reached level 5 achievement.', timestamp: DateTime(2023, 2, 10, 16, 0)),
    Activity(id: 'act_006', description: 'Attended Flutter Meetup.', timestamp: DateTime(2023, 2, 12, 19, 0)),
    Activity(id: 'act_007', description: 'Shared an article on social media.', timestamp: DateTime(2023, 2, 15, 13, 0)),
    Activity(id: 'act_008', description: 'Completed a coding challenge.', timestamp: DateTime(2023, 2, 18, 10, 0)),
  ];

  @override
  Widget build(BuildContext context) {
    // Sort activities by timestamp in descending order (most recent first)
    _userActivities.sort((a, b) => b.timestamp.compareTo(a.timestamp));

    return Scaffold(
      appBar: AppBar(
        title: const Text('User Profile'),
        backgroundColor: Theme.of(context).primaryColor,
        elevation: 0,
      ),
      body: SingleChildScrollView(
        child: Column(
          children: [
            UserProfileHeader(user: _currentUser),
            Padding(
              padding: const EdgeInsets.symmetric(horizontal: 24.0, vertical: 16.0),
              child: Column(
                crossAxisAlignment: CrossAxisAlignment.start,
                children: [
                  const Text(
                    'Activity Timeline',
                    style: TextStyle(
                      fontSize: 20,
                      fontWeight: FontWeight.bold,
                    ),
                  ),
                  const SizedBox(height: 16),
                  ListView.builder(
                    physics: const NeverScrollableScrollPhysics(), // Important to prevent inner scrolling
                    shrinkWrap: true, // Important to take only needed space
                    itemCount: _userActivities.length,
                    itemBuilder: (context, index) {
                      final activity = _userActivities[index];
                      return ActivityTimelineItem(
                        activity: activity,
                        isFirst: index == 0,
                        isLast: index == _userActivities.length - 1,
                      );
                    },
                  ),
                ],
              ),
            ),
          ],
        ),
      ),
    );
  }
}
Step 5: Integrate into your Flutter Application
Finally, set UserProfileScreen as your home screen or navigate to it from another part of your application.
import 'package:flutter/material.dart';
// Make sure to import your UserProfileScreen and other necessary files
// import 'user_profile_screen.dart';
// import 'models.dart';
// import 'user_profile_header.dart';
// import 'activity_timeline_item.dart';

void main() {
  runApp(const MyApp());
}

class MyApp extends StatelessWidget {
  const MyApp({Key? key}) : super(key: key);

  @override
  Widget build(BuildContext context) {
    return MaterialApp(
      title: 'Flutter User Profile',
      theme: ThemeData(
        primarySwatch: Colors.deepPurple, // You can choose any color
        visualDensity: VisualDensity.adaptivePlatformDensity,
      ),
      home: const UserProfileScreen(),
    );
  }
}
Styling and Enhancements
- Custom Fonts: Elevate the UI by incorporating custom fonts to match your app's branding.
- Theming: Leverage Flutter's theming capabilities to ensure consistency across your application.
- Animations: Add subtle animations (e.g., fade-in for timeline items) to make the experience more fluid.
- State Management: For real-world applications, integrate a robust state management solution (e.g., Provider, BLoC, Riverpod) to handle data fetching, loading states, and error handling for user data and activities.
- Infinite Scrolling: If the activity timeline can be very long, implement infinite scrolling with a loading indicator to fetch more activities as the user scrolls.
- Interactive Elements: Add buttons or tappable areas in the profile header (e.g., "Edit Profile," "Settings") or within activity items.
Conclusion
You have successfully created a User Profile widget with an integrated Activity Timeline in Flutter. This architecture provides a clear separation of concerns, making the code modular and easy to maintain. By displaying user information alongside a chronological activity feed, you enhance the user experience by providing a comprehensive overview of their journey within your application. Remember to replace the dummy data with actual data fetched from your backend services for a production-ready application.


