
Creating a Recipe Stepper Widget with Image Preview in Flutter
Cooking complex recipes often involves a series of intricate steps, each requiring specific actions and sometimes visual guidance. While traditional text-based instructions can be effective, an interactive stepper widget augmented with image previews can significantly enhance the user experience, making recipe following intuitive and enjoyable.
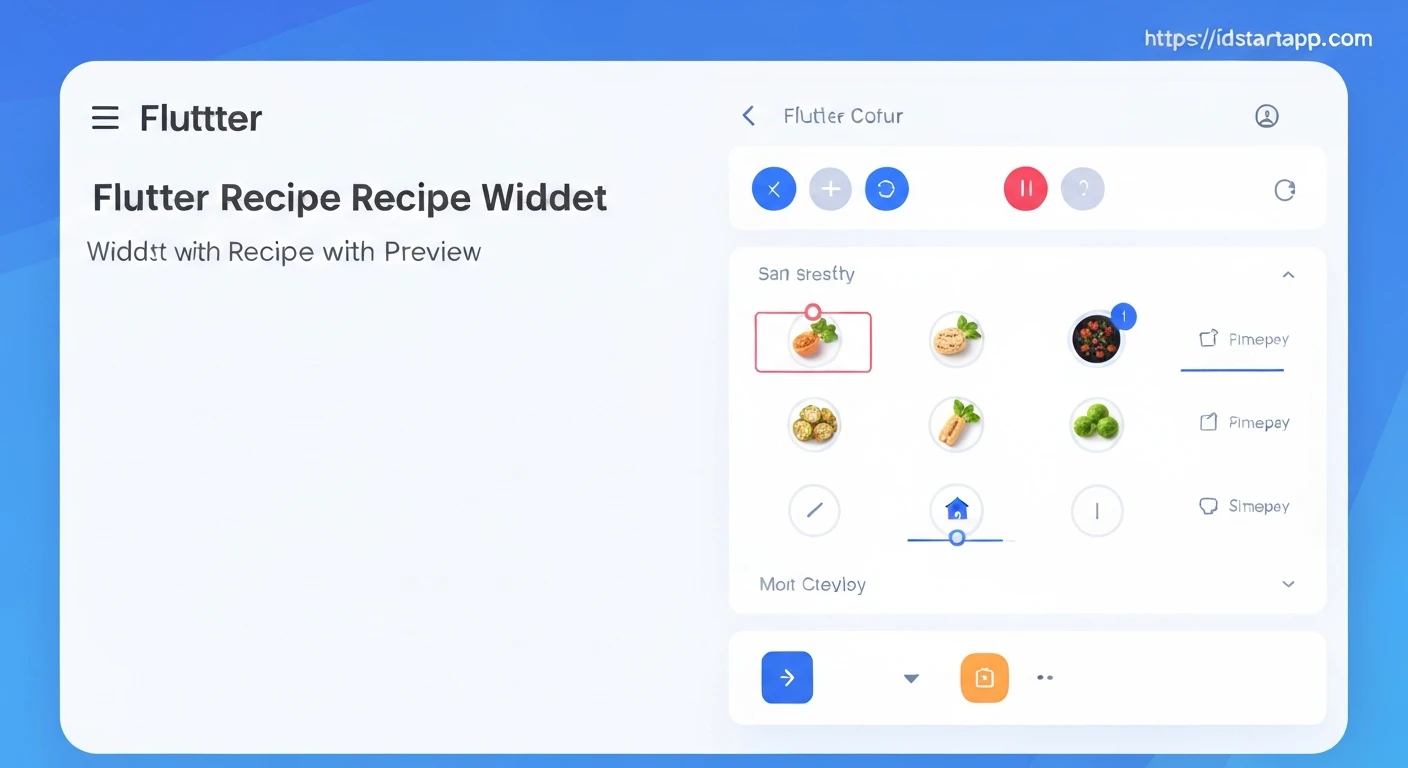
This article will guide you through building a "Recipe Stepper Widget with Image Preview" in Flutter. This widget will allow users to navigate through recipe steps, each accompanied by a descriptive text and a relevant image, providing clear visual cues for every stage of the cooking process.
Why a Visual Recipe Stepper?
- Enhanced Clarity: Visuals make complex steps easier to understand, especially for tasks involving specific techniques or ingredient states.
- Reduced Errors: Users can verify their progress against the image, minimizing mistakes.
- Improved Engagement: An interactive and visually rich interface keeps users engaged throughout the cooking process.
- User-Friendly Navigation: Steppers provide a clear path forward and backward, allowing users to review or jump to specific steps easily.
Core Concepts and Data Structure
To build our recipe stepper, we first need a data model to represent each step. Each step will ideally contain a title, a detailed description, and an image URL or asset path.
1. Defining the `RecipeStep` Model
We'll create a simple Dart class to encapsulate the data for each recipe step:
class RecipeStep {
  final String title;
  final String description;
  final String imageUrl; // Could be a network URL or an asset path

  RecipeStep({
    required this.title,
    required this.description,
    required this.imageUrl,
  });
}
Implementing the Recipe Stepper Widget
Our recipe stepper will be a StatefulWidget to manage the current step's index and respond to user interactions (moving to the next/previous step or tapping a step header).
2. Create the `RecipeStepperWidget`
Let's define our main widget and some sample data:
import 'package:flutter/material.dart';

// Assuming RecipeStep class is defined as above

class RecipeStepperWidget extends StatefulWidget {
  @override
  _RecipeStepperWidgetState createState() => _RecipeStepperWidgetState();
}

class _RecipeStepperWidgetState extends State {
  int _currentStep = 0;

  // Sample recipe steps data
  final List<RecipeStep> _recipeSteps = [
    RecipeStep(
      title: 'Prepare Ingredients',
      description: 'Gather all necessary ingredients: flour, sugar, eggs, milk, and butter. Make sure they are at room temperature.',
      imageUrl: 'https://via.placeholder.com/600/FF5733/FFFFFF?text=Ingredients', // Replace with actual image URL
    ),
    RecipeStep(
      title: 'Mix Dry Ingredients',
      description: 'In a large bowl, whisk together 2 cups of all-purpose flour, 1 cup of sugar, 2 teaspoons of baking powder, and 1/2 teaspoon of salt.',
      imageUrl: 'https://via.placeholder.com/600/33FF57/FFFFFF?text=Dry+Mix',
    ),
    RecipeStep(
      title: 'Combine Wet Ingredients',
      description: 'In a separate bowl, beat 2 large eggs, 1 cup of milk, and 1/4 cup of melted butter. Mix until well combined.',
      imageUrl: 'https://via.placeholder.com/600/3357FF/FFFFFF?text=Wet+Mix',
    ),
    RecipeStep(
      title: 'Fold Wet into Dry',
      description: 'Gradually add the wet ingredients to the dry ingredients, mixing gently until just combined. Be careful not to overmix.',
      imageUrl: 'https://via.placeholder.com/600/FFFF33/000000?text=Fold+Mixture',
    ),
    RecipeStep(
      title: 'Bake for 30 Minutes',
      description: 'Pour the batter into a greased baking pan and bake at 180°C (350°F) for 30-35 minutes, or until a toothpick inserted into the center comes out clean.',
      imageUrl: 'https://via.placeholder.com/600/FF33FF/FFFFFF?text=Bake',
    ),
  ];

  @override
  Widget build(BuildContext context) {
    // We will fill this in the next steps
    return Scaffold(
      appBar: AppBar(
        title: Text('Recipe Stepper'),
      ),
      body: Stepper(
        // The rest of the Stepper implementation goes here
      ),
    );
  }
}
3. Build the Stepper Widget
Flutter's Stepper widget is ideal for this use case. It takes a list of Step objects and handles the basic navigation UI. Key properties of Stepper include:
currentStep: The index of the currently active step.onStepTapped: Callback when a step header is tapped.onStepContinue: Callback when the "Continue" button is pressed.onStepCancel: Callback when the "Cancel" button is pressed.steps: A list ofStepwidgets.type: Can beStepperType.vertical(default) orStepperType.horizontal. We'll use vertical.
Let's update the build method of _RecipeStepperWidgetState:
@override
Widget build(BuildContext context) {
  return Scaffold(
    appBar: AppBar(
      title: Text('Recipe Stepper'),
    ),
    body: Stepper(
      type: StepperType.vertical,
      currentStep: _currentStep,
      onStepTapped: (step) {
        setState(() {
          _currentStep = step;
        });
      },
      onStepContinue: () {
        if (_currentStep < _recipeSteps.length - 1) {
          setState(() {
            _currentStep++;
          });
        } else {
          // Handle recipe completion or final step action
          ScaffoldMessenger.of(context).showSnackBar(
            SnackBar(content: Text('Recipe Completed!')),
          );
        }
      },
      onStepCancel: () {
        if (_currentStep > 0) {
          setState(() {
            _currentStep--;
          });
        }
      },
      steps: _recipeSteps.map((recipeStep) {
        int index = _recipeSteps.indexOf(recipeStep);
        return Step(
          title: Text(recipeStep.title),
          content: Column(
            crossAxisAlignment: CrossAxisAlignment.start,
            children: <Widget>[
              ClipRRect(
                borderRadius: BorderRadius.circular(8.0),
                child: Image.network(
                  recipeStep.imageUrl,
                  fit: BoxFit.cover,
                  width: double.infinity,
                  height: 200, // Fixed height for image preview
                  errorBuilder: (context, error, stackTrace) =>
                      Image.asset(
                        'assets/placeholder.png', // Fallback local image
                        fit: BoxFit.cover,
                        width: double.infinity,
                        height: 200,
                      ),
                ),
              ),
              SizedBox(height: 16.0),
              Text(
                recipeStep.description,
                style: TextStyle(fontSize: 16.0),
              ),
            ],
          ),
          isActive: _currentStep >= index,
          state: _currentStep > index ? StepState.complete : StepState.indexed,
        );
      }).toList(),
    ),
  );
}
Explanation of the Stepper Implementation:
currentStep: This state variable determines which step is currently expanded and highlighted.onStepTapped: When a user taps on a step header, we update_currentStepto that index, expanding the selected step.onStepContinue: Increments_currentStepto move to the next step. If it's the last step, it can trigger a completion message or action.onStepCancel: Decrements_currentStepto move to the previous step.steps: We use_recipeSteps.map(...).toList()to transform our list ofRecipeStepobjects into a list of FlutterStepwidgets.StepWidget Properties:title: Displays the step's title.content: This is where we place the image preview and the detailed description. We use aColumnto stack anImage.network(orImage.assetif using local images) and aTextwidget.imageUrl: If usingImage.network, ensure you have internet access and valid URLs. If using local assets, replaceImage.networkwithImage.assetand remember to declare assets inpubspec.yaml.errorBuilder: A useful fallback forImage.networkto display a placeholder image if the URL fails to load. Remember to includeassets/placeholder.pngin your project andpubspec.yamlif you use it.isActive: Set to_currentStep >= indexto visually indicate which steps have been reached or are currently active.state: Set toStepState.completefor steps that have already been passed, andStepState.indexedfor the current and future steps. This shows a checkmark for completed steps.
Complete Example
To run this example, replace main.dart with the following code. Ensure you have the RecipeStep class defined, and if you use Image.asset, set up your pubspec.yaml accordingly. For Image.network, ensure you have internet permissions in your AndroidManifest.xml (Android) and Info.plist (iOS) if needed.
import 'package:flutter/material.dart';

void main() {
  runApp(MyApp());
}

class MyApp extends StatelessWidget {
  @override
  Widget build(BuildContext context) {
    return MaterialApp(
      title: 'Recipe Stepper App',
      theme: ThemeData(
        primarySwatch: Colors.blue,
        visualDensity: VisualDensity.adaptivePlatformDensity,
      ),
      home: RecipeStepperWidget(),
    );
  }
}

// Data model for a single recipe step
class RecipeStep {
  final String title;
  final String description;
  final String imageUrl; // Could be a network URL or an asset path

  RecipeStep({
    required this.title,
    required this.description,
    required this.imageUrl,
  });
}

class RecipeStepperWidget extends StatefulWidget {
  @override
  _RecipeStepperWidgetState createState() => _RecipeStepperWidgetState();
}

class _RecipeStepperWidgetState extends State<RecipeStepperWidget> {
  int _currentStep = 0;

  // Sample recipe steps data
  final List<RecipeStep> _recipeSteps = [
    RecipeStep(
      title: 'Prepare Ingredients',
      description: 'Gather all necessary ingredients: flour, sugar, eggs, milk, and butter. Make sure they are at room temperature.',
      imageUrl: 'https://via.placeholder.com/600/FF5733/FFFFFF?text=Ingredients', // Replace with actual image URL
    ),
    RecipeStep(
      title: 'Mix Dry Ingredients',
      description: 'In a large bowl, whisk together 2 cups of all-purpose flour, 1 cup of sugar, 2 teaspoons of baking powder, and 1/2 teaspoon of salt.',
      imageUrl: 'https://via.placeholder.com/600/33FF57/FFFFFF?text=Dry+Mix',
    ),
    RecipeStep(
      title: 'Combine Wet Ingredients',
      description: 'In a separate bowl, beat 2 large eggs, 1 cup of milk, and 1/4 cup of melted butter. Mix until well combined.',
      imageUrl: 'https://via.placeholder.com/600/3357FF/FFFFFF?text=Wet+Mix',
    ),
    RecipeStep(
      title: 'Fold Wet into Dry',
      description: 'Gradually add the wet ingredients to the dry ingredients, mixing gently until just combined. Be careful not to overmix.',
      imageUrl: 'https://via.placeholder.com/600/FFFF33/000000?text=Fold+Mixture',
    ),
    RecipeStep(
      title: 'Bake for 30 Minutes',
      description: 'Pour the batter into a greased baking pan and bake at 180°C (350°F) for 30-35 minutes, or until a toothpick inserted into the center comes out clean.',
      imageUrl: 'https://via.placeholder.com/600/FF33FF/FFFFFF?text=Bake',
    ),
  ];

  @override
  Widget build(BuildContext context) {
    return Scaffold(
      appBar: AppBar(
        title: Text('Recipe Stepper'),
      ),
      body: Stepper(
        type: StepperType.vertical,
        currentStep: _currentStep,
        onStepTapped: (step) {
          setState(() {
            _currentStep = step;
          });
        },
        onStepContinue: () {
          if (_currentStep < _recipeSteps.length - 1) {
            setState(() {
              _currentStep++;
            });
          } else {
            // Handle recipe completion or final step action
            ScaffoldMessenger.of(context).showSnackBar(
              SnackBar(content: Text('Recipe Completed!')),
            );
          }
        },
        onStepCancel: () {
          if (_currentStep > 0) {
            setState(() {
              _currentStep--;
            });
          }
        },
        steps: _recipeSteps.map((recipeStep) {
          int index = _recipeSteps.indexOf(recipeStep);
          return Step(
            title: Text(recipeStep.title),
            content: Column(
              crossAxisAlignment: CrossAxisAlignment.start,
              children: <Widget>[
                // Image preview with rounded corners
                ClipRRect(
                  borderRadius: BorderRadius.circular(8.0),
                  child: Image.network(
                    recipeStep.imageUrl,
                    fit: BoxFit.cover,
                    width: double.infinity, // Occupy full width
                    height: 200, // Fixed height for consistency
                    loadingBuilder: (BuildContext context, Widget child,
                        ImageChunkEvent? loadingProgress) {
                      if (loadingProgress == null) return child;
                      return Center(
                        child: CircularProgressIndicator(
                          value: loadingProgress.expectedTotalBytes != null
                              ? loadingProgress.cumulativeBytesLoaded /
                                  loadingProgress.expectedTotalBytes!
                              : null,
                        ),
                      );
                    },
                    errorBuilder: (context, error, stackTrace) =>
                        Container(
                          height: 200,
                          color: Colors.grey[200],
                          child: Center(
                            child: Icon(Icons.broken_image,
                                color: Colors.grey[400], size: 50),
                          ),
                        ),
                  ),
                ),
                SizedBox(height: 16.0),
                Text(
                  recipeStep.description,
                  style: TextStyle(fontSize: 16.0),
                ),
              ],
            ),
            isActive: _currentStep >= index,
            state: _currentStep > index ? StepState.complete : StepState.indexed,
          );
        }).toList(),
      ),
    );
  }
}
Conclusion
By integrating a recipe stepper with image previews, you can significantly elevate the user experience for culinary applications in Flutter. This approach not only provides clear, step-by-step instructions but also offers visual confirmation, making the cooking process more accessible and enjoyable for users of all skill levels. You can further enhance this widget by adding dynamic data loading, animation for step transitions, or different types of media like videos for even more detailed guidance.


