
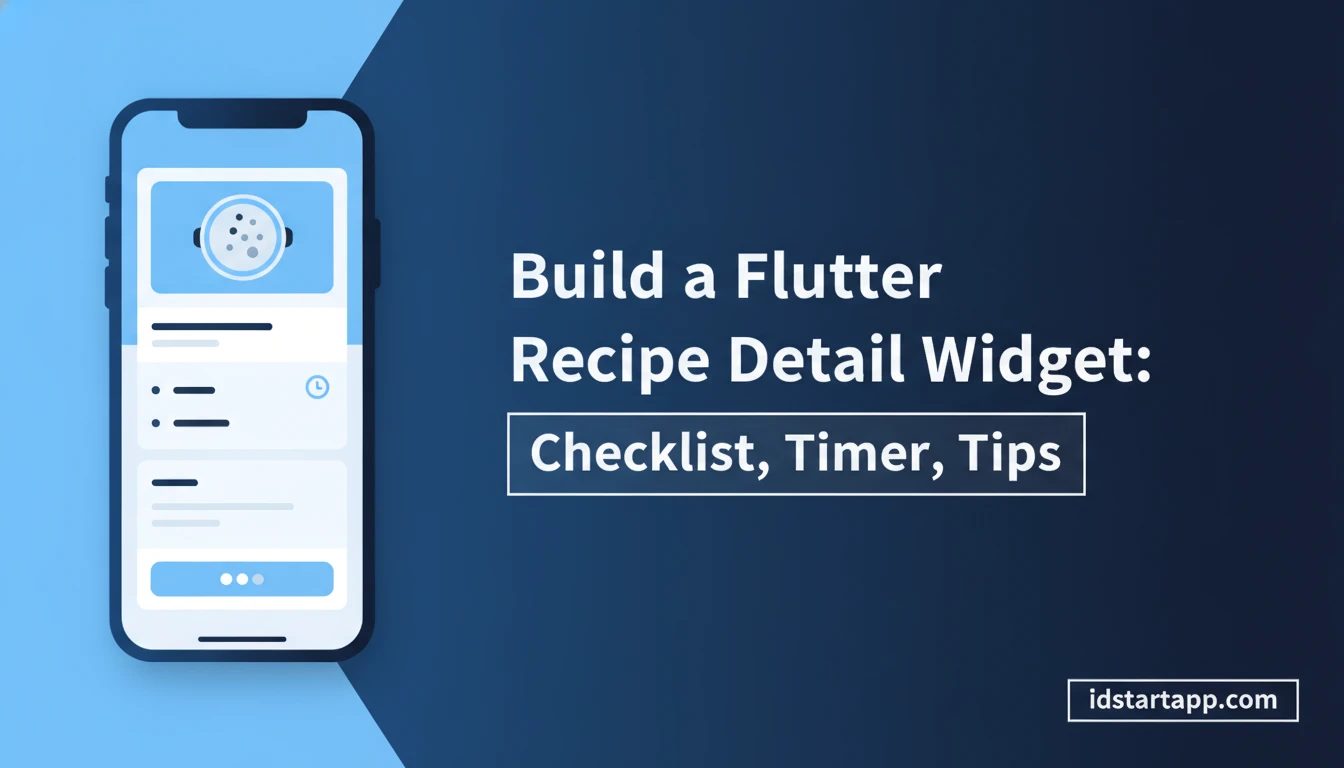

Build a Flutter Recipe Detail Widget: Checklist, Timer, Tips
Crafting a compelling recipe application in Flutter requires more than just displaying ingredients and instructions. To truly engage users, you need interactive elements that assist them during the cooking process. This article will guide you through building a sophisticated recipe detail widget that includes an ingredient checklist, a dynamic cooking timer, and a section for helpful tips. By the end, you'll have a robust foundation for a user-friendly recipe screen in your Flutter application.
Understanding the Core Components
Our feature-rich recipe detail widget will integrate three key interactive components:
- Ingredient Checklist: Allows users to mark ingredients as they gather them, ensuring nothing is missed.
- Cooking Timer: Provides a dedicated countdown timer for specific cooking steps, enhancing precision and convenience.
- Helpful Tips Section: Offers contextual advice or variations, adding value and improving the cooking experience.
We'll approach this by first defining our data model, then building out each component, and finally integrating them into a cohesive recipe detail screen.
Setting Up Your Flutter Project
Before diving into the UI, ensure you have a basic Flutter project set up. You can create a new project using:
flutter create recipe_appcd recipe_appFor state management, we'll use a simple StatefulWidget for the timer and ingredient checklist to keep the examples focused. For larger applications, consider solutions like Provider, BLoC, or Riverpod.
Designing the Recipe Data Model
A well-structured data model is crucial. Let's define simple classes for Recipe, Ingredient, and Tip.
class Ingredient { String name; bool isChecked; Ingredient({required this.name, this.isChecked = false});}class Recipe { String title; String imageUrl; List<Ingredient> ingredients; List<String> instructions; int prepTimeMinutes; int cookTimeMinutes; List<String> tips; Recipe({ required this.title, required this.imageUrl, required this.ingredients, required this.instructions, this.prepTimeMinutes = 0, this.cookTimeMinutes = 0, this.tips = const [], });}We'll also create some dummy data for demonstration purposes:
final dummyRecipe = Recipe( title: 'Spicy Chicken Stir-Fry', imageUrl: 'https://example.com/stirfry.jpg', // Replace with a real image URL ingredients: [ Ingredient(name: '2 Chicken Breasts, sliced'), Ingredient(name: '1 tbsp Soy Sauce'), Ingredient(name: '1 tsp Sesame Oil'), Ingredient(name: '1 Red Bell Pepper, sliced'), Ingredient(name: '1 Onion, sliced'), Ingredient(name: '2 cloves Garlic, minced'), Ingredient(name: '1 inch Ginger, grated'), Ingredient(name: '1/2 cup Broccoli Florets'), Ingredient(name: 'Cooked Rice, for serving'), ], instructions: [ 'Marinate chicken with soy sauce and sesame oil for 15 minutes.', 'Heat oil in a large pan or wok over medium-high heat.', 'Add chicken and stir-fry until cooked through. Remove and set aside.', 'Add bell pepper, onion, garlic, ginger, and broccoli to the pan. Stir-fry for 3-5 minutes until tender-crisp.', 'Return chicken to the pan. Toss everything together.', 'Serve hot with cooked rice.', ], prepTimeMinutes: 15, cookTimeMinutes: 10, tips: [ 'For extra spice, add a pinch of chili flakes with the vegetables.', 'You can substitute chicken with tofu or shrimp.', 'Ensure your wok is very hot before adding ingredients for a good stir-fry.', ],);Building the Recipe Detail Screen Layout
The main screen will be a StatefulWidget to manage the state of our checklist and timer. We'll use a SingleChildScrollView to ensure all content is scrollable.
import 'package:flutter/material.dart';// Assume Ingredient and Recipe classes are defined aboveclass RecipeDetailScreen extends StatefulWidget { final Recipe recipe; const RecipeDetailScreen({Key? key, required this.recipe}) : super(key: key); @override State<RecipeDetailScreen> createState() => _RecipeDetailScreenState();}class _RecipeDetailScreenState extends State<RecipeDetailScreen> { @override Widget build(BuildContext context) { return Scaffold( appBar: AppBar( title: Text(widget.recipe.title), ), body: SingleChildScrollView( padding: const EdgeInsets.all(16.0), child: Column( crossAxisAlignment: CrossAxisAlignment.start, children: [ Image.network( widget.recipe.imageUrl, height: 200, width: double.infinity, fit: BoxFit.cover, ), const SizedBox(height: 16), Text( widget.recipe.title, style: Theme.of(context).textTheme.headlineMedium, ), const SizedBox(height: 8), Text( 'Prep: ${widget.recipe.prepTimeMinutes} mins | Cook: ${widget.recipe.cookTimeMinutes} mins', style: Theme.of(context).textTheme.titleSmall, ), const SizedBox(height: 24), _buildIngredientChecklist(), // To be implemented const SizedBox(height: 24), _buildCookingTimer(), // To be implemented const SizedBox(height: 24), _buildInstructions(), // Basic instruction display const SizedBox(height: 24), _buildTipsSection(), // To be implemented ], ), ), ); } Widget _buildIngredientChecklist() { return Column( crossAxisAlignment: CrossAxisAlignment.start, children: [ Text( 'Ingredients', style: Theme.of(context).textTheme.headlineSmall, ), const SizedBox(height: 8), // Ingredient list will go here ], ); } Widget _buildCookingTimer() { return Column( crossAxisAlignment: CrossAxisAlignment.start, children: [ Text( 'Cooking Timer', style: Theme.of(context).textTheme.headlineSmall, ), const SizedBox(height: 8), // Timer widget will go here ], ); } Widget _buildInstructions() { return Column( crossAxisAlignment: CrossAxisAlignment.start, children: [ Text( 'Instructions', style: Theme.of(context).textTheme.headlineSmall, ), const SizedBox(height: 8), ...widget.recipe.instructions.asMap().entries.map((entry) { int index = entry.key; String instruction = entry.value; return Padding( padding: const EdgeInsets.only(bottom: 8.0), child: Row( crossAxisAlignment: CrossAxisAlignment.start, children: [ Text('${index + 1}. ', style: Theme.of(context).textTheme.bodyLarge), Expanded( child: Text(instruction, style: Theme.of(context).textTheme.bodyLarge), ), ], ), ); }).toList(), ], ); } Widget _buildTipsSection() { return Column( crossAxisAlignment: CrossAxisAlignment.start, children: [ Text( 'Chef Tips', style: Theme.of(context).textTheme.headlineSmall, ), const SizedBox(height: 8), // Tips list will go here ], ); }}Implementing the Ingredient Checklist
We'll update the _buildIngredientChecklist method to display each ingredient with a CheckboxListTile. The isChecked property in our Ingredient model will manage the state.
// Inside _RecipeDetailScreenState...Widget _buildIngredientChecklist() { return Column( crossAxisAlignment: CrossAxisAlignment.start, children: [ Text( 'Ingredients', style: Theme.of(context).textTheme.headlineSmall, ), const SizedBox(height: 8), ListView.builder( shrinkWrap: true, physics: const NeverScrollableScrollPhysics(), itemCount: widget.recipe.ingredients.length, itemBuilder: (context, index) { final ingredient = widget.recipe.ingredients[index]; return CheckboxListTile( title: Text( ingredient.name, style: TextStyle( decoration: ingredient.isChecked ? TextDecoration.lineThrough : null, color: ingredient.isChecked ? Colors.grey : null, ), ), value: ingredient.isChecked, onChanged: (bool? newValue) { setState(() { ingredient.isChecked = newValue!; }); }, ); }, ), ], );}Adding a Dynamic Cooking Timer
For the timer, we'll need a Timer from dart:async. The timer will count down from a specified duration, with controls for start, pause, and reset.
import 'dart:async';// ... (rest of the RecipeDetailScreenState class)// Inside _RecipeDetailScreenState...late Timer _timer;Duration _currentDuration = Duration.zero;bool _isRunning = false;@overridevoid initState() { super.initState(); _currentDuration = Duration(minutes: widget.recipe.cookTimeMinutes); // Initialize with cook time}void _startTimer() { _timer = Timer.periodic(const Duration(seconds: 1), (timer) { setState(() { if (_currentDuration.inSeconds > 0) { _currentDuration = _currentDuration - const Duration(seconds: 1); } else { _timer.cancel(); _isRunning = false; // Optionally show a notification or play a sound } }); }); setState(() { _isRunning = true; });}void _pauseTimer() { _timer.cancel(); setState(() { _isRunning = false; });}void _resetTimer() { _timer.cancel(); setState(() { _currentDuration = Duration(minutes: widget.recipe.cookTimeMinutes); _isRunning = false; });}@overridevoid dispose() { _timer.cancel(); super.dispose();}String _formatDuration(Duration duration) { String twoDigits(int n) => n.toString().padLeft(2, '0'); String minutes = twoDigits(duration.inMinutes.remainder(60)); String seconds = twoDigits(duration.inSeconds.remainder(60)); return '${twoDigits(duration.inHours)}:$minutes:$seconds';}Widget _buildCookingTimer() { return Column( crossAxisAlignment: CrossAxisAlignment.start, children: [ Text( 'Cooking Timer', style: Theme.of(context).textTheme.headlineSmall, ), const SizedBox(height: 8), Center( child: Text( _formatDuration(_currentDuration), style: Theme.of(context).textTheme.displayMedium?.copyWith( fontWeight: FontWeight.bold, color: _currentDuration.inSeconds == 0 ? Colors.red : null, ), ), ), const SizedBox(height: 16), Row( mainAxisAlignment: MainAxisAlignment.center, children: [ ElevatedButton( onPressed: _isRunning ? _pauseTimer : _startTimer, child: Text(_isRunning ? 'Pause' : 'Start'), ), const SizedBox(width: 16), ElevatedButton( onPressed: _resetTimer, child: const Text('Reset'), ), ], ), ], );}Displaying Helpful Cooking Tips
The tips section will be a simple list of text widgets, perhaps within a Card for better visual separation.
// Inside _RecipeDetailScreenState...Widget _buildTipsSection() { if (widget.recipe.tips.isEmpty) { return const SizedBox.shrink(); // Hide if no tips } return Column( crossAxisAlignment: CrossAxisAlignment.start, children: [ Text( 'Chef Tips', style: Theme.of(context).textTheme.headlineSmall, ), const SizedBox(height: 8), Card( elevation: 2, child: Padding( padding: const EdgeInsets.all(12.0), child: Column( crossAxisAlignment: CrossAxisAlignment.start, children: widget.recipe.tips.map((tip) { return Padding( padding: const EdgeInsets.only(bottom: 4.0), child: Row( crossAxisAlignment: CrossAxisAlignment.start, children: [ const Icon(Icons.lightbulb_outline, size: 18, color: Colors.amber), const SizedBox(width: 8), Expanded( child: Text( tip, style: Theme.of(context).textTheme.bodyMedium, ), ), ], ), ); }).toList(), ), ), ), ], );}Integrating All Features into One Widget
The RecipeDetailScreen already acts as our integrated widget. To see it in action, you can modify your main.dart:
import 'package:flutter/material.dart';// Import your recipe_detail_screen.dart and data_model.dart files// Or ensure the classes are in the same file for this examplevoid main() { runApp(const MyApp());}class MyApp extends StatelessWidget { const MyApp({Key? key}) : super(key: key); @override Widget build(BuildContext context) { return MaterialApp( title: 'Recipe App', theme: ThemeData( primarySwatch: Colors.deepOrange, visualDensity: VisualDensity.adaptivePlatformDensity, ), home: RecipeDetailScreen(recipe: dummyRecipe), ); }}Best Practices and Considerations
- State Management: For more complex applications, consider dedicated state management solutions like Provider, Riverpod, or BLoC. They offer better separation of concerns and testability compared to relying solely on
setStatein a large widget. - Accessibility: Ensure interactive elements like checkboxes and buttons have appropriate semantic labels. Use sufficient contrast for text and interactive elements.
- Responsiveness: While
SingleChildScrollViewhandles basic overflow, consider usingMediaQueryor layout widgets likeLayoutBuilderfor more advanced responsive layouts on different screen sizes (e.g., tablets). - User Feedback: For the timer, consider adding a sound or vibration when it finishes. For the checklist, perhaps a subtle animation when an item is checked.
- Error Handling: If fetching recipe data from an API, implement robust error handling and loading states.
- Localization: If targeting multiple languages, use Flutter's localization features for all user-facing strings.
Conclusion
By following this guide, you've successfully built a dynamic and interactive recipe detail widget in Flutter. You've learned how to implement an ingredient checklist for tracking, a cooking timer for precision, and a tips section for added value. These features significantly enhance the user experience, making your recipe application more practical and engaging. Experiment with different styles, animations, and additional features to further refine your cooking app and delight your users.
FAQ
Q: How can I make the timer persist if the user navigates away from the screen?
A: For persistence, you would need to lift the timer's state out of the current widget. This could involve using a global state management solution (like Provider, Riverpod, or BLoC) or a background service if the timer needs to run even when the app is in the background. You'd store the timer's start time and target end time, and recalculate the remaining duration upon returning.
Q: Can I have multiple timers for different cooking steps?
A: Yes, you can extend the timer functionality. Instead of a single timer, you could manage a list of timers, each associated with a specific instruction or step. Each timer would need its own state (duration, running status) and controls, potentially managed within a dedicated timer widget or a more complex state model.
Q: How can I store the checked state of ingredients permanently?
A: To store the checked state, you'd need a persistence mechanism. Options include using shared_preferences for simple key-value storage, a local database like SQLite (via sqflite package), or a cloud-based solution like Firebase Firestore. When the user checks an ingredient, you'd update the stored data, and when the recipe screen loads, you'd retrieve the saved states.