
Building a Recipe Detail Page Widget with an Ingredient Checklist in Flutter
Creating an engaging and functional recipe application requires more than just displaying ingredients and instructions. To enhance the user experience, an interactive ingredient checklist on the recipe detail page can be incredibly useful, allowing users to track what they have, or need, at a glance. This article guides you through building such a feature in Flutter, focusing on clean architecture and state management principles.
1. Defining the Data Models
First, we need robust data models to represent our recipes and their ingredients. The Ingredient model will include a mutable boolean field to track its checked state, while the Recipe model will aggregate all recipe-related information.
models/ingredient.dart
class Ingredient {
  final String name;
  final String quantity;
  bool isChecked; // Mutable state for the checklist

  Ingredient({
    required this.name,
    required this.quantity,
    this.isChecked = false,
  });
}
models/recipe.dart
import 'package:your_app_name/models/ingredient.dart'; // Adjust path as needed

class Recipe {
  final String id;
  final String title;
  final String imageUrl;
  final List<String> instructions;
  final List<Ingredient> ingredients;

  Recipe({
    required this.id,
    required this.title,
    required this.imageUrl,
    required this.instructions,
    required this.ingredients,
  });
}
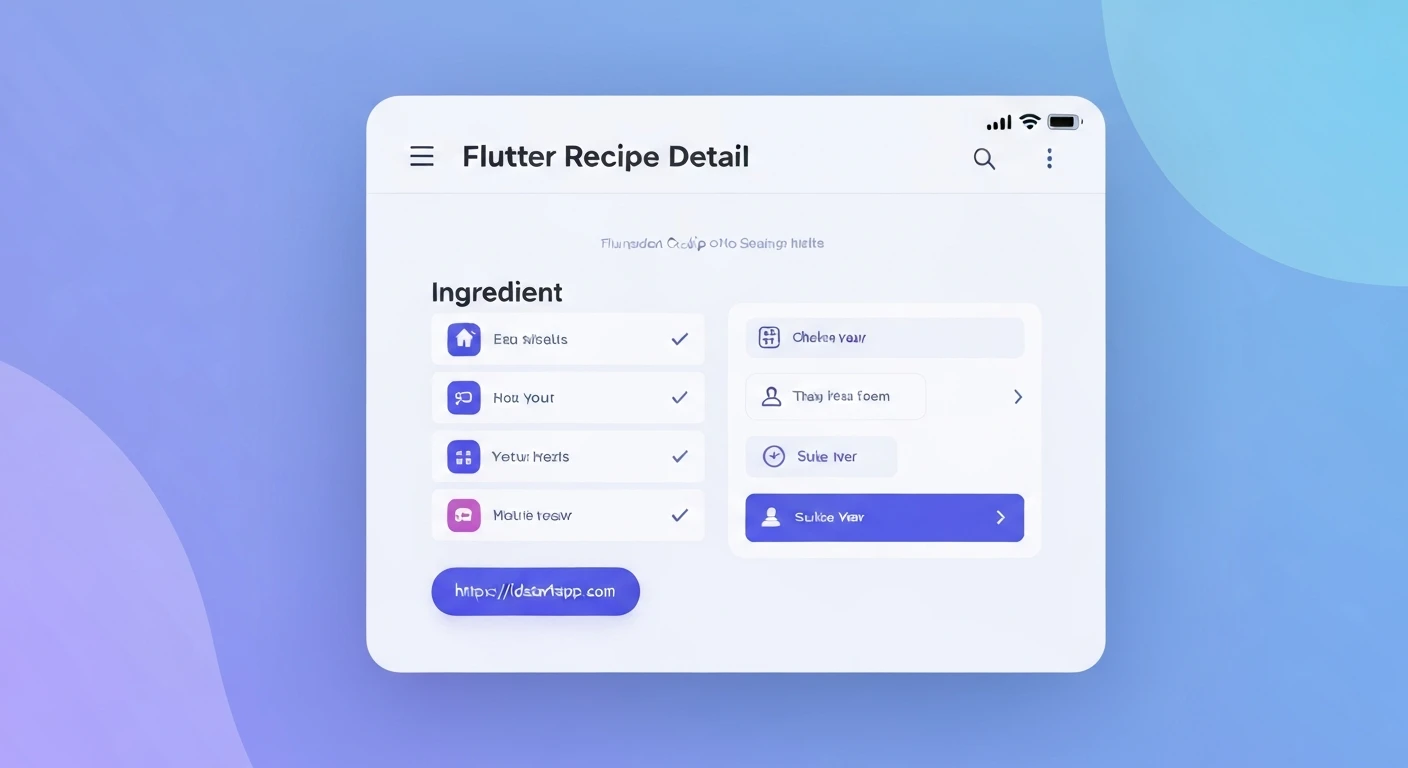
2. Building the Ingredient Checklist Widget
The ingredient checklist requires internal state management to handle the toggling of each ingredient's isChecked property. Thus, it will be implemented as a StatefulWidget.
widgets/ingredient_checklist_widget.dart
import 'package:flutter/material.dart';
import 'package:your_app_name/models/ingredient.dart'; // Adjust path as needed

class IngredientChecklistWidget extends StatefulWidget {
  final List<Ingredient> ingredients;

  const IngredientChecklistWidget({
    Key? key,
    required this.ingredients,
  }) : super(key: key);

  @override
  _IngredientChecklistWidgetState createState() => _IngredientChecklistWidgetState();
}

class _IngredientChecklistWidgetState extends State<IngredientChecklistWidget> {
  @override
  Widget build(BuildContext context) {
    return ListView.builder(
      // Important for nested list views within a SingleChildScrollView
      shrinkWrap: true,
      physics: const NeverScrollableScrollPhysics(),
      itemCount: widget.ingredients.length,
      itemBuilder: (context, index) {
        final ingredient = widget.ingredients[index];
        return CheckboxListTile(
          title: Text('${ingredient.quantity} ${ingredient.name}'),
          value: ingredient.isChecked,
          onChanged: (bool? newValue) {
            setState(() {
              ingredient.isChecked = newValue ?? false;
            });
          },
        );
      },
    );
  }
}
In this widget:
- We use
ListView.builderto efficiently render a potentially long list of ingredients. shrinkWrap: trueandphysics: const NeverScrollableScrollPhysics()are crucial when embedding aListViewinside another scrollable widget (like aSingleChildScrollViewlater), to prevent scroll conflicts.CheckboxListTileprovides a convenient way to combine a title (the ingredient text) with a checkbox.- The
onChangedcallback updates theisCheckedstatus of the respective ingredient and triggers asetStatecall, which rebuilds the widget and reflects the change in the UI.
3. Constructing the Recipe Detail Page Widget
The main recipe detail page will primarily be a StatelessWidget, as its own properties (the recipe data) do not change. It will orchestrate the layout and integrate our IngredientChecklistWidget.
pages/recipe_detail_page.dart
import 'package:flutter/material.dart';
import 'package:your_app_name/models/recipe.dart'; // Adjust path as needed
import 'package:your_app_name/widgets/ingredient_checklist_widget.dart'; // Adjust path as needed

class RecipeDetailPage extends StatelessWidget {
  final Recipe recipe;

  const RecipeDetailPage({
    Key? key,
    required this.recipe,
  }) : super(key: key);

  @override
  Widget build(BuildContext context) {
    return Scaffold(
      appBar: AppBar(
        title: Text(recipe.title),
      ),
      body: SingleChildScrollView( // Allows the content to scroll
        child: Column(
          crossAxisAlignment: CrossAxisAlignment.start,
          children: <Widget>[
            // Recipe Image
            Image.network(
              recipe.imageUrl,
              width: double.infinity,
              height: 250,
              fit: BoxFit.cover,
            ),
            Padding(
              padding: const EdgeInsets.all(16.0),
              child: Column(
                crossAxisAlignment: CrossAxisAlignment.start,
                children: <Widget>[
                  // Recipe Title
                  Text(
                    recipe.title,
                    style: Theme.of(context).textTheme.headlineMedium,
                  ),
                  const SizedBox(height: 16),

                  // Ingredients Section
                  Text(
                    'Ingredients:',
                    style: Theme.of(context).textTheme.headlineSmall,
                  ),
                  IngredientChecklistWidget(ingredients: recipe.ingredients),
                  const SizedBox(height: 24),

                  // Instructions Section
                  Text(
                    'Instructions:',
                    style: Theme.of(context).textTheme.headlineSmall,
                  ),
                  const SizedBox(height: 8),
                  ListView.builder(
                    shrinkWrap: true,
                    physics: const NeverScrollableScrollPhysics(),
                    itemCount: recipe.instructions.length,
                    itemBuilder: (context, index) {
                      return Padding(
                        padding: const EdgeInsets.symmetric(vertical: 4.0),
                        child: Text(
                          '${index + 1}. ${recipe.instructions[index]}',
                          style: Theme.of(context).textTheme.bodyLarge,
                        ),
                      );
                    },
                  ),
                ],
              ),
            ),
          ],
        ),
      ),
    );
  }
}
Here’s a breakdown of the RecipeDetailPage:
- It uses a
Scaffoldfor basic material design structure (AppBarandbody). - A
SingleChildScrollViewwraps the entire body content, ensuring that all elements are scrollable if they exceed screen height. - A
Columnarranges the image, recipe details, ingredient list, and instructions vertically. - The
IngredientChecklistWidgetis embedded directly, receiving therecipe.ingredientslist. - Instructions are also displayed using a
ListView.builderwith similar scrolling properties to prevent conflicts.
4. Integrating into Your Flutter Application
Finally, let's see how to use our RecipeDetailPage in a simple Flutter application.
main.dart
import 'package:flutter/material.dart';
import 'package:your_app_name/models/ingredient.dart'; // Adjust path as needed
import 'package:your_app_name/models/recipe.dart'; // Adjust path as needed
import 'package:your_app_name/pages/recipe_detail_page.dart'; // Adjust path as needed

void main() {
  runApp(const MyApp());
}

class MyApp extends StatelessWidget {
  const MyApp({Key? key}) : super(key: key);

  @override
  Widget build(BuildContext context) {
    // Example data for a recipe
    final exampleRecipe = Recipe(
      id: 'r1',
      title: 'Spaghetti Carbonara',
      imageUrl: 'https://www.allrecipes.com/thmb/bE7i3v-qgV_P9mE0K2r-b1yCj20=/1500x0/filters:no_upscale():max_bytes(150000):strip_icc()/223253-best-carbonara-recipe-ddmfs-3x4-0676-fbc94179346d4949b29237936166e4a2.jpg',
      instructions: [
        'Cook pasta according to package directions in salted water.',
        'While pasta is cooking, crisp pancetta or bacon in a large skillet over medium heat. Remove from skillet, leaving rendered fat.',
        'Whisk eggs, grated Parmesan cheese, and freshly ground black pepper in a bowl.',
        'Drain pasta, reserving about 1 cup of the pasta water. Add hot pasta to the skillet with the rendered fat.',
        'Immediately add egg mixture to the pasta, tossing quickly and continuously to coat. The heat from the pasta will cook the eggs into a creamy sauce. Add a little reserved pasta water if needed to achieve desired consistency.',
        'Stir in the crisp pancetta/bacon. Serve immediately with extra Parmesan and black pepper.'
      ],
      ingredients: [
        Ingredient(name: 'Spaghetti', quantity: '200g'),
        Ingredient(name: 'Pancetta or Bacon', quantity: '100g'),
        Ingredient(name: 'Eggs', quantity: '2 large'),
        Ingredient(name: 'Parmesan Cheese', quantity: '50g, grated'),
        Ingredient(name: 'Black Pepper', quantity: 'to taste'),
        Ingredient(name: 'Salt', quantity: 'to taste'),
      ],
    );

    return MaterialApp(
      title: 'Recipe App',
      theme: ThemeData(
        primarySwatch: Colors.blue,
        visualDensity: VisualDensity.adaptivePlatformDensity,
      ),
      home: RecipeDetailPage(recipe: exampleRecipe), // Display our recipe detail page
    );
  }
}
Conclusion
By following these steps, you can create a professional and interactive recipe detail page in Flutter, complete with an ingredient checklist. This approach ensures a clear separation of concerns with distinct models and widgets, making your code maintainable and scalable. The ingredient checklist significantly improves user engagement by providing a practical tool for meal preparation, enhancing the overall utility of your recipe application.
For more advanced scenarios, consider incorporating state management solutions like Provider, Riverpod, or BLoC to manage the checklist state more globally, especially if you need to persist checked items or share this state across different parts of your application.


