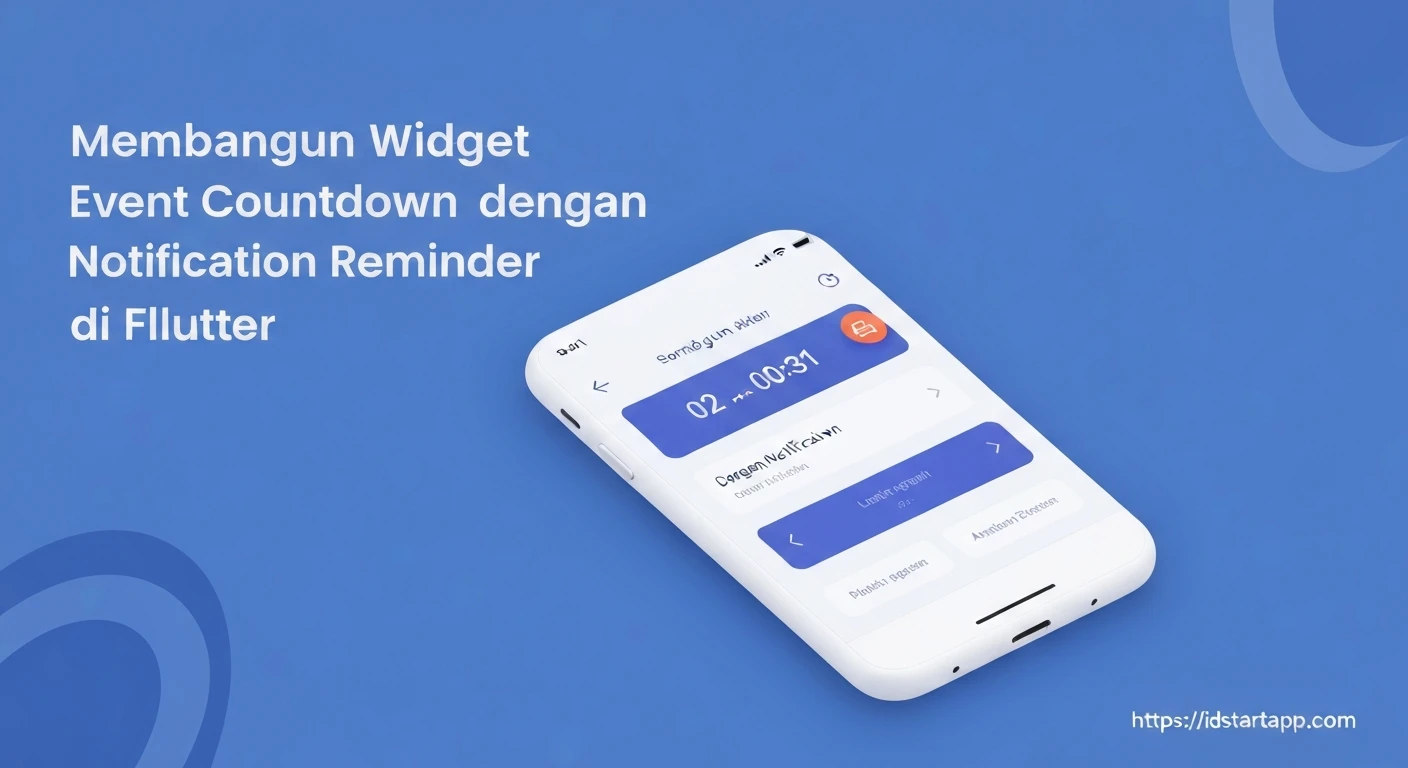

Building an Event Countdown Widget with Notification Reminder in Flutter
In today's fast-paced world, keeping track of important events is crucial. Whether it's a birthday, an anniversary, a project deadline, or a public holiday, a clear visual countdown coupled with timely reminders can significantly enhance user experience and productivity. This article will guide you through building a dynamic event countdown widget in Flutter, complete with local notification reminders, ensuring your users never miss an important date.
Prerequisites
Before we dive into the implementation, ensure you have the following:
- Flutter SDK installed and configured.
- Basic understanding of Dart programming and Flutter widgets.
- A code editor (VS Code, Android Studio) with Flutter and Dart plugins.
Project Setup and Dependencies
First, create a new Flutter project or open an existing one. We'll need to add a few packages to our pubspec.yaml file:
flutter_local_notifications: For scheduling and displaying local notifications.intl: For easy date and time formatting.timezone: This is a dependency forflutter_local_notifications's advanced scheduling features, required forzonedSchedule.
Update your pubspec.yaml:
dependencies:
  flutter:
    sdk: flutter
  cupertino_icons: ^1.0.2
  flutter_local_notifications: ^17.1.0
  intl: ^0.19.0
  timezone: ^0.9.2

dev_dependencies:
  flutter_test:
    sdk: flutter
  flutter_lints: ^3.0.0
After modifying pubspec.yaml, run flutter pub get in your terminal to fetch the new packages.
Designing the Countdown Widget
Our countdown widget will be a StatefulWidget that updates every second to display the remaining time until a target event. We'll use a Timer for this purpose.
Create a new file, e.g., lib/countdown_widget.dart:
import 'dart:async';
import 'package:flutter/material.dart';
import 'package:intl/intl.dart';

class CountdownWidget extends StatefulWidget {
  final DateTime eventDateTime;
  final String eventName;

  const CountdownWidget({
    Key? key,
    required this.eventDateTime,
    required this.eventName,
  }) : super(key: key);

  @override
  _CountdownWidgetState createState() => _CountdownWidgetState();
}

class _CountdownWidgetState extends State {
  late Timer _timer;
  Duration _timeRemaining = Duration.zero;

  @override
  void initState() {
    super.initState();
    _startCountdown();
  }

  void _startCountdown() {
    _timer = Timer.periodic(const Duration(seconds: 1), (timer) {
      final now = DateTime.now();
      setState(() {
        if (widget.eventDateTime.isAfter(now)) {
          _timeRemaining = widget.eventDateTime.difference(now);
        } else {
          _timeRemaining = Duration.zero;
          _timer.cancel(); // Event has passed
        }
      });
    });
  }

  @override
  void dispose() {
    _timer.cancel();
    super.dispose();
  }

  String _formatDuration(Duration duration) {
    String twoDigits(int n) => n.toString().padLeft(2, '0');
    final days = duration.inDays;
    final hours = twoDigits(duration.inHours.remainder(24));
    final minutes = twoDigits(duration.inMinutes.remainder(60));
    final seconds = twoDigits(duration.inSeconds.remainder(60));

    return '$days days, $hours hours, $minutes minutes, $seconds seconds';
  }

  @override
  Widget build(BuildContext context) {
    final bool eventPassed = _timeRemaining.inSeconds <= 0;

    return Card(
      margin: const EdgeInsets.all(16.0),
      elevation: 4,
      shape: RoundedRectangleBorder(borderRadius: BorderRadius.circular(10)),
      child: Padding(
        padding: const EdgeInsets.all(20.0),
        child: Column(
          mainAxisSize: MainAxisSize.min,
          children: [
            Text(
              widget.eventName,
              style: const TextStyle(
                fontSize: 24,
                fontWeight: FontWeight.bold,
                color: Colors.blueAccent,
              ),
              textAlign: TextAlign.center,
            ),
            const SizedBox(height: 10),
            Text(
              'Scheduled for: ${DateFormat('EEE, MMM d, yyyy h:mm a').format(widget.eventDateTime)}',
              style: TextStyle(
                fontSize: 16,
                fontStyle: FontStyle.italic,
                color: Colors.grey[600],
              ),
              textAlign: TextAlign.center,
            ),
            const SizedBox(height: 20),
            if (eventPassed)
              const Text(
                'Event has passed!',
                style: TextStyle(
                  fontSize: 22,
                  fontWeight: FontWeight.bold,
                  color: Colors.red,
                ),
              )
            else
              Text(
                _formatDuration(_timeRemaining),
                style: const TextStyle(
                  fontSize: 28,
                  fontWeight: FontWeight.w900,
                  color: Colors.deepPurple,
                ),
                textAlign: TextAlign.center,
              ),
          ],
        ),
      ),
    );
  }
}
Implementing Local Notifications
The flutter_local_notifications package requires some platform-specific setup. We'll also create a dedicated service to handle notification initialization and scheduling.
Android Configuration
In android/app/src/main/AndroidManifest.xml, ensure you have the following permission (usually present):
<manifest ...>
    <uses-permission android:name="android.permission.RECEIVE_BOOT_COMPLETED"/>
    <uses-permission android:name="android.permission.VIBRATE"/>
    <!-- For Android 13+ -->
    <uses-permission android:name="android.permission.POST_NOTIFICATIONS"/>
    ...
</manifest>
Also, add the following inside the <application> tag:
<application ...>
    <receiver android:name="com.dexterous.flutterlocalnotifications.ScheduledNotificationBootReceiver">
        <intent-filter>
            <action android:name="android.intent.action.BOOT_COMPLETED"/>
            <action android:name="android.intent.action.MY_PACKAGE_REPLACED"/>
            <action android:name="android.intent.action.QUICKBOOT_POWERON" />
            <action android:name="com.htc.intent.action.QUICKBOOT_POWERON"/>
        </intent-filter>
    </receiver>
    <receiver android:name="com.dexterous.flutterlocalnotifications.ScheduledNotificationReceiver" />
    ...
</application>
For Android 12+, if targeting SDK 31+, you might need to specify android:exported="true" for your main activity in AndroidManifest.xml if you encounter issues. The plugin usually handles this, but it's good to be aware.
iOS Configuration
In ios/Runner/AppDelegate.swift, add the following lines:
import UIKit
import Flutter
import flutter_local_notifications // Import the plugin

@UIApplicationMain
@objc class AppDelegate: FlutterAppDelegate {
  override func application(
    _ application: UIApplication,
    didFinishLaunchingWithOptions launchOptions: [UIApplication.LaunchOptionsKey: Any]?
  ) -> Bool {
    // Add the following lines:
    FlutterLocalNotificationsPlugin.set
import 'package:flutter_local_notifications/flutter_local_notifications.dart';
import 'package:timezone/timezone.dart' as tz;
import 'package:timezone/data/latest.dart' as tz;

class NotificationService {
  static final FlutterLocalNotificationsPlugin _notificationsPlugin =
      FlutterLocalNotificationsPlugin();

  static Future init() async {
    tz.initializeTimeZones();

    const AndroidInitializationSettings initializationSettingsAndroid =
        AndroidInitializationSettings('@mipmap/ic_launcher');

    final DarwinInitializationSettings initializationSettingsDarwin =
        DarwinInitializationSettings(
      onDidReceiveLocalNotification: (id, title, body, payload) async {
        // Handle notification tapped when app is in foreground (iOS only)
      },
    );

    final InitializationSettings initializationSettings = InitializationSettings(
      android: initializationSettingsAndroid,
      iOS: initializationSettingsDarwin,
    );

    await _notificationsPlugin.initialize(
      initializationSettings,
      onDidReceiveNotificationResponse: (notificationResponse) async {
        // Handle notification tapped when app is in background or terminated
        // You can use notificationResponse.payload to navigate or perform actions
      },
    );
  }

  static Future scheduleNotification({
    required int id,
    required String title,
    required String body,
    required DateTime scheduledDateTime,
    String? payload,
  }) async {
    await _notificationsPlugin.zonedSchedule(
      id,
      title,
      body,
      tz.TZDateTime.from(scheduledDateTime, tz.local),
      const NotificationDetails(
        android: AndroidNotificationDetails(
          'event_countdown_channel', // id
          'Event Countdown Notifications', // name
          channelDescription: 'Notifications for upcoming events',
          importance: Importance.max,
          priority: Priority.high,
          ticker: 'ticker',
        ),
        iOS: DarwinNotificationDetails(),
      ),
      androidScheduleMode: AndroidScheduleMode.exactAllowWhileIdle,
      uiLocalNotificationDateInterpretation:
          UILocalNotificationDateInterpretation.absoluteTime,
      matchDateTimeComponents: null, // Schedule for exact date/time
      payload: payload,
    );
  }

  static Future cancelAllNotifications() async {
    await _notificationsPlugin.cancelAll();
  }
}
Integrating Countdown and Notifications
Now, let's put it all together in our main application file (lib/main.dart). We'll initialize the notification service and then schedule a notification for our event.
import 'package:flutter/material.dart';
import 'package:flutter_app/countdown_widget.dart'; // Make sure this path is correct
import 'package:flutter_app/notification_service.dart'; // Make sure this path is correct

void main() async {
  WidgetsFlutterBinding.ensureInitialized();
  await NotificationService.init(); // Initialize notification service
  runApp(const MyApp());
}

class MyApp extends StatelessWidget {
  const MyApp({Key? key}) : super(key: key);

  @override
  Widget build(BuildContext context) {
    return MaterialApp(
      title: 'Event Countdown',
      theme: ThemeData(
        primarySwatch: Colors.blue,
      ),
      home: const EventCountdownScreen(),
    );
  }
}

class EventCountdownScreen extends StatefulWidget {
  const EventCountdownScreen({Key? key}) : super(key: key);

  @override
  State createState() => _EventCountdownScreenState();
}

class _EventCountdownScreenState extends State {
  // Example event
  final DateTime _myEventDate = DateTime.now().add(const Duration(days: 3, hours: 5, minutes: 30));
  final String _myEventName = 'Project Deadline Submission';

  @override
  void initState() {
    super.initState();
    _scheduleEventReminder();
  }

  void _scheduleEventReminder() {
    // Schedule a reminder 1 hour before the event
    final DateTime reminderTime = _myEventDate.subtract(const Duration(hours: 1));

    // Ensure the reminder is not scheduled for a time in the past
    if (reminderTime.isAfter(DateTime.now())) {
      NotificationService.scheduleNotification(
        id: 0, // Unique ID for this notification
        title: 'Reminder: $_myEventName',
        body: 'Your event is in 1 hour!',
        scheduledDateTime: reminderTime,
        payload: 'project_deadline',
      );
      print('Notification scheduled for: $reminderTime');
    } else {
      print('Reminder time is in the past, not scheduling notification.');
    }

    // Schedule another reminder 1 day before the event
    final DateTime dayBeforeReminderTime = _myEventDate.subtract(const Duration(days: 1));
    if (dayBeforeReminderTime.isAfter(DateTime.now())) {
      NotificationService.scheduleNotification(
        id: 1, // Another unique ID
        title: 'Upcoming: $_myEventName',
        body: 'Your event is tomorrow!',
        scheduledDateTime: dayBeforeReminderTime,
        payload: 'project_deadline_day_before',
      );
      print('Day before notification scheduled for: $dayBeforeReminderTime');
    }
  }

  @override
  Widget build(BuildContext context) {
    return Scaffold(
      appBar: AppBar(
        title: const Text('Event Countdown & Reminder'),
      ),
      body: Center(
        child: SingleChildScrollView(
          child: Column(
            mainAxisAlignment: MainAxisAlignment.center,
            children: [
              CountdownWidget(
                eventDateTime: _myEventDate,
                eventName: _myEventName,
              ),
              const SizedBox(height: 30),
              ElevatedButton(
                onPressed: () {
                  NotificationService.cancelAllNotifications();
                  ScaffoldMessenger.of(context).showSnackBar(
                    const SnackBar(content: Text('All notifications cancelled!')),
                  );
                },
                child: const Text('Cancel All Notifications'),
              ),
            ],
          ),
        ),
      ),
    );
  }
}
Enhancements and Further Considerations
-
Multiple Events: To manage multiple events, you would typically store them in a list (e.g., using a
List<Event>) and generate multipleCountdownWidgetinstances. Each notification would need a unique ID. -
Persistent Storage: For real applications, event data and scheduled notifications should persist across app restarts. Consider using:
shared_preferencesfor simple key-value pairs.Hivefor a lightweight NoSQL database.sqflitefor a more structured SQL database.
- User Input for Events: Implement a form where users can add new events, specify the date/time, and choose reminder intervals (e.g., 1 hour before, 1 day before).
-
Time Zones: The
timezonepackage is crucial for scheduling notifications accurately regardless of the device's time zone settings or if the event is in a different time zone. We've usedtz.localfor simplicity, but you can specify any IANA time zone identifier. -
Custom Notification Details: Customize notification sounds, icons, and behavior (e.g., repeating notifications) using the
NotificationDetailsobject. -
Foreground Notification Handling: The
onDidReceiveNotificationResponsecallback in_notificationsPlugin.initializeis vital for handling user taps on notifications when the app is in the background or terminated. For iOS foreground notifications, useonDidReceiveLocalNotification.
Conclusion
You've successfully built an event countdown widget in Flutter that not only visually tracks time remaining but also provides timely notification reminders. This foundation can be extended with persistent storage, user-defined events, and more advanced notification features to create a robust and highly functional reminder application. By combining Flutter's rich UI capabilities with powerful notification plugins, you can significantly improve user engagement and ensure important moments are never overlooked.


