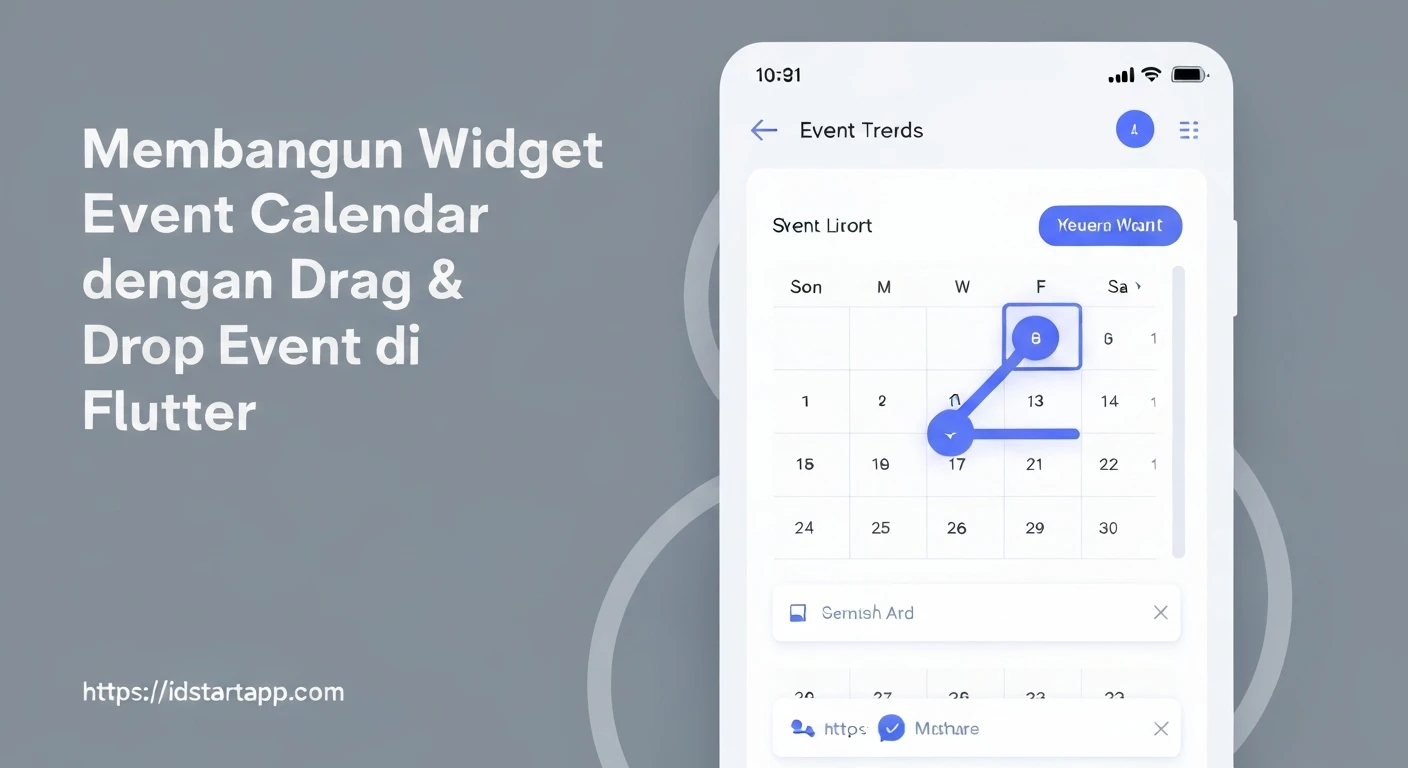

Building an Event Calendar Widget with Drag & Drop in Flutter
Interactive calendar widgets are a fundamental component in many mobile applications, providing users with an intuitive way to view, manage, and schedule events. Building such a widget in Flutter, especially one that supports drag and drop functionality for events, can significantly enhance the user experience by making event management fluid and engaging. This article will guide you through the process of creating a sophisticated event calendar in Flutter, complete with drag and drop capabilities for repositioning events.Understanding the Core Components
To achieve our goal, we'll leverage several key Flutter concepts and a popular third-party package:- Event Data Model: A simple Dart class to represent an event with properties like title and date.
- Calendar UI: We'll use the
table_calendarpackage, a highly customizable Flutter calendar widget, to display the calendar grid. - Drag and Drop Mechanism: Flutter's built-in
DraggableandDragTargetwidgets will be essential for enabling event dragging and dropping onto different dates. - State Management: A
StatefulWidgetcombined with aMapwill manage the events associated with each date and trigger UI updates.
Setting Up Your Flutter Project
First, ensure you have the `table_calendar` package added to your `pubspec.yaml` file.
dependencies:
  flutter:
    sdk: flutter
  table_calendar: ^3.0.9 # Use the latest stable version
Defining the Event Model
Let's start by defining a simple `Event` class. This class will hold the details of each event displayed on our calendar.
class Event {
  final String title;
  final DateTime date;
  final String id; // Unique ID for each event

  Event({required this.title, required this.date, required this.id});

  // A helper method to easily identify events for comparison
  @override
  bool operator ==(Object other) =>
      identical(this, other) ||
      other is Event &&
          runtimeType == other.runtimeType &&
          id == other.id;

  @override
  int get hashCode => id.hashCode;

  Event copyWith({String? title, DateTime? date, String? id}) {
    return Event(
      title: title ?? this.title,
      date: date ?? this.date,
      id: id ?? this.id,
    );
  }
}

// Helper to normalize DateTime for comparisons (ignore time part)
DateTime _normalizeDate(DateTime date) {
  return DateTime(date.year, date.month, date.day);
}
Implementing the Calendar View
Now, let's set up our main `StatefulWidget` and integrate `table_calendar`. We'll also initialize some sample events.
import 'package:flutter/material.dart';
import 'package:table_calendar/table_calendar.dart';
import 'package:uuid/uuid.dart'; // For generating unique IDs

class EventCalendarScreen extends StatefulWidget {
  const EventCalendarScreen({Key? key}) : super(key: key);

  @override
  State createState() => _EventCalendarScreenState();
}

class _EventCalendarScreenState extends State {
  late final ValueNotifier<List<Event>> _selectedEvents;
  CalendarFormat _calendarFormat = CalendarFormat.month;
  DateTime _focusedDay = DateTime.now();
  DateTime? _selectedDay;

  // Initial event data
  Map<DateTime, List<Event>> _events = {
    _normalizeDate(DateTime.now().subtract(Duration(days: 2))): [
      Event(title: 'Team Meeting', date: _normalizeDate(DateTime.now().subtract(Duration(days: 2))), id: Uuid().v4()),
    ],
    _normalizeDate(DateTime.now()): [
      Event(title: 'Project Deadline', date: _normalizeDate(DateTime.now()), id: Uuid().v4()),
      Event(title: 'Client Call', date: _normalizeDate(DateTime.now()), id: Uuid().v4()),
    ],
    _normalizeDate(DateTime.now().add(Duration(days: 3))): [
      Event(title: 'Review Session', date: _normalizeDate(DateTime.now().add(Duration(days: 3))), id: Uuid().v4()),
    ],
  };

  @override
  void initState() {
    super.initState();
    _selectedDay = _focusedDay;
    _selectedEvents = ValueNotifier(_getEventsForDay(_selectedDay!));
  }

  @override
  void dispose() {
    _selectedEvents.dispose();
    super.dispose();
  }

  List<Event> _getEventsForDay(DateTime day) {
    return _events[_normalizeDate(day)] ?? [];
  }

  void _onDaySelected(DateTime selectedDay, DateTime focusedDay) {
    if (!isSameDay(_selectedDay, selectedDay)) {
      setState(() {
        _selectedDay = selectedDay;
        _focusedDay = focusedDay;
      });
      _selectedEvents.value = _getEventsForDay(selectedDay);
    }
  }

  @override
  Widget build(BuildContext context) {
    return Scaffold(
      appBar: AppBar(title: Text('Event Calendar')),
      body: Column(
        children: [
          TableCalendar<Event>(
            firstDay: DateTime.utc(2020, 1, 1),
            lastDay: DateTime.utc(2030, 12, 31),
            focusedDay: _focusedDay,
            selectedDayPredicate: (day) => isSameDay(_selectedDay, day),
            calendarFormat: _calendarFormat,
            eventLoader: _getEventsForDay,
            onDaySelected: _onDaySelected,
            onFormatChanged: (format) {
              if (_calendarFormat != format) {
                setState(() {
                  _calendarFormat = format;
                });
              }
            },
            onPageChanged: (focusedDay) {
              _focusedDay = focusedDay;
            },
            calendarStyle: CalendarStyle(
              outsideDaysVisible: false,
              markerDecoration: BoxDecoration(
                color: Colors.blue[300],
                shape: BoxShape.circle,
              ),
            ),
            headerStyle: HeaderStyle(
              formatButtonVisible: true,
              titleCentered: true,
              formatButtonShowsNext: false,
            ),
          ),
          const SizedBox(height: 8.0),
          Expanded(
            child: ValueListenableBuilder<List<Event>>(
              valueListenable: _selectedEvents,
              builder: (context, value, _) {
                return ListView.builder(
                  itemCount: value.length,
                  itemBuilder: (context, index) {
                    final event = value[index];
                    return Container(
                      margin: const EdgeInsets.symmetric(horizontal: 12.0, vertical: 4.0),
                      decoration: BoxDecoration(
                        border: Border.all(),
                        borderRadius: BorderRadius.circular(12.0),
                      ),
                      child: ListTile(
                        onTap: () => print('${event.title} tapped!'),
                        title: Text(event.title),
                        subtitle: Text('Date: ${event.date.toLocal().toString().split(' ')[0]}'),
                      ),
                    );
                  },
                );
              },
            ),
          ),
        ],
      ),
    );
  }
}
dependencies:
  uuid: ^4.3.3 # Use the latest stable version
Adding Drag & Drop Functionality
This is where the interactive magic happens. We need to make individual event items draggable and each calendar day a `DragTarget`.Making Events Draggable
We'll wrap our event display within a `Draggable` widget. The `data` parameter of `Draggable` will carry the `Event` object itself. First, let's create a custom widget for displaying an individual event, which will be draggable.
class DraggableEventItem extends StatelessWidget {
  final Event event;

  const DraggableEventItem({Key? key, required this.event}) : super(key: key);

  @override
  Widget build(BuildContext context) {
    return Draggable<Event>(
      data: event,
      feedback: Material( // This is what the user sees while dragging
        elevation: 4.0,
        child: Container(
          padding: EdgeInsets.symmetric(horizontal: 10, vertical: 5),
          decoration: BoxDecoration(
            color: Colors.blueAccent.withOpacity(0.8),
            borderRadius: BorderRadius.circular(8),
          ),
          child: Text(
            event.title,
            style: TextStyle(color: Colors.white, fontSize: 14),
          ),
        ),
      ),
      childWhenDragging: Container(), // What remains at the original spot
      child: Container( // The actual event item in the list
        margin: const EdgeInsets.symmetric(horizontal: 12.0, vertical: 4.0),
        decoration: BoxDecoration(
          border: Border.all(color: Colors.blueGrey),
          borderRadius: BorderRadius.circular(12.0),
        ),
        child: ListTile(
          onTap: () => print('${event.title} tapped!'),
          title: Text(event.title),
          subtitle: Text('Date: ${event.date.toLocal().toString().split(' ')[0]}'),
        ),
      ),
    );
  }
}
// Inside _EventCalendarScreenState's build method, within ValueListenableBuilder:
builder: (context, value, _) {
  return ListView.builder(
    itemCount: value.length,
    itemBuilder: (context, index) {
      final event = value[index];
      return DraggableEventItem(event: event); // Use our custom draggable widget
    },
  );
},
Making Calendar Days Drag Targets
The `table_calendar` package allows us to customize how each day cell is built using `calendarBuilders`. We'll use the `dayBuilder` to wrap each day's content in a `DragTarget`. First, define a method to handle the event drop:
// Inside _EventCalendarScreenState
void _onEventDropped(Event droppedEvent, DateTime newDate) {
  setState(() {
    // 1. Remove event from its old date
    final oldDate = _normalizeDate(droppedEvent.date);
    _events[oldDate]?.removeWhere((event) => event.id == droppedEvent.id);
    if (_events[oldDate]?.isEmpty ?? false) {
      _events.remove(oldDate);
    }

    // 2. Add event to the new date
    final normalizedNewDate = _normalizeDate(newDate);
    final updatedEvent = droppedEvent.copyWith(date: normalizedNewDate);
    _events.putIfAbsent(normalizedNewDate, () => []);
    _events[normalizedNewDate]!.add(updatedEvent);

    // 3. Update the selected events list if the dropped date is currently selected
    if (isSameDay(_selectedDay, normalizedNewDate)) {
      _selectedEvents.value = _getEventsForDay(normalizedNewDate);
    } else if (isSameDay(_selectedDay, oldDate)) {
      _selectedEvents.value = _getEventsForDay(oldDate);
    }
  });
}
// Inside _EventCalendarScreenState's build method, within TableCalendar widget:
TableCalendar<Event>(
  // ... other properties ...
  calendarBuilders: CalendarBuilders(
    defaultBuilder: (context, day, focusedDay) {
      return DragTarget<Event>(
        builder: (context, candidateData, rejectedData) {
          // Default day builder content
          return Container(
            margin: const EdgeInsets.all(6.0),
            alignment: Alignment.topLeft,
            child: Text(
              '${day.day}',
              style: TextStyle(fontSize: 14.0),
            ),
          );
        },
        onAccept: (event) {
          _onEventDropped(event, day);
        },
        onWillAccept: (event) {
          // Optionally, add logic to accept/reject drops based on certain conditions
          return true;
        },
        onLeave: (data) {
          // Optional: handle when draggable leaves this target
        },
      );
    },
    todayBuilder: (context, day, focusedDay) {
      return DragTarget<Event>(
        builder: (context, candidateData, rejectedData) {
          // Custom style for today
          return Container(
            margin: const EdgeInsets.all(6.0),
            decoration: BoxDecoration(
              color: Colors.blue.withOpacity(0.2),
              borderRadius: BorderRadius.circular(8.0),
            ),
            alignment: Alignment.topLeft,
            child: Text(
              '${day.day}',
              style: TextStyle(fontSize: 14.0, fontWeight: FontWeight.bold),
            ),
          );
        },
        onAccept: (event) {
          _onEventDropped(event, day);
        },
        onWillAccept: (event) => true,
      );
    },
    selectedBuilder: (context, day, focusedDay) {
      return DragTarget<Event>(
        builder: (context, candidateData, rejectedData) {
          // Custom style for selected day
          return Container(
            margin: const EdgeInsets.all(6.0),
            decoration: BoxDecoration(
              color: Colors.blueAccent,
              shape: BoxShape.circle,
            ),
            alignment: Alignment.topLeft,
            child: Text(
              '${day.day}',
              style: TextStyle(color: Colors.white, fontSize: 14.0),
            ),
          );
        },
        onAccept: (event) {
          _onEventDropped(event, day);
        },
        onWillAccept: (event) => true,
      );
    },
    // Add other builders as needed (e.g., markerBuilder, outsideBuilder)
    // Make sure to wrap them with DragTarget as well if they should accept drops
    markerBuilder: (context, day, events) {
      if (events.isNotEmpty) {
        return Positioned(
          right: 1,
          bottom: 1,
          child: _buildEventsMarker(day, events),
        );
      }
      return null;
    },
  ),
  // ... rest of TableCalendar properties
),

// Helper for markerBuilder
Widget _buildEventsMarker(DateTime day, List<Event> events) {
  return Container(
    width: 16.0,
    height: 16.0,
    decoration: BoxDecoration(
      color: Colors.purple,
      borderRadius: BorderRadius.circular(8.0),
    ),
    alignment: Alignment.center,
    child: Text(
      '${events.length}',
      style: TextStyle(
        color: Colors.white,
        fontSize: 10.0,
      ),
    ),
  );
}
Note: You'll need to wrap `outsideBuilder` and other builders that should accept drops with `DragTarget` too, if you want events to be droppable on those days.
Conclusion
You've now built a functional event calendar widget in Flutter with intuitive drag and drop event management. Users can now easily reschedule events by dragging them from the event list and dropping them onto a different date on the calendar. This setup provides a solid foundation. You can further enhance this widget by:- Implementing persistent storage for events (e.g., using `shared_preferences`, SQLite, or a cloud database).
- Adding functionality to create new events and edit existing ones.
- Improving the visual feedback during drag operations.
- Integrating custom animations or transitions for a more polished feel.


