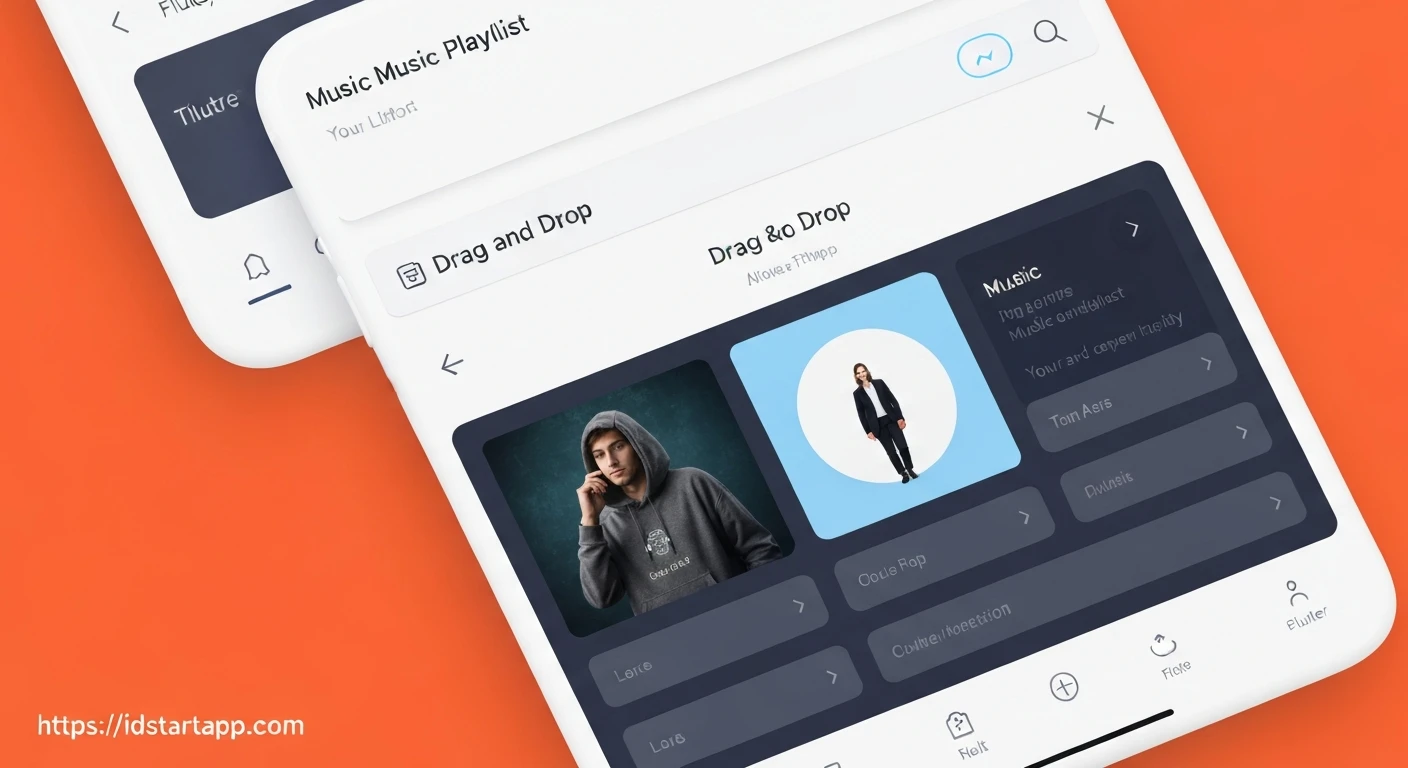

Building a Drag & Drop Music Playlist Widget in Flutter
Creating interactive user interfaces is a cornerstone of modern application development. For music players or task management apps, the ability to reorder items with a simple drag-and-drop gesture significantly enhances the user experience. Flutter, with its rich set of widgets, makes building such a feature straightforward. This article will guide you through creating a music playlist widget where users can intuitively reorder songs using drag and drop.
We'll leverage Flutter's built-in ReorderableListView, a powerful widget designed specifically for this purpose. By the end, you'll have a functional playlist that can be easily integrated into any Flutter application.
1. The Song Model
First, let's define a simple data model for our songs. This model will hold essential information about each song, such as its ID, title, and artist. The id is particularly important as it will serve as a unique key for each item in our reorderable list.
class Song {
  final String id;
  final String title;
  final String artist;

  Song({required this.id, required this.title, required this.artist});
}
2. Setting Up the Playlist Widget
Our playlist will be a StatefulWidget because its internal state (the order of songs) will change over time. We'll initialize a list of Song objects as our initial playlist.
import 'package:flutter/material.dart';

// Ensure the Song model is accessible, either in the same file or imported
// class Song { ... } (as defined above)

class MusicPlaylistWidget extends StatefulWidget {
  const MusicPlaylistWidget({super.key});

  @override
  State createState() => _MusicPlaylistWidgetState();
}

class _MusicPlaylistWidgetState extends State {
  List _songs = [
    Song(id: '1', title: 'The Sound of Silence', artist: 'Simon & Garfunkel'),
    Song(id: '2', title: 'Bohemian Rhapsody', artist: 'Queen'),
    Song(id: '3', title: 'Hotel California', artist: 'Eagles'),
    Song(id: '4', title: 'Stairway to Heaven', artist: 'Led Zeppelin'),
    Song(id: '5', title: 'Imagine', artist: 'John Lennon'),
  ];

  @override
  Widget build(BuildContext context) {
    return Scaffold(
      appBar: AppBar(
        title: const Text('My Drag & Drop Playlist'),
      ),
      // ReorderableListView will go here
    );
  }
}
3. Integrating ReorderableListView.builder
The core of our drag-and-drop functionality lies within the ReorderableListView.builder widget. This builder constructor is efficient for long lists as it only builds items that are currently visible. It requires three main parameters:
itemCount: The total number of items in the list.itemBuilder: A callback that builds each item widget. Crucially, each item widget must have a uniqueKey. We'll useValueKey(song.id).onReorder: A callback function that is triggered when an item is dragged and dropped to a new position. This is where we update our playlist data.
// ... inside _MusicPlaylistWidgetState's build method ...

      body: ReorderableListView.builder(
        itemCount: _songs.length,
        itemBuilder: (context, index) {
          final song = _songs[index];
          return ListTile(
            key: ValueKey(song.id), // Unique key for each item is crucial
            title: Text(song.title),
            subtitle: Text(song.artist),
            trailing: const Icon(Icons.drag_handle), // Visual cue for drag handle
            // Optional: Add an onTap handler to play the song
            // onTap: () {
            //   ScaffoldMessenger.of(context).showSnackBar(
            //     SnackBar(content: Text('Playing: ${song.title}')),
            //   );
            // },
          );
        },
        onReorder: _onReorder, // This method will handle the reordering logic
      ),

// ... rest of the _MusicPlaylistWidgetState class ...
4. Implementing the Drag & Drop Logic (onReorder)
The _onReorder callback is where we modify our _songs list to reflect the new order. The onReorder callback provides two integer arguments: oldIndex (the original position of the dragged item) and newIndex (the intended new position). We need to carefully handle these indices, especially because newIndex might be adjusted if the item is moved downwards.
// ... inside _MusicPlaylistWidgetState class ...

  void _onReorder(int oldIndex, int newIndex) {
    setState(() {
      // If the item is moved downwards, the newIndex will be one higher
      // than its logical position after removal from oldIndex.
      if (oldIndex < newIndex) {
        newIndex -= 1;
      }
      final Song item = _songs.removeAt(oldIndex);
      _songs.insert(newIndex, item);
    });
    // Optional: Provide feedback or save the new order
    ScaffoldMessenger.of(context).showSnackBar(
      SnackBar(content: Text('Song moved from ${oldIndex + 1} to ${newIndex + 1}')),
    );
  }

// ... rest of the _MusicPlaylistWidgetState class ...
5. Complete Example (Main Application)
To see our playlist widget in action, you can integrate it into a basic Flutter application. This main.dart file shows how to set up the necessary boilerplate.
import 'package:flutter/material.dart';

// Assuming Song model and MusicPlaylistWidget are defined in the same file
// or imported from another file like 'playlist_widget.dart'

// Song Model (if not in a separate file)
class Song {
  final String id;
  final String title;
  final String artist;

  Song({required this.id, required this.title, required this.artist});
}

// MusicPlaylistWidget (if not in a separate file)
class MusicPlaylistWidget extends StatefulWidget {
  const MusicPlaylistWidget({super.key});

  @override
  State createState() => _MusicPlaylistWidgetState();
}

class _MusicPlaylistWidgetState extends State {
  List _songs = [
    Song(id: '1', title: 'The Sound of Silence', artist: 'Simon & Garfunkel'),
    Song(id: '2', title: 'Bohemian Rhapsody', artist: 'Queen'),
    Song(id: '3', title: 'Hotel California', artist: 'Eagles'),
    Song(id: '4', title: 'Stairway to Heaven', artist: 'Led Zeppelin'),
    Song(id: '5', title: 'Imagine', artist: 'John Lennon'),
  ];

  void _onReorder(int oldIndex, int newIndex) {
    setState(() {
      if (oldIndex < newIndex) {
        newIndex -= 1;
      }
      final Song item = _songs.removeAt(oldIndex);
      _songs.insert(newIndex, item);
    });
    ScaffoldMessenger.of(context).showSnackBar(
      SnackBar(content: Text('Song moved from ${oldIndex + 1} to ${newIndex + 1}')),
    );
  }

  @override
  Widget build(BuildContext context) {
    return Scaffold(
      appBar: AppBar(
        title: const Text('My Drag & Drop Playlist'),
      ),
      body: ReorderableListView.builder(
        itemCount: _songs.length,
        itemBuilder: (context, index) {
          final song = _songs[index];
          return ListTile(
            key: ValueKey(song.id),
            title: Text(song.title),
            subtitle: Text(song.artist),
            trailing: const Icon(Icons.drag_handle),
          );
        },
        onReorder: _onReorder,
      ),
    );
  }
}


void main() {
  runApp(const MyApp());
}

class MyApp extends StatelessWidget {
  const MyApp({super.key});

  @override
  Widget build(BuildContext context) {
    return MaterialApp(
      title: 'Flutter Playlist Demo',
      theme: ThemeData(
        primarySwatch: Colors.blue,
        visualDensity: VisualDensity.adaptivePlatformDensity,
      ),
      home: const MusicPlaylistWidget(),
    );
  }
}
Further Enhancements
While our basic drag-and-drop playlist is functional, you can extend it with several enhancements:
- Persistence: Store the playlist order using shared preferences, a local database (like Hive or sqflite), or a backend service so the order is saved across app sessions.
- Playback Functionality: Integrate an audio player library (e.g.,
audioplayersorjust_audio) to actually play the songs when an item is tapped. - Custom UI: Customize the appearance of the playlist items to match your app's design language. You can replace
ListTilewith any custom widget, as long as it has a uniqueKey. - State Management: For larger applications, consider using a more robust state management solution like Provider, Riverpod, or BLoC to manage the playlist state, especially if it needs to be accessed by multiple parts of your application.
- Empty State: Add a UI to display when the playlist is empty.
Conclusion
Flutter's ReorderableListView simplifies the implementation of complex drag-and-drop functionalities, making it incredibly easy to create interactive and engaging user interfaces. By understanding its core components—the unique Key for each item and the onReorder callback—you can build dynamic lists that greatly enhance the user experience in your applications. This foundation can be expanded upon to create rich, feature-filled music players or any other reorderable list-based UI.


