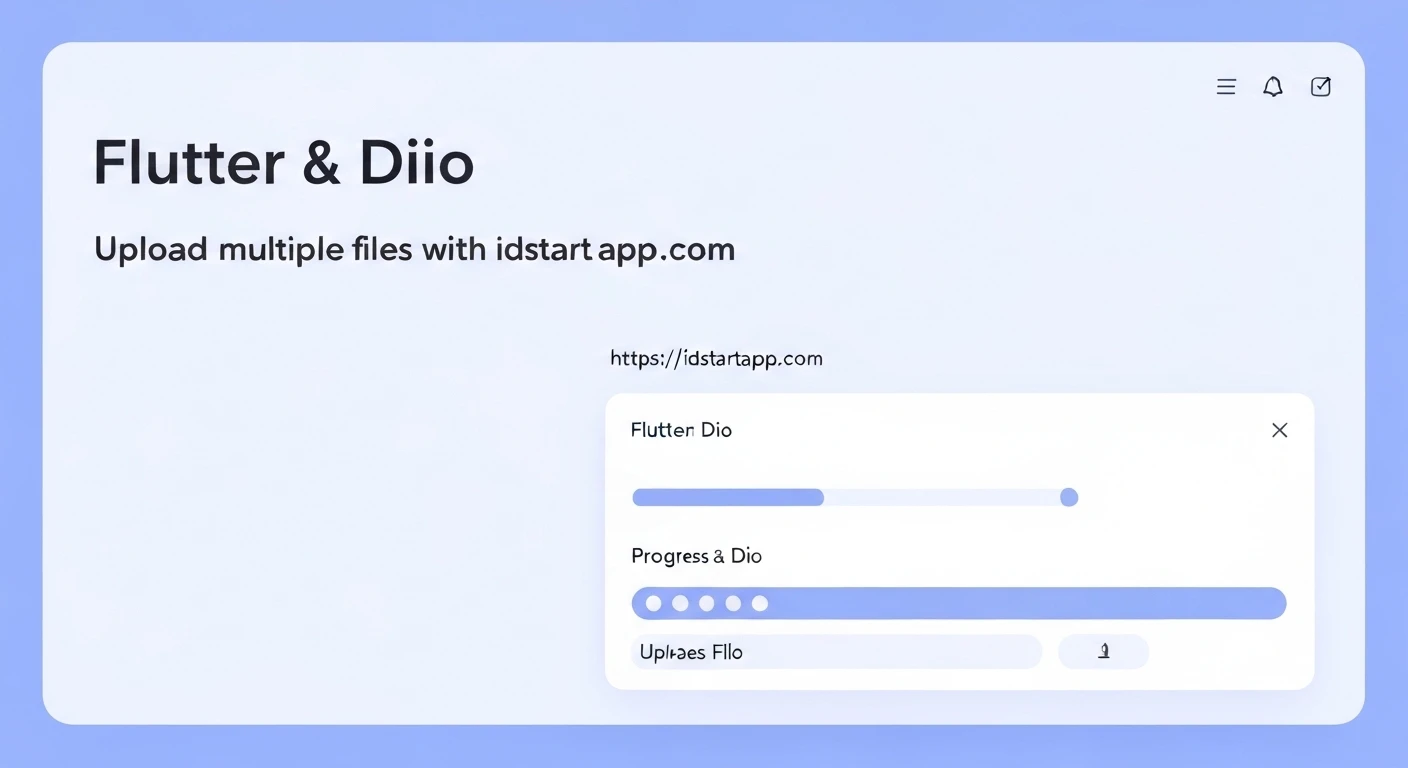

Flutter & Dio: Uploading Multiple Files with Progress Bar
Building modern mobile applications often involves robust file management, and a common requirement is the ability to upload multiple files efficiently while providing real-time feedback to the user through a progress bar. In the Flutter ecosystem, the combination of the powerful networking library Dio and the versatile file_picker package offers an elegant solution for this challenge. This article will guide you through the process of implementing a multi-file upload feature with progress tracking in your Flutter application.
Project Setup: Dependencies
First, you need to add the necessary dependencies to your pubspec.yaml file. We'll be using dio for network requests and file_picker for selecting files from the device.
dependencies:
  flutter:
    sdk: flutter
  dio: ^5.4.0 # Use the latest stable version
  file_picker: ^6.1.1 # Use the latest stable version
After adding these, run flutter pub get in your terminal to fetch the packages.
UI Design: File Selection and Progress Display
Our user interface will consist of a button to trigger file selection, a section to list the chosen files, and a progress bar to show the upload status. We'll use a StatefulWidget to manage the state of selected files and the upload progress.
import 'package:flutter/material.dart';
import 'package:dio/dio.dart';
import 'package:file_picker/file_picker.dart';

class MultiFileUploadScreen extends StatefulWidget {
  const MultiFileUploadScreen({super.key});

  @override
  State createState() => _MultiFileUploadScreenState();
}

class _MultiFileUploadScreenState extends State {
  List _selectedFiles = [];
  double _uploadProgress = 0.0;
  bool _isUploading = false;
  String? _uploadMessage;

  @override
  Widget build(BuildContext context) {
    return Scaffold(
      appBar: AppBar(
        title: const Text('Multi File Upload'),
      ),
      body: Padding(
        padding: const EdgeInsets.all(16.0),
        child: Column(
          children: [
            ElevatedButton(
              onPressed: _pickFiles,
              child: const Text('Pick Files'),
            ),
            if (_selectedFiles.isNotEmpty)
              Expanded(
                child: ListView.builder(
                  itemCount: _selectedFiles.length,
                  itemBuilder: (context, index) {
                    final file = _selectedFiles[index];
                    return ListTile(
                      title: Text(file.name),
                      trailing: Text('${(file.size / 1024).toStringAsFixed(2)} KB'),
                    );
                  },
                ),
              ),
            if (_isUploading)
              Padding(
                padding: const EdgeInsets.symmetric(vertical: 16.0),
                child: LinearProgressIndicator(
                  value: _uploadProgress,
                  backgroundColor: Colors.grey[300],
                  valueColor: const AlwaysStoppedAnimation(Colors.blue),
                ),
              ),
            if (_uploadMessage != null)
              Padding(
                padding: const EdgeInsets.only(top: 8.0),
                child: Text(_uploadMessage!),
              ),
            ElevatedButton(
              onPressed: _selectedFiles.isNotEmpty && !_isUploading ? _uploadFiles : null,
              child: const Text('Upload Files'),
            ),
          ],
        ),
      ),
    );
  }

  // _pickFiles and _uploadFiles methods will be defined below
}
File Selection Logic
The file_picker package makes it straightforward to open a file picker dialog. We'll use FilePicker.platform.pickFiles() with allowMultiple: true to enable selecting multiple files.
  Future _pickFiles() async {
    FilePickerResult? result = await FilePicker.platform.pickFiles(
      allowMultiple: true,
      type: FileType.any, // Or specific types like FileType.image, FileType.video, etc.
    );

    if (result != null) {
      setState(() {
        _selectedFiles = result.files;
        _uploadProgress = 0.0;
        _uploadMessage = null;
        _isUploading = false; // Reset upload status if new files are picked
      });
    }
  }
Dio Setup and Upload Logic
Dio is used to send HTTP requests. For file uploads, it's essential to use FormData, which correctly formats the request body as multipart/form-data. Each file needs to be added as a MultipartFile to the FormData object. The onSendProgress callback is key to tracking the upload progress.
  Future _uploadFiles() async {
    if (_selectedFiles.isEmpty) {
      setState(() {
        _uploadMessage = 'Please select files first.';
      });
      return;
    }

    setState(() {
      _isUploading = true;
      _uploadProgress = 0.0;
      _uploadMessage = 'Starting upload...';
    });

    final dio = Dio();
    // Replace with your actual upload endpoint
    const String uploadUrl = 'YOUR_UPLOAD_SERVER_ENDPOINT';

    try {
      FormData formData = FormData();
      for (var file in _selectedFiles) {
        if (file.path != null) {
          formData.files.add(MapEntry(
            "files[]", // Key for the server to identify multiple files (e.g., in PHP, Node.js Multer)
            await MultipartFile.fromFile(file.path!, filename: file.name),
          ));
        }
      }

      // Add any other fields if required by your server
      // formData.fields.add(MapEntry("description", "Upload from Flutter"));

      Response response = await dio.post(
        uploadUrl,
        data: formData,
        onSendProgress: (received, total) {
          if (total != -1) {
            setState(() {
              _uploadProgress = received / total;
              _uploadMessage = 'Uploading: ${(received / total * 100).toStringAsFixed(0)}%';
            });
          }
        },
      );

      if (response.statusCode == 200 || response.statusCode == 201) {
        setState(() {
          _uploadMessage = 'Upload successful!';
          _selectedFiles = []; // Clear selected files after successful upload
          _isUploading = false;
        });
        print('Upload successful: ${response.data}');
      } else {
        setState(() {
          _uploadMessage = 'Upload failed: Status ${response.statusCode}';
          _isUploading = false;
        });
        print('Upload failed: ${response.data}');
      }
    } on DioException catch (e) {
      setState(() {
        _uploadMessage = 'Upload error: ${e.message}';
        _isUploading = false;
      });
      print('Dio error during upload: $e');
    } catch (e) {
      setState(() {
        _uploadMessage = 'An unexpected error occurred: $e';
        _isUploading = false;
      });
      print('General error during upload: $e');
    }
  }
Progress Tracking
Dio's onSendProgress callback is crucial for displaying real-time upload progress. This callback provides two parameters: received (bytes sent so far) and total (total bytes to send). By dividing received by total, we get a value between 0.0 and 1.0, which can be directly used by widgets like LinearProgressIndicator.
The progress tracking logic is embedded within the _uploadFiles method shown above, specifically in the onSendProgress callback of the dio.post method. It updates the _uploadProgress state variable, which in turn refreshes the LinearProgressIndicator, providing immediate visual feedback to the user.
Important Considerations
- Server Endpoint: Remember to replace
'YOUR_UPLOAD_SERVER_ENDPOINT'with the actual URL of your backend API that handles file uploads. Your server should be configured to acceptmultipart/form-datarequests. - Backend Key: The key
"files[]"used informData.files.addis common for arrays of files in many backend frameworks (e.g., PHP, Node.js with Multer). Adjust this key according to what your server expects to correctly parse the uploaded files. - Permissions: Ensure your application has the necessary permissions for internet access and file storage/picking.
- Android: Add
<uses-permission android:name="android.permission.INTERNET"/>toAndroidManifest.xml. For older Android versions or specific file access, you might needWRITE_EXTERNAL_STORAGEandREAD_EXTERNAL_STORAGE, but typically modern file pickers handle permissions more elegantly. - iOS: Add appropriate privacy keys to
Info.plist, such asNSPhotoLibraryUsageDescriptionfor accessing photos orNSDocumentsFolderUsageDescriptionfor general file access, explaining why your app needs these permissions.
- Android: Add
- Error Handling: The example includes basic
try-catchblocks forDioExceptionand general errors. In a production app, you would want more granular error messages, logging, and potentially retry mechanisms or user-friendly error dialogs. - Individual File Progress: This guide focuses on overall upload progress. To show progress for each file, you would need to manage a list of progress values, one for each selected file, and update them accordingly. This usually involves iterating through files and potentially sending them one by one, or having a more complex server-side implementation that reports individual file progress.
Conclusion
Uploading multiple files with a progress bar in Flutter using Dio and file_picker is a robust solution that significantly enhances user experience. By following the steps outlined in this article, you can implement this crucial feature, making your applications more interactive and user-friendly. This approach ensures efficient data transfer and keeps users informed throughout the upload process, contributing to a seamless and professional mobile experience.


