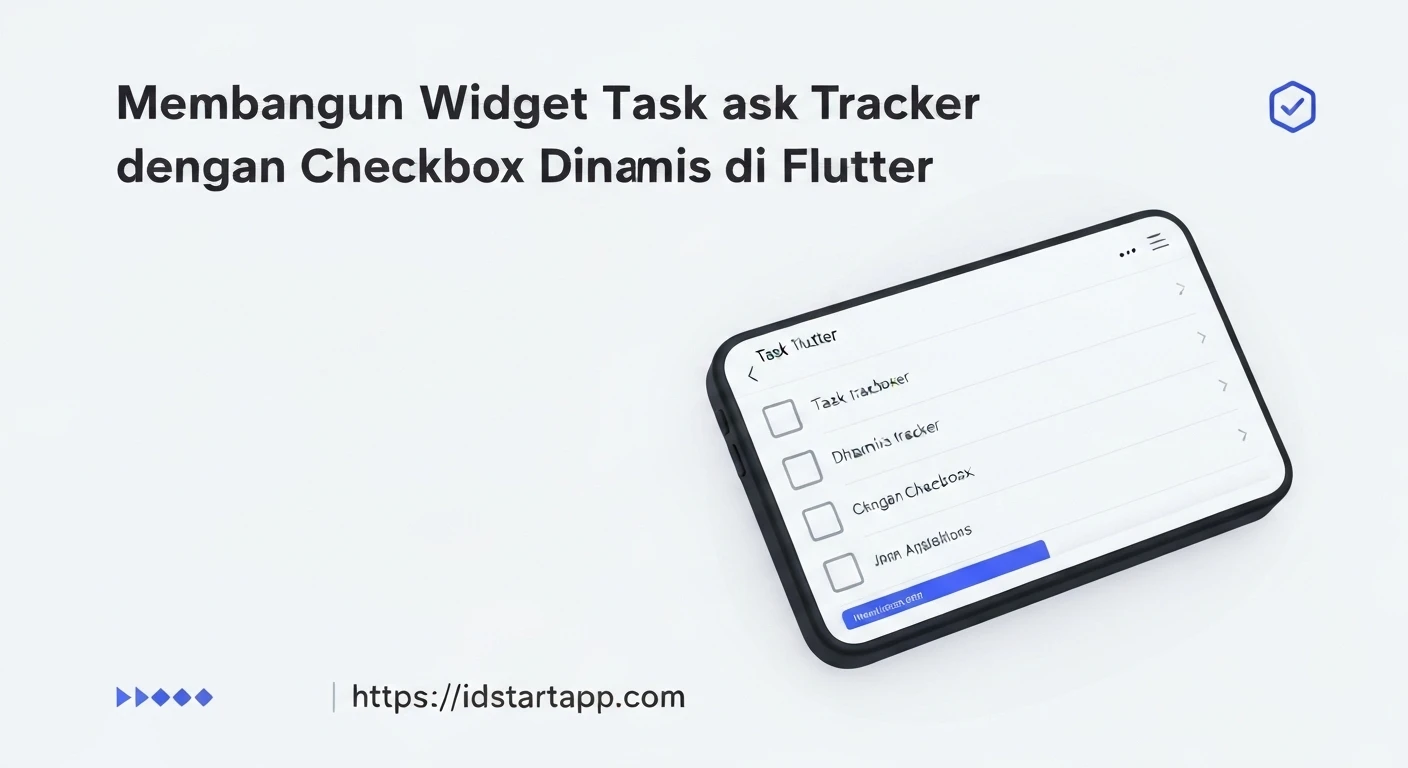

Building a Task Tracker Widget with Dynamic Checkboxes in Flutter
Flutter, Google's UI toolkit for building natively compiled applications for mobile, web, and desktop from a single codebase, offers incredible flexibility for creating interactive user interfaces. A common requirement in many applications is a task tracker or a to-do list. This article will guide you through building a dynamic task tracker widget in Flutter, featuring checkboxes that update their state in real-time.
Understanding the Core Components
To create our task tracker, we'll need a few key components:
- Task Model: A simple data structure to represent each task.
- Stateful Widget: To manage the list of tasks and their completion status.
- Dynamic Checkboxes: Using
CheckboxListTileto display tasks and allow users to toggle their status.
1. Defining the Task Model
First, let's create a simple Dart class to define what a "task" is. Each task will have a title and a boolean indicating whether it's completed.
class Task {
  String title;
  bool isCompleted;

  Task({required this.title, this.isCompleted = false});
}
This Task class is straightforward. The isCompleted property defaults to false when a new task is created.
2. Creating the Task Tracker Widget
Our task tracker will be a StatefulWidget because its UI needs to change based on user interactions (toggling checkboxes). We'll manage a list of Task objects within the widget's state.
import 'package:flutter/material.dart';

// Assuming the Task class is defined in the same file or imported

class TaskTrackerWidget extends StatefulWidget {
  const TaskTrackerWidget({Key? key}) : super(key: key);

  @override
  State<TaskTrackerWidget> createState() => _TaskTrackerWidgetState();
}

class _TaskTrackerWidgetState extends State<TaskTrackerWidget> {
  // A list to hold our tasks
  List<Task> _tasks = [
    Task(title: 'Buy groceries'),
    Task(title: 'Finish Flutter article'),
    Task(title: 'Call mom'),
    Task(title: 'Go for a run', isCompleted: true),
  ];

  @override
  Widget build(BuildContext context) {
    return Scaffold(
      appBar: AppBar(
        title: const Text('Dynamic Task Tracker'),
      ),
      body: ListView.builder(
        itemCount: _tasks.length,
        itemBuilder: (context, index) {
          final task = _tasks[index];
          return CheckboxListTile(
            title: Text(
              task.title,
              style: TextStyle(
                decoration: task.isCompleted ? TextDecoration.lineThrough : TextDecoration.none,
                color: task.isCompleted ? Colors.grey : Colors.black,
              ),
            ),
            value: task.isCompleted,
            onChanged: (bool? newValue) {
              setState(() {
                task.isCompleted = newValue ?? false;
              });
            },
            controlAffinity: ListTileControlAffinity.leading, // Checkbox on the left
          );
        },
      ),
    );
  }
}
3. Breaking Down the Implementation
State Management (_TaskTrackerWidgetState)
The _TaskTrackerWidgetState holds our initial list of tasks (_tasks). This list is mutable, and changes to it will trigger UI updates when wrapped within setState().
Building the Task List (ListView.builder)
We use ListView.builder for efficient rendering of our task list. It only builds the widgets that are currently visible on screen, which is crucial for performance with potentially long lists.
      body: ListView.builder(
        itemCount: _tasks.length,
        itemBuilder: (context, index) {
          final task = _tasks[index];
          // ... CheckboxListTile content ...
        },
      ),
For each item in the _tasks list, itemBuilder returns a CheckboxListTile.
Implementing Dynamic Checkboxes (CheckboxListTile)
CheckboxListTile is a convenient widget that combines a checkbox, a title, and optionally a subtitle and other features. It's perfect for our use case.
          return CheckboxListTile(
            title: Text(
              task.title,
              style: TextStyle(
                decoration: task.isCompleted ? TextDecoration.lineThrough : TextDecoration.none,
                color: task.isCompleted ? Colors.grey : Colors.black,
              ),
            ),
            value: task.isCompleted, // The current state of the checkbox
            onChanged: (bool? newValue) {
              setState(() {
                task.isCompleted = newValue ?? false; // Update the task's completion status
              });
            },
            controlAffinity: ListTileControlAffinity.leading,
          );
title: Displays the task's title. We've added aTextStyleto conditionally apply a strikethrough and change color if the task is completed, providing visual feedback.value: This is crucial. It binds the checkbox's state directly totask.isCompleted. Whentask.isCompletedistrue, the checkbox will be checked, and vice-versa.onChanged: This callback is triggered when the user taps the checkbox. Inside this callback, we callsetState(). This signals Flutter that the internal state of our_TaskTrackerWidgetStatehas changed, specifically theisCompletedproperty of our task. Flutter then rebuilds the widget tree, reflecting the new state (i.e., the checkbox updates, and the text style changes). ThenewValueis a boolean indicating the new state of the checkbox.controlAffinity.leading: Places the checkbox on the left side of the tile.
4. Integrating into a Flutter Application
To see your TaskTrackerWidget in action, integrate it into your main.dart file:
import 'package:flutter/material.dart';
import 'package:your_app_name/task_tracker_widget.dart'; // Adjust import path

void main() {
  runApp(const MyApp());
}

class MyApp extends StatelessWidget {
  const MyApp({Key? key}) : super(key: key);

  @override
  Widget build(BuildContext context) {
    return MaterialApp(
      title: 'Task Tracker Demo',
      theme: ThemeData(
        primarySwatch: Colors.blue,
      ),
      home: const TaskTrackerWidget(), // Our main widget
    );
  }
}
Make sure to replace 'package:your_app_name/task_tracker_widget.dart' with the actual path to your TaskTrackerWidget file.
Conclusion
You've successfully built a dynamic task tracker widget in Flutter with interactive checkboxes. This example demonstrates fundamental Flutter concepts: defining data models, managing state with StatefulWidget and setState, and rendering dynamic lists using ListView.builder and CheckboxListTile. You can extend this further by adding features like adding/deleting tasks, filtering, or persisting data to local storage or a backend.


