
Building a Task List Widget in Flutter with Drag & Drop, Priority, and Due Date
Managing tasks effectively is crucial for productivity, and a well-designed task list application can significantly aid this. In this article, we'll explore how to create a dynamic and interactive task list widget in Flutter, incorporating key features such as drag-and-drop reordering, task priority levels, and due dates. This will leverage Flutter's rich UI capabilities to deliver a seamless user experience.
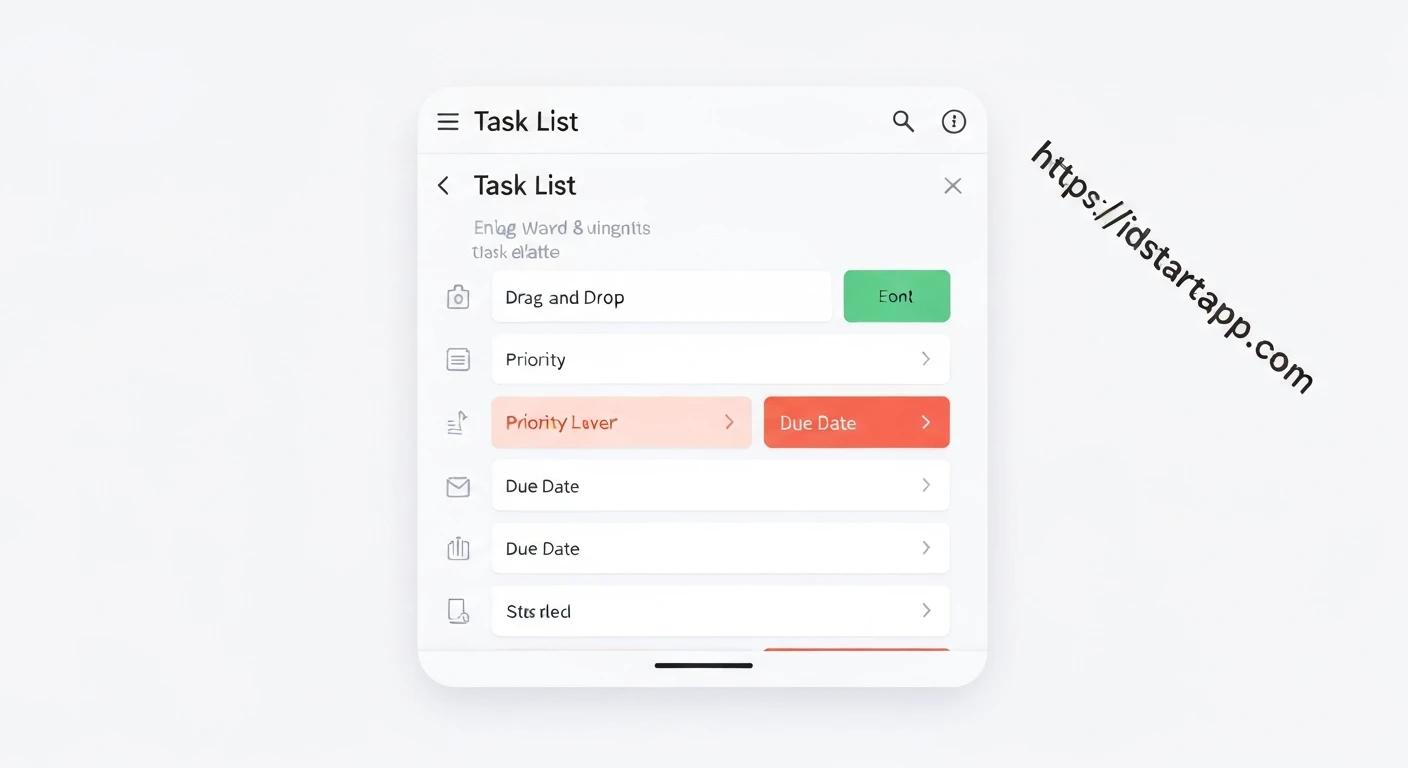
1. Core Features Overview
Our task list widget will include the following functionalities:
- Drag & Drop Reordering: Users can intuitively rearrange tasks by dragging them to new positions.
- Task Priority: Each task can be assigned a priority (e.g., Low, Medium, High), visually indicated by color.
- Due Date: Tasks can have an optional due date, helping users keep track of deadlines.
- Adding/Editing Tasks: A mechanism to add new tasks and modify existing ones, including setting their priority and due date.
2. The Task Model
First, let's define a data model for our tasks. We'll use a simple Dart class to encapsulate task properties.
import 'package:flutter/foundation.dart'; // For @required
import 'package:uuid/uuid.dart'; // For unique IDs

enum Priority {
  low,
  medium,
  high,
}

class Task {
  final String id;
  String title;
  Priority priority;
  DateTime? dueDate;
  bool isCompleted;

  Task({
    required this.title,
    this.priority = Priority.medium,
    this.dueDate,
    this.isCompleted = false,
  }) : id = const Uuid().v4(); // Generate a unique ID for each task

  // Helper method for copyWith to update task properties
  Task copyWith({
    String? title,
    Priority? priority,
    DateTime? dueDate,
    bool? isCompleted,
  }) {
    return Task(
      title: title ?? this.title,
      priority: priority ?? this.priority,
      dueDate: dueDate ?? this.dueDate,
      isCompleted: isCompleted ?? this.isCompleted,
    );
  }
}
3. Main Task List Widget Structure
Our main widget will be a StatefulWidget to manage the list of tasks and their state. We'll use ReorderableListView for the drag-and-drop functionality.
import 'package:flutter/material.dart';
import 'package:intl/intl.dart'; // For date formatting

// Assuming Task and Priority enum are defined in 'task.dart'
// import 'task.dart';

class TaskListScreen extends StatefulWidget {
  const TaskListScreen({super.key});

  @override
  State createState() => _TaskListScreenState();
}

class _TaskListScreenState extends State {
  final List<Task> _tasks = [
    Task(title: 'Buy groceries', priority: Priority.high, dueDate: DateTime.now().add(const Duration(days: 1))),
    Task(title: 'Finish Flutter article', priority: Priority.medium, dueDate: DateTime.now()),
    Task(title: 'Call mom', priority: Priority.low),
    Task(title: 'Exercise', priority: Priority.medium, isCompleted: true),
  ];

  void _onReorder(int oldIndex, int newIndex) {
    setState(() {
      if (newIndex > oldIndex) {
        newIndex -= 1;
      }
      final Task item = _tasks.removeAt(oldIndex);
      _tasks.insert(newIndex, item);
    });
  }

  void _addTask(Task newTask) {
    setState(() {
      _tasks.add(newTask);
    });
  }

  void _updateTask(Task updatedTask) {
    setState(() {
      final index = _tasks.indexWhere((task) => task.id == updatedTask.id);
      if (index != -1) {
        _tasks[index] = updatedTask;
      }
    });
  }

  void _deleteTask(String id) {
    setState(() {
      _tasks.removeWhere((task) => task.id == id);
    });
  }

  @override
  Widget build(BuildContext context) {
    return Scaffold(
      appBar: AppBar(
        title: const Text('My Task List'),
      ),
      body: ReorderableListView.builder(
        itemCount: _tasks.length,
        itemBuilder: (context, index) {
          final task = _tasks[index];
          return TaskListItem(
            key: ValueKey(task.id), // Important for ReorderableListView
            task: task,
            onToggleComplete: (value) {
              _updateTask(task.copyWith(isCompleted: value));
            },
            onEdit: () => _showTaskForm(context, task: task),
            onDelete: () => _deleteTask(task.id),
          );
        },
        onReorder: _onReorder,
      ),
      floatingActionButton: FloatingActionButton(
        onPressed: () => _showTaskForm(context),
        child: const Icon(Icons.add),
      ),
    );
  }

  // ... (TaskFormDialog implementation will go here)
  void _showTaskForm(BuildContext context, {Task? task}) async {
    final result = await showModalBottomSheet<Task>(
      context: context,
      isScrollControlled: true,
      builder: (_) => TaskFormDialog(task: task),
    );

    if (result != null) {
      if (task == null) {
        _addTask(result);
      } else {
        _updateTask(result);
      }
    }
  }
}
4. Task List Item Widget
Each task in the list will be represented by a TaskListItem widget. This widget will display the task's title, priority, due date, and a checkbox for completion. It will also have actions for editing and deleting.
// Inside _TaskListScreenState or as a separate widget file
class TaskListItem extends StatelessWidget {
  final Task task;
  final ValueChanged<bool> onToggleComplete;
  final VoidCallback onEdit;
  final VoidCallback onDelete;

  const TaskListItem({
    super.key,
    required this.task,
    required this.onToggleComplete,
    required this.onEdit,
    required this.onDelete,
  });

  Color _getPriorityColor(Priority priority) {
    switch (priority) {
      case Priority.high:
        return Colors.red[700]!;
      case Priority.medium:
        return Colors.orange[700]!;
      case Priority.low:
        return Colors.green[700]!;
      default:
        return Colors.grey;
    }
  }

  @override
  Widget build(BuildContext context) {
    final priorityColor = _getPriorityColor(task.priority);
    final textDecoration = task.isCompleted ? TextDecoration.lineThrough : TextDecoration.none;

    return Card(
      margin: const EdgeInsets.symmetric(vertical: 8.0, horizontal: 16.0),
      child: ListTile(
        leading: Checkbox(
          value: task.isCompleted,
          onChanged: (value) => onToggleComplete(value ?? false),
        ),
        title: Text(
          task.title,
          style: TextStyle(
            decoration: textDecoration,
            fontWeight: FontWeight.bold,
          ),
        ),
        subtitle: Column(
          crossAxisAlignment: CrossAxisAlignment.start,
          children: [
            Row(
              children: [
                Icon(Icons.flag, size: 16, color: priorityColor),
                const SizedBox(width: 4),
                Text(
                  'Priority: ${task.priority.name.toUpperCase()}',
                  style: TextStyle(color: priorityColor),
                ),
              ],
            ),
            if (task.dueDate != null)
              Padding(
                padding: const EdgeInsets.only(top: 4.0),
                child: Row(
                  children: [
                    const Icon(Icons.calendar_today, size: 16),
                    const SizedBox(width: 4),
                    Text('Due: ${DateFormat.yMMMd().format(task.dueDate!)}'),
                  ],
                ),
              ),
          ],
        ),
        trailing: Row(
          mainAxisSize: MainAxisSize.min,
          children: [
            IconButton(
              icon: const Icon(Icons.edit, color: Colors.blue),
              onPressed: onEdit,
            ),
            IconButton(
              icon: const Icon(Icons.delete, color: Colors.red),
              onPressed: onDelete,
            ),
            // ReorderableListView needs a draggable handle, often part of the item.
            // A simple way is to wrap the entire ListTile in a ReorderableDragStartListener,
            // or provide an explicit drag handle. For simplicity, ReorderableListView
            // can infer a drag handle if the item is a ListTile, or a custom widget.
            // For custom items, wrapping with ReorderableDragStartListener is a good approach.
            // Or just make the ListTile itself draggable.
          ],
        ),
      ),
    );
  }
}
5. Task Form Dialog for Adding/Editing
To add new tasks or edit existing ones, we'll implement a modal bottom sheet containing a form. This form will allow users to input the task title, select a priority, and choose a due date using a date picker.
// TaskFormDialog widget
class TaskFormDialog extends StatefulWidget {
  final Task? task; // Optional: if provided, it's for editing an existing task

  const TaskFormDialog({super.key, this.task});

  @override
  State createState() => _TaskFormDialogState();
}

class _TaskFormDialogState extends State {
  final _formKey = GlobalKey();
  late TextEditingController _titleController;
  late Priority _selectedPriority;
  DateTime? _selectedDueDate;

  @override
  void initState() {
    super.initState();
    _titleController = TextEditingController(text: widget.task?.title ?? '');
    _selectedPriority = widget.task?.priority ?? Priority.medium;
    _selectedDueDate = widget.task?.dueDate;
  }

  @override
  void dispose() {
    _titleController.dispose();
    super.dispose();
  }

  Future<void> _pickDueDate() async {
    final DateTime? picked = await showDatePicker(
      context: context,
      initialDate: _selectedDueDate ?? DateTime.now(),
      firstDate: DateTime(2000),
      lastDate: DateTime(2101),
    );
    if (picked != null && picked != _selectedDueDate) {
      setState(() {
        _selectedDueDate = picked;
      });
    }
  }

  void _submitForm() {
    if (_formKey.currentState!.validate()) {
      final String title = _titleController.text;
      final Priority priority = _selectedPriority;
      final DateTime? dueDate = _selectedDueDate;

      Task resultTask;
      if (widget.task == null) {
        // New task
        resultTask = Task(title: title, priority: priority, dueDate: dueDate);
      } else {
        // Edit existing task
        resultTask = widget.task!.copyWith(
          title: title,
          priority: priority,
          dueDate: dueDate,
        );
      }
      Navigator.of(context).pop(resultTask);
    }
  }

  @override
  Widget build(BuildContext context) {
    return Padding(
      padding: EdgeInsets.only(
        top: 20,
        left: 20,
        right: 20,
        bottom: MediaQuery.of(context).viewInsets.bottom + 20,
      ),
      child: Form(
        key: _formKey,
        child: Column(
          mainAxisSize: MainAxisSize.min,
          children: [
            Text(
              widget.task == null ? 'Add New Task' : 'Edit Task',
              style: Theme.of(context).textTheme.headlineSmall,
            ),
            const SizedBox(height: 20),
            TextFormField(
              controller: _titleController,
              decoration: const InputDecoration(
                labelText: 'Task Title',
                border: OutlineInputBorder(),
              ),
              validator: (value) {
                if (value == null || value.isEmpty) {
                  return 'Please enter a task title.';
                }
                return null;
              },
            ),
            const SizedBox(height: 20),
            DropdownButtonFormField<Priority>(
              value: _selectedPriority,
              decoration: const InputDecoration(
                labelText: 'Priority',
                border: OutlineInputBorder(),
              ),
              items: Priority.values.map((priority) {
                return DropdownMenuItem(
                  value: priority,
                  child: Text(priority.name.toUpperCase()),
                );
              }).toList(),
              onChanged: (value) {
                setState(() {
                  _selectedPriority = value!;
                });
              },
            ),
            const SizedBox(height: 20),
            ListTile(
              title: Text(_selectedDueDate == null
                  ? 'Select Due Date'
                  : 'Due Date: ${DateFormat.yMMMd().format(_selectedDueDate!)}'),
              trailing: const Icon(Icons.calendar_today),
              onTap: _pickDueDate,
            ),
            const SizedBox(height: 20),
            ElevatedButton(
              onPressed: _submitForm,
              child: Text(widget.task == null ? 'Add Task' : 'Save Changes'),
            ),
          ],
        ),
      ),
    );
  }
}
6. Putting It All Together
To run this code, ensure you have the following dependencies in your pubspec.yaml:
dependencies:
  flutter:
    sdk: flutter
  intl: ^0.18.0 # For date formatting
  uuid: ^4.0.0 # For generating unique IDs

dev_dependencies:
  flutter_test:
    sdk: flutter
  flutter_lints: ^2.0.0
Then, run flutter pub get. You can then use TaskListScreen as the home widget in your MaterialApp:
void main() {
  runApp(const MyApp());
}

class MyApp extends StatelessWidget {
  const MyApp({super.key});

  @override
  Widget build(BuildContext context) {
    return MaterialApp(
      title: 'Flutter Task List',
      theme: ThemeData(
        primarySwatch: Colors.blue,
        visualDensity: VisualDensity.adaptivePlatformDensity,
      ),
      home: const TaskListScreen(),
    );
  }
}
Conclusion
By combining Flutter's ReorderableListView with custom state management and form handling, we've created a functional and interactive task list widget. Users can efficiently manage their tasks by reordering them via drag & drop, prioritizing important items, and setting due dates to meet deadlines. This example demonstrates Flutter's power in building rich, responsive, and user-friendly applications with relatively straightforward code.
Further enhancements could include persistent storage (e.g., using shared_preferences, SQLite with sqflite, or a cloud database), task filtering, and more sophisticated notification systems for due dates.


