
Building a Notification Center Widget with Swipe to Dismiss and Action Buttons in Flutter
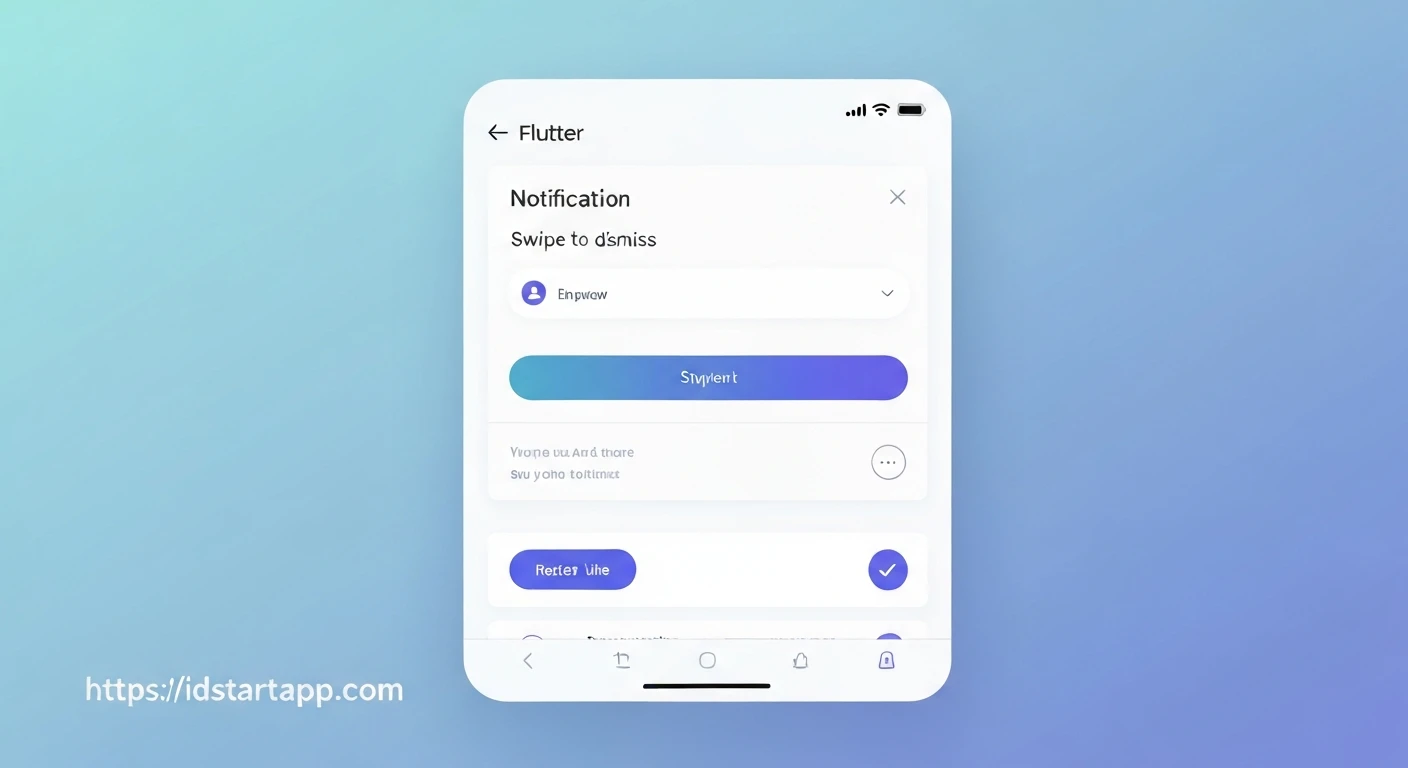
Notification centers are a fundamental component of modern mobile applications, providing users with a centralized hub for important updates, alerts, and messages. A well-designed notification center enhances user experience by making information easily accessible and actionable. In Flutter, we can build a highly interactive notification center widget featuring "swipe to dismiss" functionality and customizable action buttons, allowing users to manage their notifications efficiently.
This article will guide you through the process of creating such a widget, covering the data model, UI implementation using Flutter's powerful widgets like Dismissible, and state management for a dynamic notification list.
Prerequisites
- Basic understanding of Flutter and Dart.
- Familiarity with StatelessWidget and StatefulWidget.
- Knowledge of basic UI widgets like
ListView,Row,Column, andText.
1. Defining the Notification Data Model
First, let's create a simple data model to represent a single notification. This class will hold properties like ID, title, body, and an optional timestamp or read status.
class NotificationItem {
  final String id;
  final String title;
  final String body;
  final DateTime timestamp;
  bool isRead;

  NotificationItem({
    required this.id,
    required this.title,
    required this.body,
    required this.timestamp,
    this.isRead = false,
  });

  // Helper to generate unique IDs
  factory NotificationItem.generate({
    required String title,
    required String body,
  }) {
    return NotificationItem(
      id: DateTime.now().millisecondsSinceEpoch.toString(),
      title: title,
      body: body,
      timestamp: DateTime.now(),
    );
  }
}
2. Creating the Notification Tile Widget
Next, we'll build a widget to display a single notification item. This widget will be stateless and primarily responsible for presenting the notification's data in a visually appealing manner.
import 'package:flutter/material.dart';
import 'package:intl/intl.dart'; // Add intl dependency to pubspec.yaml

// Placeholder for NotificationItem class from previous step
// class NotificationItem { ... }

class NotificationTile extends StatelessWidget {
  final NotificationItem notification;
  final VoidCallback? onMarkAsRead;
  final VoidCallback? onReply; // Example action

  const NotificationTile({
    Key? key,
    required this.notification,
    this.onMarkAsRead,
    this.onReply,
  }) : super(key: key);

  String _formatTimestamp(DateTime timestamp) {
    final now = DateTime.now();
    final today = DateTime(now.year, now.month, now.day);
    final notificationDate = DateTime(timestamp.year, timestamp.month, timestamp.day);

    if (notificationDate.isAtSameMomentAs(today)) {
      return DateFormat.jm().format(timestamp); // e.g., "3:30 PM"
    } else if (notificationDate.isAtSameMomentAs(today.subtract(const Duration(days: 1)))) {
      return "Yesterday";
    } else {
      return DateFormat.MMMd().format(timestamp); // e.g., "Oct 26"
    }
  }

  @override
  Widget build(BuildContext context) {
    return Card(
      margin: const EdgeInsets.symmetric(horizontal: 16.0, vertical: 8.0),
      color: notification.isRead ? Colors.grey[200] : Colors.white,
      elevation: 2,
      child: Padding(
        padding: const EdgeInsets.all(12.0),
        child: Column(
          crossAxisAlignment: CrossAxisAlignment.start,
          children: [
            Row(
              children: [
                Icon(
                  notification.isRead ? Icons.notifications_off : Icons.notifications_active,
                  color: notification.isRead ? Colors.grey : Theme.of(context).primaryColor,
                  size: 20,
                ),
                const SizedBox(width: 8),
                Expanded(
                  child: Text(
                    notification.title,
                    style: TextStyle(
                      fontWeight: FontWeight.bold,
                      fontSize: 16,
                      color: notification.isRead ? Colors.grey : Colors.black87,
                    ),
                  ),
                ),
                Text(
                  _formatTimestamp(notification.timestamp),
                  style: const TextStyle(fontSize: 12, color: Colors.grey),
                ),
              ],
            ),
            const SizedBox(height: 8),
            Text(
              notification.body,
              style: TextStyle(
                fontSize: 14,
                color: notification.isRead ? Colors.grey[700] : Colors.black87,
              ),
              maxLines: 2,
              overflow: TextOverflow.ellipsis,
            ),
            if (onMarkAsRead != null || onReply != null) ...[
              const SizedBox(height: 12),
              Row(
                mainAxisAlignment: MainAxisAlignment.end,
                children: [
                  if (onMarkAsRead != null)
                    TextButton(
                      onPressed: onMarkAsRead,
                      child: Text(notification.isRead ? 'UNMARK' : 'MARK AS READ'),
                    ),
                  if (onReply != null)
                    const SizedBox(width: 8),
                  if (onReply != null)
                    TextButton(
                      onPressed: onReply,
                      child: const Text('REPLY'),
                    ),
                ],
              ),
            ],
          ],
        ),
      ),
    );
  }
}
3. Implementing Swipe to Dismiss with Dismissible
Flutter's Dismissible widget is perfect for adding swipe-to-dismiss functionality. We'll wrap our NotificationTile with Dismissible and configure its properties.
// This will be part of the main NotificationCenterScreen,
// but for demonstration, let's see how Dismissible wraps NotificationTile.

// Inside a StatefulWidget's build method, within a ListView.builder:
/*
  Dismissible(
    key: Key(notification.id), // Unique key is crucial for Dismissible
    direction: DismissDirection.endToStart, // Swipe from right to left
    background: Container(
      color: Colors.red,
      alignment: Alignment.centerRight,
      padding: const EdgeInsets.only(right: 20.0),
      child: const Icon(Icons.delete, color: Colors.white),
    ),
    onDismissed: (direction) {
      // Logic to remove the notification from the list
      // e.g., _removeNotification(notification.id);
      ScaffoldMessenger.of(context).showSnackBar(
        SnackBar(content: Text("${notification.title} dismissed")),
      );
    },
    child: NotificationTile(
      notification: notification,
      onMarkAsRead: () {
        // Handle mark as read action
      },
      onReply: () {
        // Handle reply action
      },
    ),
  );
*/
4. Building the Notification Center Screen
Now, let's combine everything into a stateful widget, NotificationCenterScreen. This widget will manage a list of NotificationItems and display them using a ListView.builder, each wrapped in a Dismissible widget.
import 'package:flutter/material.dart';
// Don't forget to import 'package:intl/intl.dart'; if you're using it

// Placeholder for NotificationItem and NotificationTile
// class NotificationItem { ... }
// class NotificationTile { ... }

class NotificationCenterScreen extends StatefulWidget {
  const NotificationCenterScreen({Key? key}) : super(key: key);

  @override
  State createState() => _NotificationCenterScreenState();
}

class _NotificationCenterScreenState extends State {
  final List<NotificationItem> _notifications = [];

  @override
  void initState() {
    super.initState();
    _loadInitialNotifications();
  }

  void _loadInitialNotifications() {
    _notifications.add(NotificationItem.generate(
      title: 'New Message',
      body: 'John Doe sent you a message: "Hey, how are you doing?"',
    ));
    _notifications.add(NotificationItem.generate(
      title: 'Reminder: Meeting',
      body: 'Your daily stand-up meeting starts in 10 minutes.',
    ));
    _notifications.add(NotificationItem.generate(
      title: 'App Update Available',
      body: 'A new version of the app is available. Update now for new features!',
    ));
    _notifications.add(NotificationItem.generate(
      title: 'Friend Request',
      body: 'Jane Smith sent you a friend request.',
      isRead: true, // Example of a read notification
    ));
  }

  void _addNotification() {
    setState(() {
      _notifications.insert(0, NotificationItem.generate(
        title: 'New Notification ' + (_notifications.length + 1).toString(),
        body: 'This is a dynamically added notification. Swipe to dismiss!',
      ));
    });
  }

  void _removeNotification(String id) {
    setState(() {
      _notifications.removeWhere((item) => item.id == id);
    });
  }

  void _toggleNotificationReadStatus(String id) {
    setState(() {
      final index = _notifications.indexWhere((item) => item.id == id);
      if (index != -1) {
        _notifications[index].isRead = !_notifications[index].isRead;
      }
    });
  }

  void _replyToNotification(String id) {
    ScaffoldMessenger.of(context).showSnackBar(
      SnackBar(content: Text("Reply action for notification ID: $id")),
    );
    // In a real app, this would navigate to a reply screen or open a dialog
  }

  @override
  Widget build(BuildContext context) {
    return Scaffold(
      appBar: AppBar(
        title: const Text('Notification Center'),
        actions: [
          IconButton(
            icon: const Icon(Icons.add_alert),
            onPressed: _addNotification,
          ),
        ],
      ),
      body: _notifications.isEmpty
          ? const Center(
              child: Text(
                'No new notifications. Great job!',
                style: TextStyle(fontSize: 16, color: Colors.grey),
              ),
            )
          : ListView.builder(
              itemCount: _notifications.length,
              itemBuilder: (context, index) {
                final notification = _notifications[index];
                return Dismissible(
                  key: Key(notification.id), // Unique key is essential
                  direction: DismissDirection.endToStart,
                  background: Container(
                    color: Colors.red,
                    alignment: Alignment.centerRight,
                    padding: const EdgeInsets.only(right: 20.0),
                    child: const Icon(Icons.delete, color: Colors.white),
                  ),
                  onDismissed: (direction) {
                    _removeNotification(notification.id);
                    ScaffoldMessenger.of(context).showSnackBar(
                      SnackBar(content: Text("Notification '${notification.title}' dismissed")),
                    );
                  },
                  child: NotificationTile(
                    notification: notification,
                    onMarkAsRead: () => _toggleNotificationReadStatus(notification.id),
                    onReply: () => _replyToNotification(notification.id),
                  ),
                );
              },
            ),
    );
  }
}
5. Integrating into Your Application
To use this notification center, you simply need to navigate to NotificationCenterScreen from your main application widget. For example, in your main.dart:
import 'package:flutter/material.dart';
// Import your NotificationCenterScreen from its file

void main() {
  runApp(const MyApp());
}

class MyApp extends StatelessWidget {
  const MyApp({Key? key}) : super(key: key);

  @override
  Widget build(BuildContext context) {
    return MaterialApp(
      title: 'Flutter Notification Center',
      theme: ThemeData(
        primarySwatch: Colors.blue,
        visualDensity: VisualDensity.adaptivePlatformDensity,
      ),
      home: const NotificationCenterScreen(), // Set NotificationCenterScreen as the home screen
    );
  }
}
Conclusion
By leveraging Flutter's declarative UI and powerful widgets like Dismissible, we've successfully built a dynamic and interactive notification center. This widget provides users with convenient "swipe to dismiss" functionality and "action buttons" for quick interaction, significantly improving the overall user experience. You can further enhance this notification center by adding features like persistent storage for notifications, grouping notifications, or integrating with push notification services.
Remember that the key to building robust Flutter applications lies in proper state management and breaking down complex UIs into smaller, manageable widgets.


