
Building a Notification Tray Widget with Grouped, Swipe, and Action Buttons in Flutter
A well-designed notification system is crucial for user engagement and experience in modern mobile applications. Flutter, with its declarative UI and powerful widget ecosystem, provides an excellent platform to build highly customized and interactive notification UIs. This article will guide you through creating a sophisticated notification tray widget in Flutter, incorporating features like grouping, swipe-to-dismiss, and actionable buttons.
Introduction
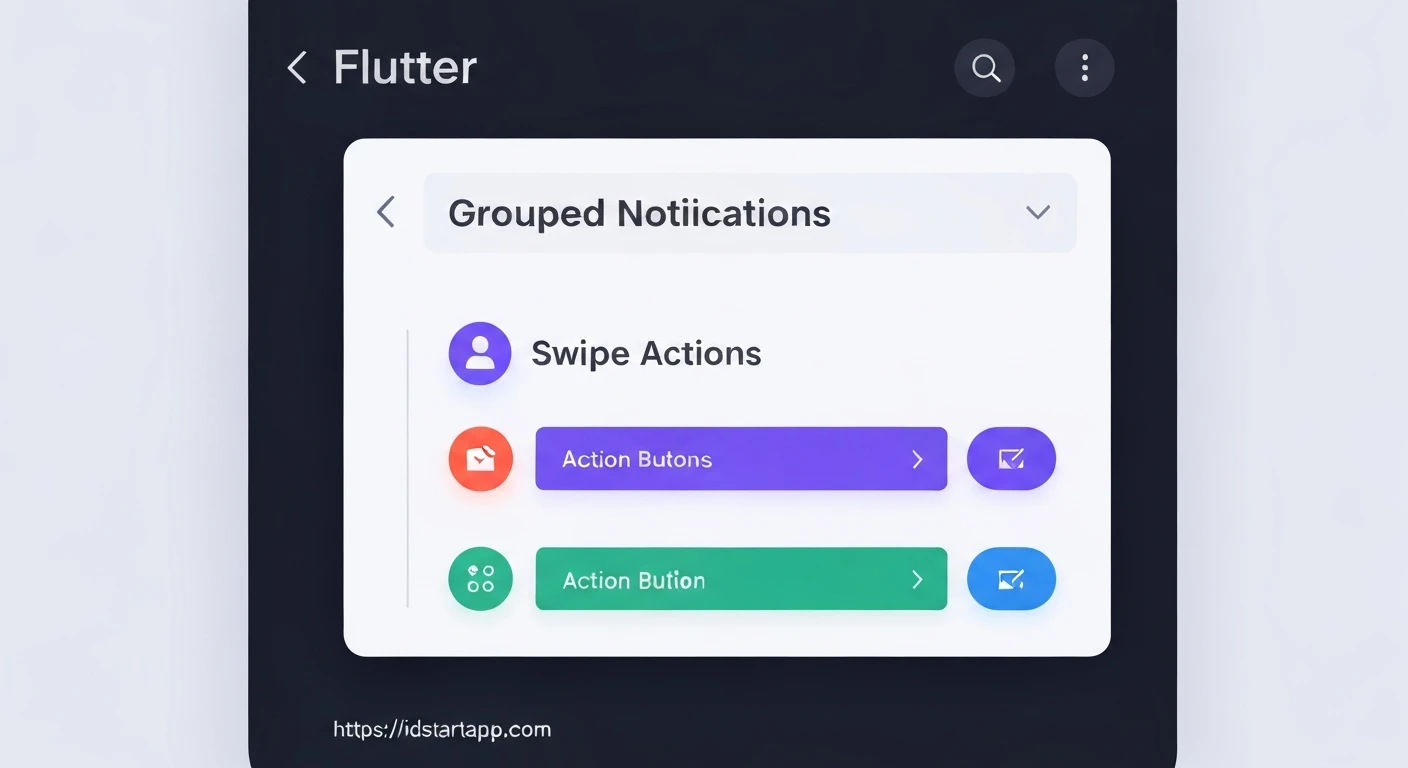
Notifications keep users informed about important events, messages, or updates within an application. A typical notification tray displays these alerts, allowing users to review and interact with them. To enhance usability and manage clutter, especially when many notifications arrive, we'll focus on three key features:
- Grouped Notifications: Consolidating multiple notifications from the same source or category into a single, expandable entry.
- Swipe Actions: Allowing users to perform quick actions (e.g., dismiss, archive) by swiping a notification.
- Action Buttons: Providing direct interaction options (e.g., Reply, Mark as Read) directly within the notification.
1. Designing the Notification Data Model
First, let's define a data model for our individual notifications. This model should encapsulate all necessary information, including content, source, and available actions.
import 'package:flutter/material.dart';

enum NotificationActionType {
  reply,
  archive,
  markAsRead,
  delete,
  custom,
}

class NotificationAction {
  final String label;
  final NotificationActionType type;
  final VoidCallback onPressed;

  NotificationAction({
    required this.label,
    required this.type,
    required this.onPressed,
  });
}

class NotificationItem {
  final String id;
  final String title;
  final String body;
  final String? appName; // e.g., "WhatsApp", "Gmail"
  final String? appIcon; // Path to app icon
  final DateTime timestamp;
  final List<NotificationAction> actions;
  final bool isSilent; // For subtle notifications

  NotificationItem({
    required this.id,
    required this.title,
    required this.body,
    this.appName,
    this.appIcon,
    DateTime? timestamp,
    this.actions = const [],
    this.isSilent = false,
  }) : this.timestamp = timestamp ?? DateTime.now();

  // For grouping, we'll use appName or a custom category key
  String get groupKey => appName ?? 'general';
}
2. Setting Up the Main Notification Tray Widget
Our main widget will be a StatefulWidget that manages a list of NotificationItems. It will be responsible for displaying, grouping, and handling interactions.
import 'package:flutter/material.dart';
// Import NotificationItem and NotificationAction definitions from above

class NotificationTray extends StatefulWidget {
  final List<NotificationItem> notifications;
  final ValueChanged<String> onDismiss;
  final ValueChanged<NotificationItem> onTap;

  const NotificationTray({
    Key? key,
    required this.notifications,
    required this.onDismiss,
    required this.onTap,
  }) : super(key: key);

  @override
  _NotificationTrayState createState() => _NotificationTrayState();
}

class _NotificationTrayState extends State<NotificationTray> {
  // We'll process and group notifications here
  Map<String, List<NotificationItem>> _groupedNotifications = {};

  @override
  void didUpdateWidget(covariant NotificationTray oldWidget) {
    super.didUpdateWidget(oldWidget);
    if (widget.notifications != oldWidget.notifications) {
      _groupNotifications();
    }
  }

  @override
  void initState() {
    super.initState();
    _groupNotifications();
  }

  void _groupNotifications() {
    _groupedNotifications = {};
    for (var notification in widget.notifications) {
      _groupedNotifications
          .putIfAbsent(notification.groupKey, () => [])
          .add(notification);
    }
    // Sort groups by timestamp of the latest notification within each group
    _groupedNotifications = Map.fromEntries(
      _groupedNotifications.entries.toList()
        ..sort((a, b) {
          final latestA = a.value.map((e) => e.timestamp).reduce((value, element) => value.isAfter(element) ? value : element);
          final latestB = b.value.map((e) => e.timestamp).reduce((value, element) => value.isAfter(element) ? value : element);
          return latestB.compareTo(latestA); // Latest first
        }),
    );
  }

  @override
  Widget build(BuildContext context) {
    if (widget.notifications.isEmpty) {
      return Center(
        child: Text(
          'No new notifications',
          style: TextStyle(color: Colors.grey[600]),
        ),
      );
    }

    return ListView.builder(
      itemCount: _groupedNotifications.length,
      itemBuilder: (context, index) {
        final groupKey = _groupedNotifications.keys.elementAt(index);
        final groupNotifications = _groupedNotifications[groupKey]!;

        if (groupNotifications.length == 1) {
          // Display single notification
          return _buildSingleNotification(groupNotifications.first);
        } else {
          // Display grouped notification
          return _buildGroupedNotification(groupKey, groupNotifications);
        }
      },
    );
  }

  Widget _buildSingleNotification(NotificationItem notification) {
    return _NotificationTile(
      notification: notification,
      onDismiss: widget.onDismiss,
      onTap: () => widget.onTap(notification),
    );
  }

  Widget _buildGroupedNotification(String groupKey, List<NotificationItem> notifications) {
    // We'll create a specific widget for grouped notifications
    return _GroupedNotificationTile(
      groupKey: groupKey,
      notifications: notifications,
      onDismiss: widget.onDismiss,
      onTap: widget.onTap,
    );
  }
}
3. Crafting the Individual Notification Tile
This widget will represent a single notification, handling its display, swipe actions, and action buttons.
// Inside _NotificationTrayState or a separate file for better organization

class _NotificationTile extends StatelessWidget {
  final NotificationItem notification;
  final ValueChanged<String> onDismiss;
  final VoidCallback onTap;

  const _NotificationTile({
    Key? key,
    required this.notification,
    required this.onDismiss,
    required this.onTap,
  }) : super(key: key);

  String _formatTimestamp(DateTime timestamp) {
    final now = DateTime.now();
    final difference = now.difference(timestamp);

    if (difference.inMinutes < 1) {
      return 'just now';
    } else if (difference.inHours < 1) {
      return '${difference.inMinutes}m ago';
    } else if (difference.inDays < 1) {
      return '${difference.inHours}h ago';
    } else if (difference.inDays < 7) {
      return '${difference.inDays}d ago';
    } else {
      return '${timestamp.day}/${timestamp.month}'; // Simple format for older
    }
  }

  @override
  Widget build(BuildContext context) {
    return Dismissible(
      key: Key(notification.id), // Unique key for Dismissible
      direction: DismissDirection.endToStart, // Swipe from right to left
      background: Container(
        color: Colors.red,
        alignment: Alignment.centerRight,
        padding: EdgeInsets.symmetric(horizontal: 20),
        child: Icon(Icons.delete, color: Colors.white),
      ),
      onDismissed: (direction) {
        onDismiss(notification.id);
        ScaffoldMessenger.of(context).showSnackBar(
          SnackBar(content: Text('${notification.title} dismissed')),
        );
      },
      child: Card(
        margin: EdgeInsets.symmetric(horizontal: 10, vertical: 4),
        elevation: 2,
        child: InkWell(
          onTap: onTap,
          child: Padding(
            padding: EdgeInsets.all(12.0),
            child: Column(
              crossAxisAlignment: CrossAxisAlignment.start,
              children: [
                Row(
                  children: [
                    if (notification.appIcon != null) ...[
                      // Replace with actual image loading for icons
                      CircleAvatar(
                        radius: 12,
                        backgroundColor: Colors.blueGrey, // Placeholder
                        child: Text(
                          notification.appName?.substring(0, 1).toUpperCase() ?? '',
                          style: TextStyle(color: Colors.white, fontSize: 12),
                        ),
                      ),
                      SizedBox(width: 8),
                    ],
                    Expanded(
                      child: Text(
                        notification.appName ?? 'System',
                        style: TextStyle(fontSize: 12, color: Colors.grey[600]),
                      ),
                    ),
                    Text(
                      _formatTimestamp(notification.timestamp),
                      style: TextStyle(fontSize: 12, color: Colors.grey[600]),
                    ),
                  ],
                ),
                SizedBox(height: 8),
                Text(
                  notification.title,
                  style: TextStyle(fontWeight: FontWeight.bold, fontSize: 16),
                ),
                SizedBox(height: 4),
                Text(
                  notification.body,
                  maxLines: 2,
                  overflow: TextOverflow.ellipsis,
                  style: TextStyle(fontSize: 14),
                ),
                if (notification.actions.isNotEmpty) ...[
                  SizedBox(height: 10),
                  Row(
                    mainAxisAlignment: MainAxisAlignment.end,
                    children: notification.actions.map((action) {
                      return Padding(
                        padding: const EdgeInsets.only(left: 8.0),
                        child: TextButton(
                          onPressed: action.onPressed,
                          child: Text(action.label),
                        ),
                      );
                    }).toList(),
                  ),
                ],
              ],
            ),
          ),
        ),
      ),
    );
  }
}
4. Implementing Notification Grouping
For groups of notifications (e.g., multiple messages from the same app), we'll use an ExpansionTile to display a summary and allow users to expand to see individual items.
// Inside _NotificationTrayState or a separate file

class _GroupedNotificationTile extends StatefulWidget {
  final String groupKey;
  final List<NotificationItem> notifications;
  final ValueChanged<String> onDismiss;
  final ValueChanged<NotificationItem> onTap;

  const _GroupedNotificationTile({
    Key? key,
    required this.groupKey,
    required this.notifications,
    required this.onDismiss,
    required this.onTap,
  }) : super(key: key);

  @override
  __GroupedNotificationTileState createState() => __GroupedNotificationTileState();
}

class __GroupedNotificationTileState extends State<_GroupedNotificationTile> {
  bool _isExpanded = false;

  String _formatGroupTitle(List<NotificationItem> notifications) {
    if (notifications.isEmpty) return 'No notifications';
    final appName = notifications.first.appName;
    if (notifications.length == 1) {
      return '${appName ?? 'Notification'} - ${notifications.first.title}';
    }
    return '${notifications.length} new notifications from ${appName ?? 'various apps'}';
  }

  @override
  Widget build(BuildContext context) {
    // The Dismissible here dismisses the entire group
    return Dismissible(
      key: Key('group_${widget.groupKey}'),
      direction: DismissDirection.endToStart,
      background: Container(
        color: Colors.red,
        alignment: Alignment.centerRight,
        padding: EdgeInsets.symmetric(horizontal: 20),
        child: Icon(Icons.delete, color: Colors.white),
      ),
      onDismissed: (direction) {
        for (var notification in widget.notifications) {
          widget.onDismiss(notification.id);
        }
        ScaffoldMessenger.of(context).showSnackBar(
          SnackBar(content: Text('Group from ${widget.groupKey} dismissed')),
        );
      },
      child: Card(
        margin: EdgeInsets.symmetric(horizontal: 10, vertical: 4),
        elevation: 2,
        child: ExpansionTile(
          title: Text(
            _formatGroupTitle(widget.notifications),
            style: TextStyle(fontWeight: FontWeight.bold),
          ),
          subtitle: Text(
            widget.notifications.length > 1
                ? 'Latest: ${widget.notifications.first.body}'
                : widget.notifications.first.body,
            maxLines: 1,
            overflow: TextOverflow.ellipsis,
            style: TextStyle(fontSize: 13, color: Colors.grey[700]),
          ),
          leading: widget.notifications.first.appIcon != null
              ? CircleAvatar(
                  radius: 18,
                  backgroundColor: Colors.blueGrey, // Placeholder
                  child: Text(
                    widget.notifications.first.appName?.substring(0, 1).toUpperCase() ?? '',
                    style: TextStyle(color: Colors.white, fontSize: 14),
                  ),
                )
              : null,
          onExpansionChanged: (expanded) {
            setState(() {
              _isExpanded = expanded;
            });
          },
          children: widget.notifications.map((notification) {
            // Display each individual notification within the group
            return Padding(
              padding: const EdgeInsets.only(left: 16.0, right: 16.0, bottom: 8.0),
              child: _NotificationTile(
                notification: notification,
                onDismiss: widget.onDismiss, // Individual dismissal
                onTap: () => widget.onTap(notification),
              ),
            );
          }).toList(),
        ),
      ),
    );
  }
}
5. Putting It All Together: Example Usage
To use the NotificationTray, you would typically manage the list of notifications using a state management solution like Provider or Riverpod. For simplicity, here's a basic example of how you might integrate it into a Scaffold and manage the notification list directly within a parent StatefulWidget.
import 'package:flutter/material.dart';
// Import your NotificationItem, NotificationAction, NotificationTray etc. definitions

class NotificationHomePage extends StatefulWidget {
  const NotificationHomePage({Key? key}) : super(key: key);

  @override
  _NotificationHomePageState createState() => _NotificationHomePageState();
}

class _NotificationHomePageState extends State<NotificationHomePage> {
  final List<NotificationItem> _notifications = [];
  int _notificationCounter = 0;

  void _addNotification() {
    _notificationCounter++;
    setState(() {
      _notifications.insert(
        0, // Add to the top
        NotificationItem(
          id: 'notification_$_notificationCounter',
          title: 'New Message $_notificationCounter',
          body: 'You have received a new message from a contact. Tap to read more.',
          appName: _notificationCounter % 2 == 0 ? 'WhatsApp' : 'Telegram',
          timestamp: DateTime.now().subtract(Duration(minutes: _notificationCounter * 2)),
          actions: [
            NotificationAction(
              label: 'Reply',
              type: NotificationActionType.reply,
              onPressed: () {
                print('Reply to notification $_notificationCounter');
                ScaffoldMessenger.of(context).showSnackBar(
                  SnackBar(content: Text('Replied to Ntf $_notificationCounter')),
                );
              },
            ),
            NotificationAction(
              label: 'Archive',
              type: NotificationActionType.archive,
              onPressed: () {
                print('Archive notification $_notificationCounter');
                _removeNotification('notification_$_notificationCounter');
              },
            ),
          ],
        ),
      );
    });
  }

  void _removeNotification(String id) {
    setState(() {
      _notifications.removeWhere((item) => item.id == id);
    });
  }

  void _handleNotificationTap(NotificationItem notification) {
    print('Tapped on notification: ${notification.title}');
    // Here you would navigate to the detailed view of the notification
    ScaffoldMessenger.of(context).showSnackBar(
      SnackBar(content: Text('Opening details for: ${notification.title}')),
    );
    _removeNotification(notification.id); // Example: remove on tap
  }

  @override
  Widget build(BuildContext context) {
    return Scaffold(
      appBar: AppBar(
        title: const Text('Notification Tray Demo'),
        actions: [
          IconButton(
            icon: const Icon(Icons.add_alert),
            onPressed: _addNotification,
          ),
        ],
      ),
      body: NotificationTray(
        notifications: _notifications,
        onDismiss: _removeNotification,
        onTap: _handleNotificationTap,
      ),
    );
  }
}

// To run this example:
// void main() {
//   runApp(MaterialApp(
//     home: NotificationHomePage(),
//     debugShowCheckedModeBanner: false,
//   ));
// }
Conclusion
By following these steps, you can build a highly functional and user-friendly notification tray widget in Flutter. The modular design with separate widgets for individual and grouped notifications, combined with Flutter's built-in Dismissible and ExpansionTile widgets, allows for a powerful and flexible system. You can further enhance this widget by adding custom animations, more sophisticated filtering, and integration with real-time notification services.


