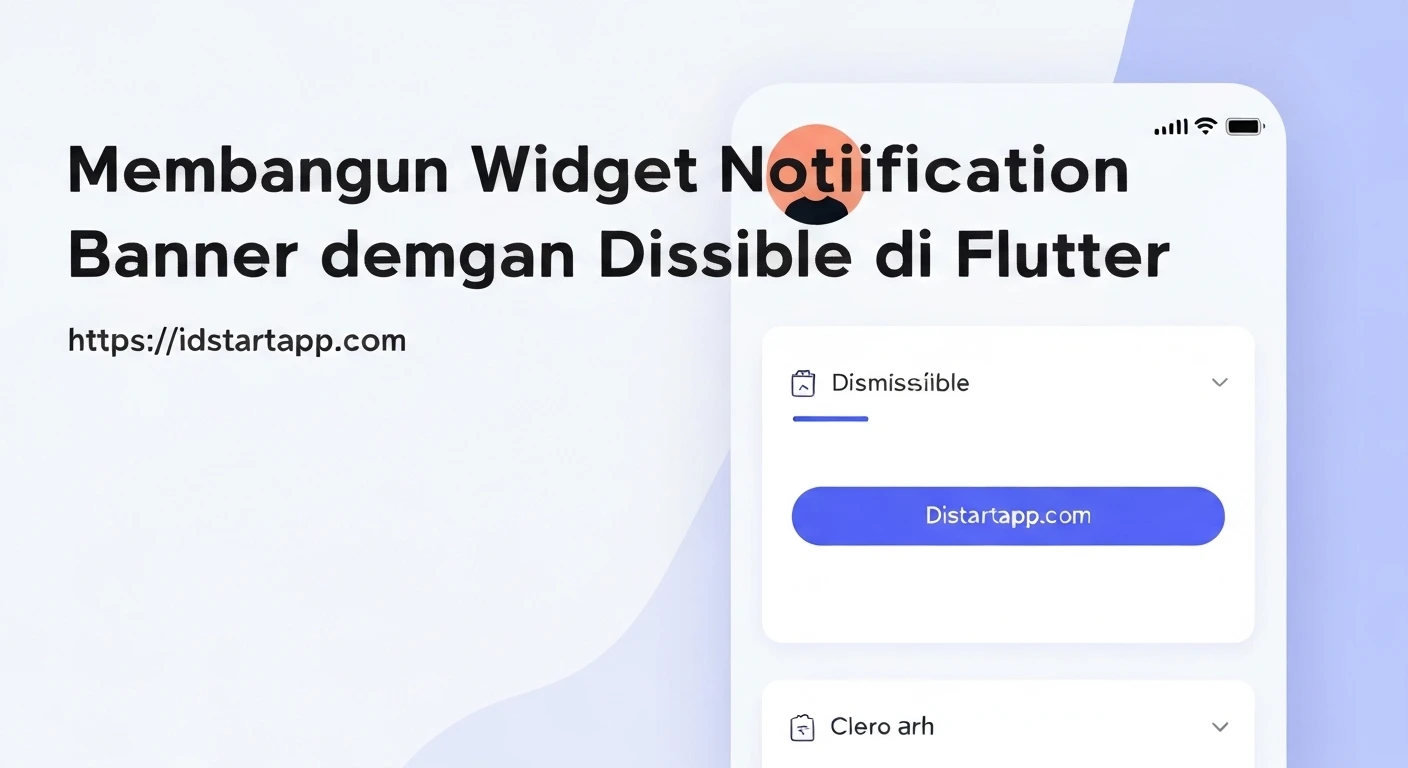

Building a Dismissible Notification Banner Widget in Flutter
Notification banners are a common UI element used to display short, non-intrusive messages to users, often at the top or bottom of a screen. They are excellent for conveying important information, alerts, or confirmations without disrupting the user's workflow significantly. In Flutter, creating such a banner is straightforward, and integrating the Dismissible widget further enhances the user experience by allowing users to swipe away banners they've seen or no longer need.
This article will guide you through the process of building a professional-grade notification banner widget in Flutter that users can dismiss with a swipe, utilizing the powerful Dismissible widget.
Prerequisites
- Basic understanding of Flutter and Dart.
- Flutter SDK installed and configured.
- A code editor (VS Code, Android Studio, etc.).
Understanding the Dismissible Widget
The Dismissible widget is a built-in Flutter widget that allows its child to be swiped away, typically to remove an item from a list. It provides a smooth animation and powerful callbacks to manage the underlying data. Key properties include:
key: A unique key for the widget. This is crucial forDismissibleto correctly identify and animate items, especially in lists.child: The widget that can be dismissed (our notification banner).onDismissed: A callback function that is triggered after the child has been fully dismissed. This is where you implement the logic to remove the item from your data source.background: The widget displayed behind the child when it is swiped in the primary direction (usually right-to-left).secondaryBackground: The widget displayed behind the child when it is swiped in the secondary direction (usually left-to-right).direction: Specifies the allowed dismissal directions (e.g.,DismissDirection.horizontal,DismissDirection.endToStart).
Step-by-Step Implementation
1. Create the Notification Banner Widget
First, let's create a reusable Flutter widget for our notification banner. This widget will define the visual layout of the banner, including an icon, a message, and an optional action button.
import 'package:flutter/material.dart';

class DismissibleNotificationBanner extends StatefulWidget {
  final String message;
  final IconData icon;
  final Color backgroundColor;
  final Color textColor;
  final String? actionLabel;
  final VoidCallback? onActionPressed;
  final ValueChanged<DismissDirection>? onDismissed;

  const DismissibleNotificationBanner({
    Key? key,
    required this.message,
    this.icon = Icons.info_outline,
    this.backgroundColor = Colors.blueAccent,
    this.textColor = Colors.white,
    this.actionLabel,
    this.onActionPressed,
    this.onDismissed,
  }) : super(key: key);

  @override
  _DismissibleNotificationBannerState createState() => _DismissibleNotificationBannerState();
}

class _DismissibleNotificationBannerState extends State<DismissibleNotificationBanner> {
  @override
  Widget build(BuildContext context) {
    return Dismissible(
      key: UniqueKey(), // A unique key is crucial for Dismissible
      direction: DismissDirection.horizontal, // Allow horizontal swiping
      onDismissed: widget.onDismissed, // Pass the dismissal callback

      // Background shown when swiping from right to left
      background: Container(
        color: Colors.red,
        alignment: Alignment.centerRight,
        padding: EdgeInsets.only(right: 20),
        child: Icon(Icons.delete, color: Colors.white),
      ),
      // Optional: Secondary background for left to right swipe
      secondaryBackground: Container(
        color: Colors.green,
        alignment: Alignment.centerLeft,
        padding: EdgeInsets.only(left: 20),
        child: Icon(Icons.check, color: Colors.white),
      ),

      child: Material( // Wrap with Material for elevation/shadow effects
        elevation: 2,
        child: Container(
          padding: EdgeInsets.symmetric(horizontal: 16, vertical: 12),
          color: widget.backgroundColor,
          child: Row(
            children: [
              Icon(widget.icon, color: widget.textColor),
              SizedBox(width: 12),
              Expanded(
                child: Text(
                  widget.message,
                  style: TextStyle(color: widget.textColor, fontSize: 15),
                ),
              ),
              if (widget.actionLabel != null && widget.onActionPressed != null)
                TextButton(
                  onPressed: widget.onActionPressed,
                  child: Text(
                    widget.actionLabel!,
                    style: TextStyle(color: widget.textColor, fontWeight: FontWeight.bold),
                  ),
                ),
            ],
          ),
        ),
      ),
    );
  }
}
In this widget:
- We use
UniqueKey()for theDismissiblewidget's key. This ensures that each banner instance has a distinct key, which is vital for correct dismissal behavior, especially when multiple banners are present. - We've added
backgroundandsecondaryBackgroundwidgets to provide visual feedback during the swipe. - The main banner content is wrapped in a
Materialwidget to give it a subtle elevation. - It's highly customizable through its constructor parameters for message, icon, colors, and an optional action button.
2. Integrate Banners into a Parent Widget
To demonstrate the banner, let's create a parent widget that manages a list of notification messages. When a banner is dismissed, we'll remove its corresponding message from this list and update the UI using setState.
import 'package:flutter/material.dart';
// Make sure to import your DismissibleNotificationBanner widget
// import 'path/to/dismissible_notification_banner.dart';

class HomeScreen extends StatefulWidget {
  const HomeScreen({Key? key}) : super(key: key);

  @override
  State<HomeScreen> createState() => _HomeScreenState();
}

class _HomeScreenState extends State<HomeScreen> {
  final List<String> _notifications = [
    "Welcome to our new app! Explore the features.",
    "Your trial expires in 3 days. Upgrade now!",
    "New features available, check them out!",
    "Discount alert! Get 20% off all premium plans.",
  ];

  @override
  Widget build(BuildContext context) {
    return Scaffold(
      appBar: AppBar(
        title: Text("Dismissible Banners Demo"),
      ),
      body: Column(
        children: _notifications.asMap().entries.map((entry) {
          int index = entry.key;
          String message = entry.value;
          return DismissibleNotificationBanner(
            // Use a ValueKey or a unique ID from your data
            // It's important that this key is associated with the data item, not just its position.
            key: ValueKey(message),
            message: message,
            backgroundColor: index % 2 == 0 ? Colors.blueAccent : Colors.deepOrange,
            icon: index % 2 == 0 ? Icons.info_outline : Icons.warning_amber,
            onDismissed: (direction) {
              // Crucial: Remove the item from your data source and update state
              setState(() {
                _notifications.removeAt(index);
              });

              // Optional: Show a SnackBar to confirm dismissal or offer undo
              ScaffoldMessenger.of(context).showSnackBar(
                SnackBar(
                  content: Text('Notification dismissed: "$message"'),
                  action: SnackBarAction(
                    label: 'UNDO',
                    onPressed: () {
                      // Re-insert the item if undo is pressed
                      setState(() {
                        // A more robust undo would typically re-insert at the original index
                        _notifications.insert(index, message);
                      });
                    },
                  ),
                ),
              );
            },
            actionLabel: 'VIEW',
            onActionPressed: () {
              ScaffoldMessenger.of(context).showSnackBar(
                SnackBar(content: Text('Action pressed for: "$message"'))
              );
              // Implement navigation or other actions here
            },
          );
        }).toList(),
      ),
      floatingActionButton: FloatingActionButton(
        onPressed: () {
          setState(() {
            _notifications.add("New notification added at ${DateTime.now().second}s");
          });
        },
        child: Icon(Icons.add),
      ),
    );
  }
}

void main() {
  runApp(MaterialApp(
    home: HomeScreen(),
    debugShowCheckedModeBanner: false,
  ));
}
In this example:
- The
_HomeScreenStatemanages aList<String> _notifications. - We iterate through this list to create
DismissibleNotificationBannerwidgets. - **Important**: For the
DismissibleNotificationBannerinside a list, we useValueKey(message). This ensures that even if the order of items changes, Flutter can correctly identify which item corresponds to whichDismissiblewidget, preventing unexpected behavior. If your data objects have unique IDs, use those for the key. - The
onDismissedcallback removes the item from the_notificationslist and callssetStateto rebuild the UI without the dismissed banner. - A
SnackBarwith an "UNDO" action is shown, demonstrating how you might allow users to revert a dismissal. - A FloatingActionButton is added to easily test adding new banners dynamically.
Best Practices and Considerations
- Unique Keys are Paramount: Always provide a stable, unique
keyto theDismissiblewidget. For dynamic lists, useValueKeywith a unique identifier from your data model, or if objects are transient and don't have stable IDs, useUniqueKey(). - State Management: When a banner is dismissed, you must remove the corresponding data from your application's state (e.g., a list in a
StatefulWidget, or a state management solution like Provider, BLoC, Riverpod, etc.) and trigger a UI rebuild. - Undo Functionality: Providing an "undo" option (like with a
SnackBar) can greatly improve the user experience, especially for actions that are difficult to reverse. - Accessibility: Ensure sufficient color contrast for the banner text and icons. Consider if the swipe gesture is universally accessible and if alternative dismissal methods (e.g., a small "x" button) should be provided for users who might struggle with swiping.
- Contextual Backgrounds: Use the
backgroundandsecondaryBackgroundproperties to provide clear visual feedback to the user about what action will occur upon dismissal. For instance, red for delete, green for archive/complete. - When to Use: Dismissible banners are best for non-critical, temporary information. For critical errors or warnings that require user attention and action, consider dialogs or persistent error displays.
Conclusion
Building a dismissible notification banner in Flutter is a straightforward process that leverages the power and flexibility of the Dismissible widget. By carefully managing widget keys and your application's state, you can create an intuitive and responsive user interface element that enhances user experience without cluttering the screen. This pattern is highly reusable and can be customized to fit various design requirements, making it a valuable addition to your Flutter development toolkit.


