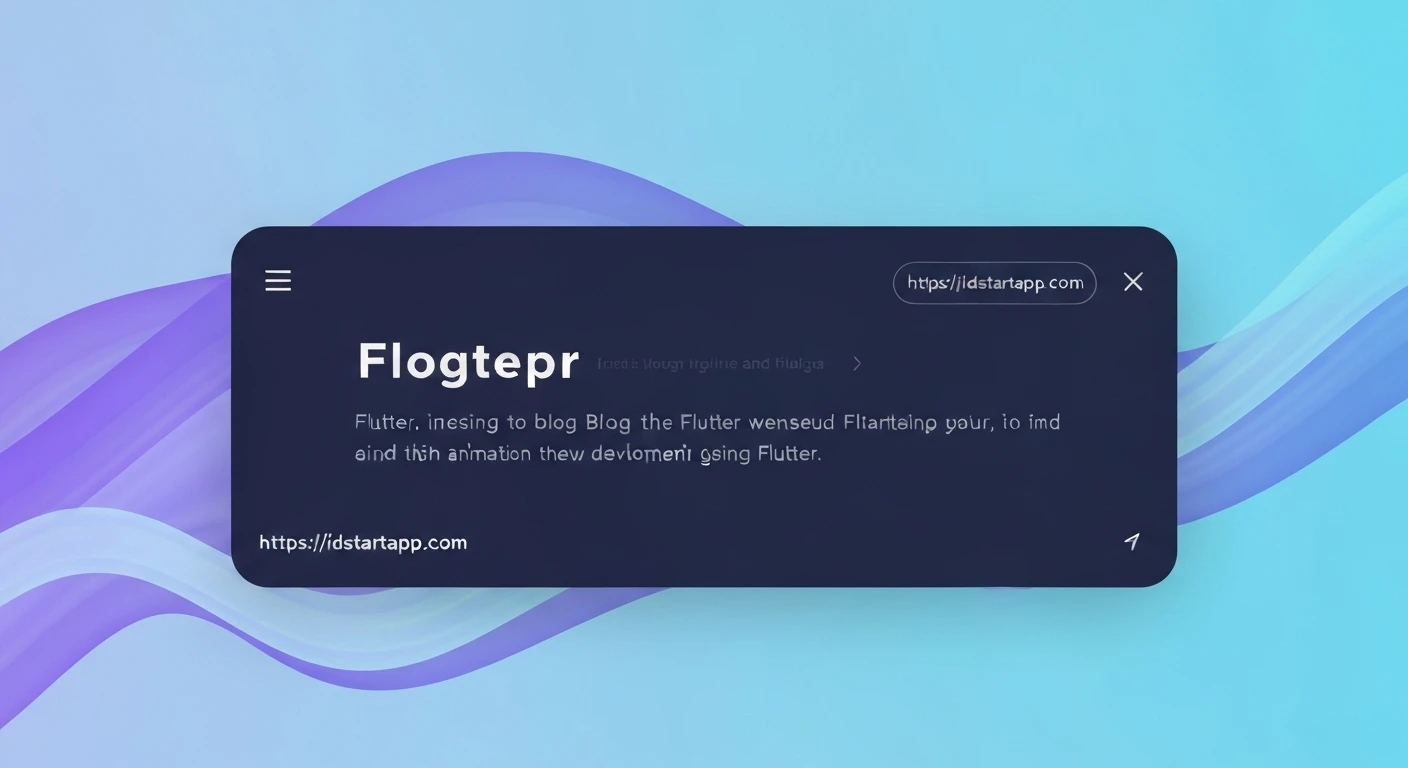

Creating Dynamic Wave Backgrounds with Flutter Animations
In the realm of modern app design, subtle yet engaging animations can significantly enhance user experience and visual appeal. A captivating wave effect, gracefully animating in the background, is one such design element that adds a touch of fluidity and sophistication to any application. This article will guide you through creating a dynamic wave background animation in Flutter using its powerful animation framework and custom painting capabilities.
Why Wave Animations?
Wave animations are more than just eye candy; they serve various functional and aesthetic purposes:
- Visual Engagement: They add movement and life to static screens, capturing user attention.
- Brand Identity: Can be customized with brand colors and specific wave patterns to reinforce identity.
- Loading States: Provide a smooth, non-intrusive indicator during data loading.
- Background Accent: Offer a vibrant and dynamic backdrop for content without being distracting.
Flutter, with its declarative UI and robust animation system, is an excellent choice for implementing such complex visual effects efficiently and performantly.
Core Components for Wave Animation
To construct our animated wave background, we'll leverage several key Flutter features:
CustomPainter: This allows us to draw custom shapes, paths, and gradients directly onto the canvas. It's where the wave's geometry will be defined.AnimationController: Manages the animation's lifecycle, including starting, stopping, and repeating it. It provides a value that changes over time, which we'll use to animate the wave's movement.Tween&Animation: Define the range of values an animation will produce and provide a listenable object for the animation's current value.AnimatedBuilder: A widget that rebuilds its child whenever the animation value changes, making it efficient for updating animated UI elements.- Mathematical Functions (
sin): The sine function is fundamental for creating the smooth, periodic motion characteristic of a wave.
Step-by-Step Implementation
Let's dive into the code. We'll create a StatefulWidget to manage our animation controller and a CustomPainter to draw the waves.
1. Create the WaveBackground Widget
This widget will manage the animation controller and use AnimatedBuilder to update the CustomPaint widget whenever the animation progresses.
import 'package:flutter/material.dart';
import 'dart:math' as math; // Import for math.sin and math.pi

// --- WaveBackground Widget ---
class WaveBackground extends StatefulWidget {
  @override
  _WaveBackgroundState createState() => _WaveBackgroundState();
}

class _WaveBackgroundState extends State with TickerProviderStateMixin {
  late AnimationController _animationController;
  late Animation _animation;

  @override
  void initState() {
    super.initState();
    _animationController = AnimationController(
      vsync: this,
      duration: Duration(seconds: 4), // Speed of the wave animation
    )..repeat(); // Loop the animation indefinitely

    // Tween for a smooth animation from 0.0 to 1.0 (representing one full cycle)
    _animation = Tween(begin: 0.0, end: 1.0).animate(_animationController);
  }

  @override
  void dispose() {
    _animationController.dispose();
    super.dispose();
  }

  @override
  Widget build(BuildContext context) {
    return Scaffold(
      appBar: AppBar(title: Text('Flutter Wave Background')),
      body: AnimatedBuilder(
        animation: _animationController,
        builder: (context, _) {
          return CustomPaint(
            painter: WavePainter(
              animationValue: _animation.value,
              amplitude: 30.0, // Height of the wave peaks
              frequency: 1.5, // Number of waves visible on screen
              waveHeightFactor: 0.7, // Where the wave starts on the Y-axis (e.g., 0.7 for bottom 30%)
              colors: [
                Colors.indigo.shade800,
                Colors.blue.shade600,
                Colors.lightBlue.shade300,
              ],
            ),
            child: Container(), // Can place other widgets here if needed
          );
        },
      ),
    );
  }
}
2. Create the WavePainter
This CustomPainter will be responsible for drawing the actual wave shape. We'll use the sine function to generate the wave and a gradient for a visually appealing fill.
// --- WavePainter CustomPainter ---
class WavePainter extends CustomPainter {
  final double animationValue;
  final double amplitude;
  final double frequency;
  final double waveHeightFactor; // 0.0 to 1.0, 0.5 means wave starts at middle height
  final List colors;

  WavePainter({
    required this.animationValue,
    required this.amplitude,
    required this.frequency,
    required this.waveHeightFactor,
    required this.colors,
  });

  @override
  void paint(Canvas canvas, Size size) {
    final Path path = Path();
    final Paint paint = Paint()..style = PaintingStyle.fill;

    // Create a linear gradient based on the provided colors
    paint.shader = LinearGradient(
      begin: Alignment.bottomCenter,
      end: Alignment.topCenter,
      colors: colors,
    ).createShader(Rect.fromLTWH(0, 0, size.width, size.height));

    // Calculate the base Y position for the wave (e.g., 70% from top)
    final double baseHeight = size.height * waveHeightFactor;

    path.moveTo(0, baseHeight); // Start the wave path from the left edge

    // Iterate across the width of the canvas to draw the sine wave
    for (double i = 0.0; i <= size.width; i++) {
      // y = baseHeight + amplitude * sin( (x / width * frequency * 2 * pi) + (animationValue * 2 * pi) )
      // (i / size.width) scales the x-position from 0 to 1
      // frequency * 2 * math.pi controls the number of wave cycles
      // animationValue * 2 * math.pi shifts the wave horizontally for animation
      path.lineTo(
        i,
        baseHeight +
            amplitude *
                math.sin(
                  (i / size.width * frequency * 2 * math.pi) +
                  (animationValue * 2 * math.pi),
                ),
      );
    }

    // Close the path to form a filled shape:
    // Go to bottom-right corner
    path.lineTo(size.width, size.height);
    // Go to bottom-left corner
    path.lineTo(0, size.height);
    path.close();

    canvas.drawPath(path, paint);
  }

  @override
  bool shouldRepaint(covariant WavePainter oldDelegate) {
    // Only repaint if the animation value or other properties have changed
    return oldDelegate.animationValue != animationValue ||
           oldDelegate.amplitude != amplitude ||
           oldDelegate.frequency != frequency ||
           oldDelegate.waveHeightFactor != waveHeightFactor ||
           !_listEquals(oldDelegate.colors, colors);
  }

  // Helper function to compare lists of colors
  bool _listEquals(List? a, List? b) {
    if (a == null || b == null) return a == b;
    if (a.length != b.length) return false;
    for (int i = 0; i < a.length; i++) {
      if (a[i] != b[i]) return false;
    }
    return true;
  }
}
3. Putting it all together in main.dart
To run this, simply call your WaveBackground widget in your main.dart file.
// --- main.dart ---
import 'package:flutter/material.dart';
// Assuming WaveBackground and WavePainter are in the same file or imported correctly.
// import 'your_file_name.dart'; // If in a separate file

void main() {
  runApp(MyApp());
}

class MyApp extends StatelessWidget {
  @override
  Widget build(BuildContext context) {
    return MaterialApp(
      title: 'Flutter Wave Animation',
      theme: ThemeData(
        primarySwatch: Colors.blue,
      ),
      home: WaveBackground(), // Our animated wave background
    );
  }
}
Customization Tips
You can easily customize the wave animation by adjusting the parameters in WaveBackground's WavePainter instantiation:
duration(in_animationController): Controls the speed of the wave. Shorter durations mean faster waves.amplitude: Determines the height of the wave peaks and troughs. A higher value results in more pronounced waves.frequency: Adjusts how many wave cycles are visible across the screen. Higher values mean more, tighter waves.waveHeightFactor: Defines the base vertical position of the wave.0.0is the top,1.0is the bottom.colors: A list ofColorobjects to create a beautiful gradient fill for the wave. Experiment with different color combinations.
Further enhancements could include:
- Adding multiple waves with different amplitudes, frequencies, and phases for a more complex and dynamic effect.
- Integrating user interaction to change wave parameters dynamically.
- Using different mathematical functions (e.g., combinations of sine waves) to create unique wave shapes.
Conclusion
Creating dynamic wave background animations in Flutter is a straightforward process thanks to its powerful CustomPainter and animation framework. By understanding the interplay between AnimationController, CustomPainter, and basic trigonometry, you can craft visually stunning effects that elevate your app's user experience. Experiment with the parameters and color palettes to create a unique wave background that perfectly complements your application's design language.


