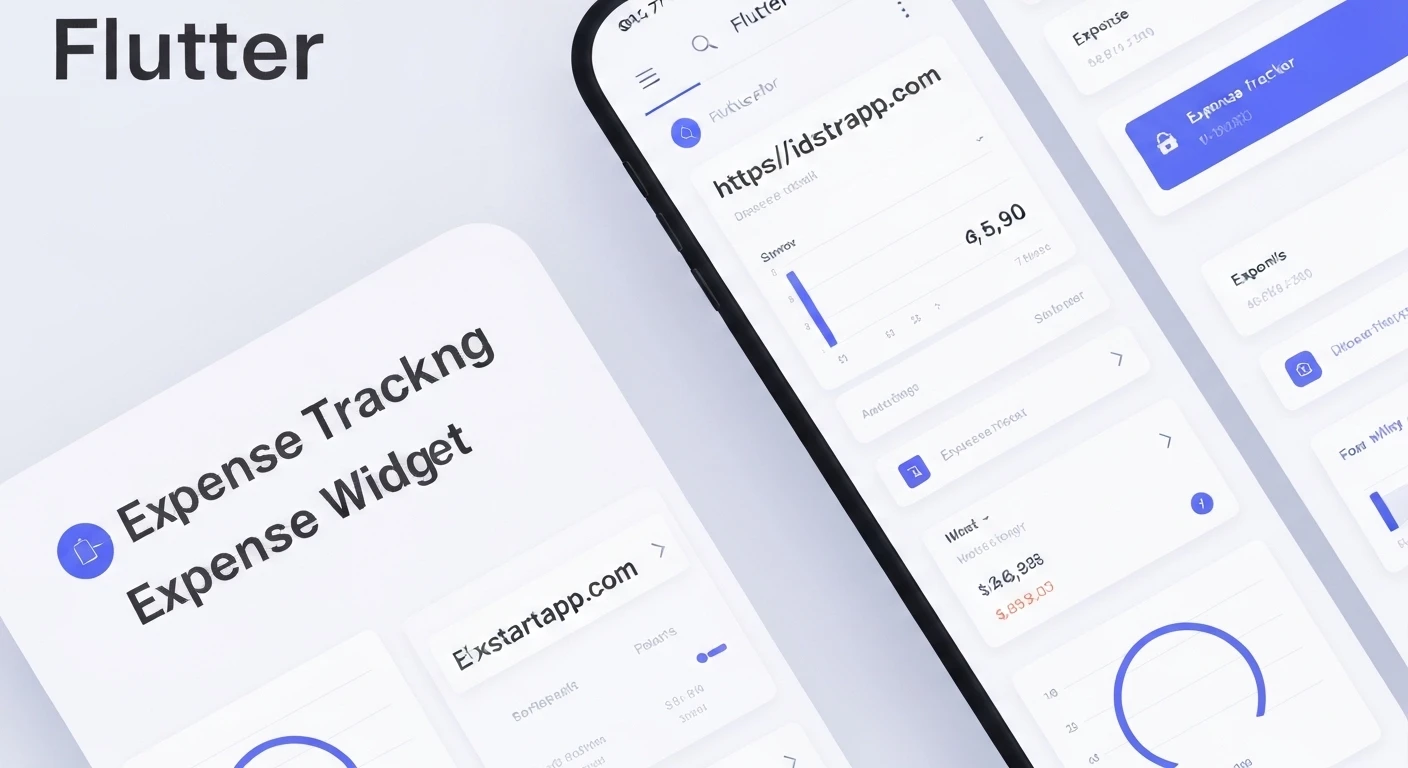

Building an Expense Tracker Widget with a Chart in Flutter
In today's fast-paced world, managing personal finances is crucial. An expense tracker helps individuals monitor their spending habits, identify areas for savings, and achieve financial goals. While simply listing expenses is helpful, visualizing spending patterns through charts provides deeper insights and makes the data more digestible. This article will guide you through building a professional expense tracker widget in Flutter, complete with an interactive chart to display spending trends.
Why Flutter for an Expense Tracker?
Flutter, Google's UI toolkit for building natively compiled applications for mobile, web, and desktop from a single codebase, is an excellent choice for this project. Its declarative UI, hot reload feature, and rich set of widgets enable rapid development and create beautiful, high-performance applications.
Key Components of Our Expense Tracker
- Expense Model: A data structure to represent individual expenses.
- State Management: To efficiently manage and update the list of expenses across the application. We'll use
Providerfor simplicity and scalability. - Expense Input Form: A UI to add new expenses.
- Expense List: To display all recorded expenses.
- Charting Widget: To visualize spending data. We'll utilize the popular
fl_chartpackage for creating elegant bar charts.
Setting Up Your Flutter Project
First, create a new Flutter project and add the necessary dependencies to your pubspec.yaml file.
flutter create expense_tracker_app
cd expense_tracker_app
Update pubspec.yaml:
dependencies:
  flutter:
    sdk: flutter
  intl: ^0.18.1 # For date formatting
  provider: ^6.0.5 # For state management
  fl_chart: ^0.65.0 # For charting capabilities
After adding, run flutter pub get to fetch the packages.
1. Defining the Expense Model
Let's create a simple model for our expense. Each expense will have an ID, title, amount, and date.
// lib/models/expense.dart
import 'package:flutter/foundation.dart';

class Expense {
  final String id;
  final String title;
  final double amount;
  final DateTime date;

  Expense({
    required this.id,
    required this.title,
    required this.amount,
    required this.date,
  });
}
2. State Management with Provider
We'll use ChangeNotifier and Provider to manage our list of expenses. This allows us to easily add new expenses and notify our UI to rebuild when the data changes.
// lib/providers/expense_provider.dart
import 'package:flutter/material.dart';
import '../models/expense.dart';

class ExpenseProvider with ChangeNotifier {
  final List<Expense> _expenses = [];

  List<Expense> get expenses {
    return [..._expenses]; // Return a copy to prevent external modification
  }

  // Method to add a new expense
  void addExpense(String title, double amount, DateTime date) {
    final newExpense = Expense(
      id: DateTime.now().toString(),
      title: title,
      amount: amount,
      date: date,
    );
    _expenses.add(newExpense);
    notifyListeners(); // Notify all listening widgets
  }

  // Method to get expenses for the last 7 days
  List<Expense> get recentExpenses {
    return _expenses.where((expense) {
      return expense.date.isAfter(DateTime.now().subtract(const Duration(days: 7)));
    }).toList();
  }

  // Method to group recent expenses by day for chart data
  List<Map<String, Object>> get groupedDailyExpenses {
    return List.generate(7, (index) {
      final weekDay = DateTime.now().subtract(Duration(days: index));
      double totalSum = 0.0;

      for (var i = 0; i < recentExpenses.length; i++) {
        if (recentExpenses[i].date.day == weekDay.day &&
            recentExpenses[i].date.month == weekDay.month &&
            recentExpenses[i].date.year == weekDay.year) {
          totalSum += recentExpenses[i].amount;
        }
      }

      return {
        'day': weekDay,
        'amount': totalSum,
      };
    }).reversed.toList(); // Reverse to show latest day on the right
  }
}
Wrap your MaterialApp with ChangeNotifierProvider in main.dart:
// lib/main.dart
import 'package:flutter/material.dart';
import 'package:provider/provider.dart';
import 'package:intl/intl.dart';

import './providers/expense_provider.dart';
import './screens/expense_tracker_screen.dart';

void main() {
  runApp(const MyApp());
}

class MyApp extends StatelessWidget {
  const MyApp({super.key});

  @override
  Widget build(BuildContext context) {
    return ChangeNotifierProvider(
      create: (ctx) => ExpenseProvider(),
      child: MaterialApp(
        title: 'Personal Expenses',
        theme: ThemeData(
          primarySwatch: Colors.purple,
          hintColor: Colors.amber,
          fontFamily: 'Quicksand',
          textTheme: ThemeData.light().textTheme.copyWith(
            titleLarge: const TextStyle(
              fontFamily: 'OpenSans',
              fontWeight: FontWeight.bold,
              fontSize: 18,
            ),
          ),
          appBarTheme: const AppBarTheme(
            titleTextStyle: TextStyle(
              fontFamily: 'OpenSans',
              fontSize: 20,
              fontWeight: FontWeight.bold,
            ),
          ),
        ),
        home: const ExpenseTrackerScreen(),
      ),
    );
  }
}
3. Creating the Expense Input Form
This widget will allow users to input new expenses.
// lib/widgets/new_expense.dart
import 'package:flutter/material.dart';
import 'package:provider/provider.dart';
import 'package:intl/intl.dart';

import '../providers/expense_provider.dart';

class NewExpense extends StatefulWidget {
  const NewExpense({super.key});

  @override
  State<NewExpense> createState() => _NewExpenseState();
}

class _NewExpenseState extends State<NewExpense> {
  final _titleController = TextEditingController();
  final _amountController = TextEditingController();
  DateTime? _selectedDate;

  void _presentDatePicker() {
    showDatePicker(
      context: context,
      initialDate: DateTime.now(),
      firstDate: DateTime(2023),
      lastDate: DateTime.now(),
    ).then((pickedDate) {
      if (pickedDate == null) {
        return;
      }
      setState(() {
        _selectedDate = pickedDate;
      });
    });
  }

  void _submitData() {
    if (_amountController.text.isEmpty) {
      return;
    }
    final enteredTitle = _titleController.text;
    final enteredAmount = double.parse(_amountController.text);

    if (enteredTitle.isEmpty || enteredAmount <= 0 || _selectedDate == null) {
      return;
    }

    Provider.of<ExpenseProvider>(context, listen: false).addExpense(
      enteredTitle,
      enteredAmount,
      _selectedDate!,
    );

    Navigator.of(context).pop(); // Close the bottom sheet
  }

  @override
  Widget build(BuildContext context) {
    return Card(
      elevation: 5,
      child: Container(
        padding: const EdgeInsets.all(10),
        child: Column(
          crossAxisAlignment: CrossAxisAlignment.end,
          children: <Widget>[
            TextField(
              decoration: const InputDecoration(labelText: 'Title'),
              controller: _titleController,
              onSubmitted: (_) => _submitData(),
            ),
            TextField(
              decoration: const InputDecoration(labelText: 'Amount'),
              controller: _amountController,
              keyboardType: TextInputType.number,
              onSubmitted: (_) => _submitData(),
            ),
            SizedBox(
              height: 70,
              child: Row(
                children: <Widget>[
                  Expanded(
                    child: Text(
                      _selectedDate == null
                          ? 'No Date Chosen!'
                          : 'Picked Date: ${DateFormat.yMd().format(_selectedDate!)}',
                    ),
                  ),
                  TextButton(
                    onPressed: _presentDatePicker,
                    child: const Text(
                      'Choose Date',
                      style: TextStyle(fontWeight: FontWeight.bold),
                    ),
                  )
                ],
              ),
            ),
            ElevatedButton(
              onPressed: _submitData,
              style: ElevatedButton.styleFrom(
                backgroundColor: Theme.of(context).primaryColor,
                foregroundColor: Colors.white,
              ),
              child: const Text('Add Expense'),
            ),
          ],
        ),
      ),
    );
  }
}
4. Integrating the Chart (fl_chart)
We'll create a Chart widget that uses fl_chart to display a bar chart of daily expenses over the last 7 days.
// lib/widgets/chart.dart
import 'package:flutter/material.dart';
import 'package:fl_chart/fl_chart.dart';
import 'package:intl/intl.dart';

import '../providers/expense_provider.dart';
import 'package:provider/provider.dart';

class Chart extends StatelessWidget {
  const Chart({super.key});

  List<BarChartGroupData> get barGroups {
    return Provider.of<ExpenseProvider>(context).groupedDailyExpenses.map((data) {
      return BarChartGroupData(
        x: (data['day'] as DateTime).weekday, // Use weekday as x-axis value
        barRods: [
          BarChartRodData(
            toY: data['amount'] as double,
            color: Theme.of(context).primaryColor,
            width: 10,
            borderRadius: BorderRadius.circular(2),
          ),
        ],
        showingTooltipIndicators: [0], // Show tooltip for the first rod (our only rod)
      );
    }).toList();
  }

  double get maxSpending {
    return Provider.of<ExpenseProvider>(context).groupedDailyExpenses.fold(0.0, (sum, item) {
      return sum + (item['amount'] as double);
    });
  }

  @override
  Widget build(BuildContext context) {
    final expenseProvider = Provider.of<ExpenseProvider>(context);
    final groupedTransactionValues = expenseProvider.groupedDailyExpenses;

    return Card(
      elevation: 6,
      margin: const EdgeInsets.all(20),
      child: Padding(
        padding: const EdgeInsets.all(10),
        child: SizedBox(
          height: 150, // Fixed height for the chart
          child: BarChart(
            BarChartData(
              barGroups: barGroups,
              alignment: BarChartAlignment.spaceAround,
              maxY: maxSpending == 0 ? 100 : maxSpending * 1.1, // Adjust max Y
              gridData: const FlGridData(show: false),
              titlesData: FlTitlesData(
                bottomTitles: AxisTitles(
                  sideTitles: SideTitles(
                    showTitles: true,
                    getTitlesWidget: (value, meta) {
                      final day = groupedTransactionValues.firstWhere(
                        (element) => (element['day'] as DateTime).weekday == value.toInt(),
                        orElse: () => {'day': DateTime.now(), 'amount': 0.0},
                      );
                      return SideTitleWidget(
                        axisSide: meta.axisSide,
                        space: 4,
                        child: Text(DateFormat.E().format(day['day'] as DateTime)), // 'E' for short day name
                      );
                    },
                  ),
                ),
                leftTitles: const AxisTitles(sideTitles: SideTitles(showTitles: false)),
                topTitles: const AxisTitles(sideTitles: SideTitles(showTitles: false)),
                rightTitles: const AxisTitles(sideTitles: SideTitles(showTitles: false)),
              ),
              borderData: FlBorderData(
                show: false,
              ),
              barTouchData: BarTouchData(
                touchTooltipData: BarTouchTooltipData(
                  tooltipBgColor: Colors.blueGrey,
                  getTooltipItem: (group, groupIndex, rod, rodIndex) {
                    final day = groupedTransactionValues.firstWhere(
                      (element) => (element['day'] as DateTime).weekday == group.x.toInt(),
                      orElse: () => {'day': DateTime.now(), 'amount': 0.0},
                    );
                    return BarTooltipItem(
                      '${DateFormat.MMMEd().format(day['day'] as DateTime)}\n', // Full date
                      const TextStyle(color: Colors.white, fontWeight: FontWeight.bold),
                      children: <TextSpan>[
                        TextSpan(
                          text: '\$${rod.toY.toStringAsFixed(2)}',
                          style: const TextStyle(
                            color: Colors.white,
                            fontSize: 14,
                            fontWeight: FontWeight.w500,
                          ),
                        ),
                      ],
                    );
                  },
                ),
              ),
            ),
          ),
        ),
      ),
    );
  }
}
5. Displaying the Expense List
This widget will display the list of added expenses.
// lib/widgets/expense_list.dart
import 'package:flutter/material.dart';
import 'package:provider/provider.dart';
import 'package:intl/intl.dart';

import '../providers/expense_provider.dart';

class ExpenseList extends StatelessWidget {
  const ExpenseList({super.key});

  @override
  Widget build(BuildContext context) {
    final expenseData = Provider.of<ExpenseProvider>(context);
    final expenses = expenseData.expenses;

    return expenses.isEmpty
        ? LayoutBuilder(
            builder: (ctx, constraints) {
              return Column(
                children: <Widget>[
                  Text(
                    'No expenses added yet!',
                    style: Theme.of(context).textTheme.titleLarge,
                  ),
                  const SizedBox(height: 20),
                  SizedBox(
                    height: constraints.maxHeight * 0.6,
                    child: Image.asset(
                      'assets/images/waiting.png', // Make sure you have this image in your assets
                      fit: BoxFit.cover,
                    ),
                  ),
                ],
              );
            },
          )
        : ListView.builder(
            itemCount: expenses.length,
            itemBuilder: (ctx, index) {
              return Card(
                margin: const EdgeInsets.symmetric(vertical: 8, horizontal: 5),
                elevation: 5,
                child: ListTile(
                  leading: CircleAvatar(
                    radius: 30,
                    child: Padding(
                      padding: const EdgeInsets.all(6),
                      child: FittedBox(
                        child: Text('\$${expenses[index].amount.toStringAsFixed(2)}'),
                      ),
                    ),
                  ),
                  title: Text(
                    expenses[index].title,
                    style: Theme.of(context).textTheme.titleLarge,
                  ),
                  subtitle: Text(
                    DateFormat.yMMMd().format(expenses[index].date),
                  ),
                ),
              );
            },
          );
  }
}
Don't forget to add an asset folder for your image. In pubspec.yaml:
flutter:
  uses-material-design: true
  assets:
    - assets/images/waiting.png
And place an image named waiting.png inside the assets/images folder.
6. Assembling the Expense Tracker Screen
Finally, we combine all the pieces into our main screen widget.
// lib/screens/expense_tracker_screen.dart
import 'package:flutter/material.dart';

import '../widgets/new_expense.dart';
import '../widgets/expense_list.dart';
import '../widgets/chart.dart';

class ExpenseTrackerScreen extends StatelessWidget {
  const ExpenseTrackerScreen({super.key});

  void _startAddNewExpense(BuildContext ctx) {
    showModalBottomSheet(
      context: ctx,
      builder: (_) {
        return GestureDetector(
          onTap: () {}, // Prevents closing when tapping on the bottom sheet content
          behavior: HitTestBehavior.opaque,
          child: const NewExpense(),
        );
      },
    );
  }

  @override
  Widget build(BuildContext context) {
    return Scaffold(
      appBar: AppBar(
        title: const Text('Personal Expenses'),
        actions: <Widget>[
          IconButton(
            icon: const Icon(Icons.add),
            onPressed: () => _startAddNewExpense(context),
          ),
        ],
      ),
      body: SingleChildScrollView(
        child: Column(
          crossAxisAlignment: CrossAxisAlignment.stretch,
          children: <Widget>[
            const Chart(), // Our expense chart
            SizedBox(
              height: MediaQuery.of(context).size.height * 0.6, // Adjust height as needed
              child: const ExpenseList(), // Our list of expenses
            ),
          ],
        ),
      ),
      floatingActionButtonLocation: FloatingActionButtonLocation.centerFloat,
      floatingActionButton: FloatingActionButton(
        onPressed: () => _startAddNewExpense(context),
        child: const Icon(Icons.add),
      ),
    );
  }
}
Running the Application
You can now run your Flutter application:
flutter run
You should see an app with an AppBar, a chart displaying recent expenses (initially empty), a list of expenses (also empty), and an add button. Tapping the add button will bring up a bottom sheet to add new expenses. As you add expenses, the list and the chart will update dynamically.
Further Enhancements
- Persistence: Integrate a local database (e.g.,
sqfliteorHive) to save expenses permanently. - Delete/Edit Expense: Add functionality to remove or modify existing expenses.
- Filtering and Categories: Allow users to filter expenses by date range, category (e.g., food, transport, entertainment), or payment method.
- Multiple Chart Types: Implement a pie chart for category breakdowns or a line chart for long-term trends.
- User Authentication: For a multi-user application, implement user authentication and cloud synchronization.
Conclusion
Building an expense tracker with a chart in Flutter is a practical project that showcases several core Flutter concepts, including state management, custom widgets, and third-party package integration. By following this guide, you've created a functional and visually appealing application that helps users gain better control over their finances. The modular design allows for easy extension and addition of more advanced features, making it a solid foundation for more complex financial applications.


