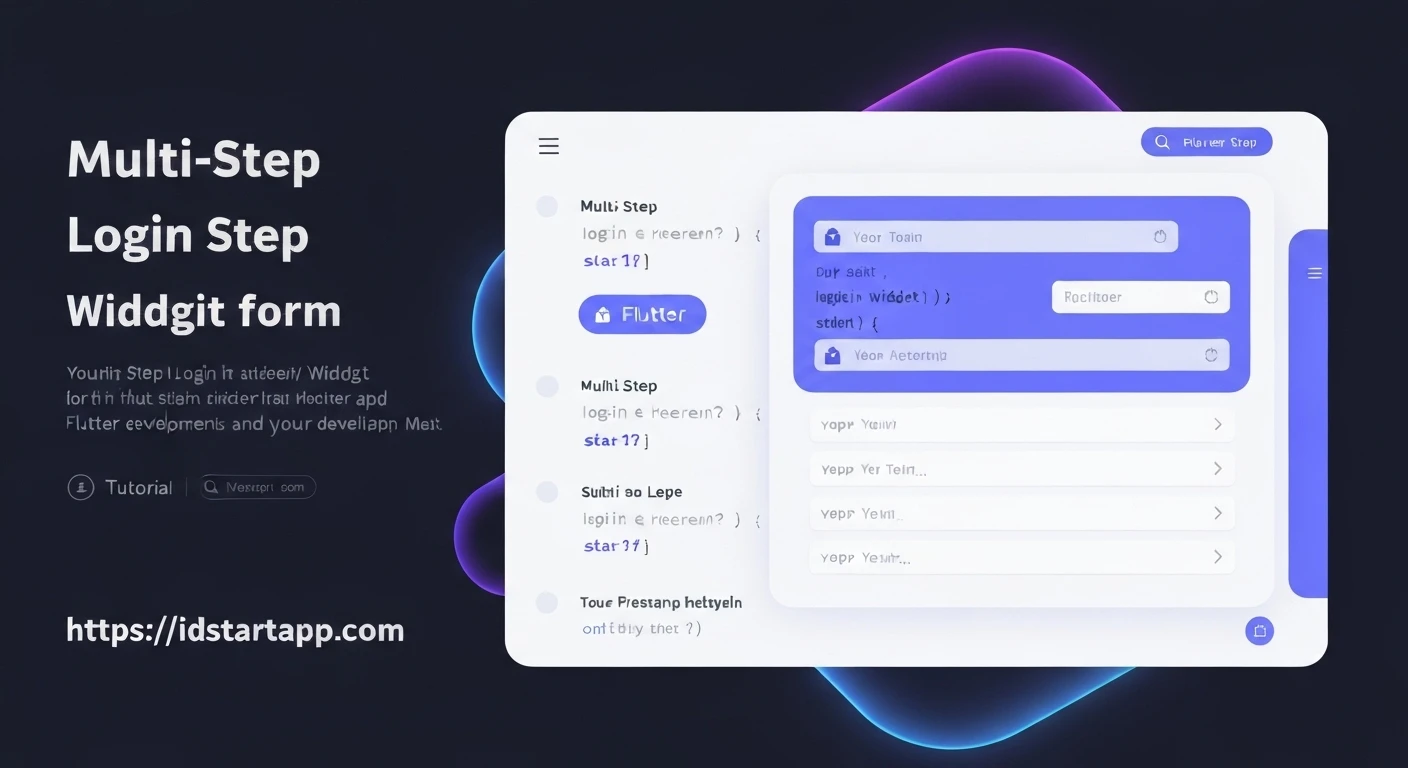

Building a Multi-Step Login Form Widget in Flutter
Creating a login form is a fundamental part of most applications. While a single-step form is common, a multi-step login form can significantly enhance user experience, especially when dealing with multiple authentication factors, complex registration processes, or simply to make the initial hurdle of logging in feel less intimidating. By breaking down the process into smaller, manageable steps, users can focus on one piece of information at a time, leading to higher completion rates and reduced cognitive load.
This article will guide you through building a robust and professional multi-step login form widget in Flutter, leveraging Flutter's reactive UI framework and essential widgets like PageView and Form.
Prerequisites
- Basic understanding of Flutter development.
- Familiarity with
StatefulWidgetand state management. - Knowledge of form handling in Flutter (
TextFormField,Form,GlobalKey).
Core Concepts
To implement a multi-step form, we'll utilize several key Flutter concepts:
StatefulWidget: Essential for managing the current step, form input values, and validation states.PageController: Used in conjunction withPageViewto programmatically control which "page" (or step) is currently displayed.PageView: A widget that displays a list of children that can be scrolled through. It's perfect for our steps, as it allows smooth transitions between them.FormandTextFormField: For collecting user input and performing validation for each step.GlobalKey: To validate each form step independently.- Controllers (
TextEditingController): To retrieve and manage text input fromTextFormFieldwidgets.
Setting Up the Multi-Step Login Form Widget
First, let's create a StatefulWidget that will house our multi-step form logic and UI. This widget will manage the current step, the PageController, and our form input controllers.
import 'package:flutter/material.dart';

class MultiStepLoginForm extends StatefulWidget {
  @override
  _MultiStepLoginFormState createState() => _MultiStepLoginFormState();
}

class _MultiStepLoginFormState extends State {
  final PageController _pageController = PageController();
  int _currentPage = 0;

  // Controllers for form fields
  final TextEditingController _usernameController = TextEditingController();
  final TextEditingController _passwordController = TextEditingController();
  // Add more controllers for additional steps if needed

  // Global keys for form validation for each step
  final GlobalKey _stepOneFormKey = GlobalKey();
  final GlobalKey _stepTwoFormKey = GlobalKey();

  @override
  void dispose() {
    _pageController.dispose();
    _usernameController.dispose();
    _passwordController.dispose();
    super.dispose();
  }

  void _nextStep() {
    setState(() {
      _currentPage++;
      _pageController.animateToPage(
        _currentPage,
        duration: Duration(milliseconds: 300),
        curve: Curves.easeIn,
      );
    });
  }

  void _previousStep() {
    setState(() {
      _currentPage--;
      _pageController.animateToPage(
        _currentPage,
        duration: Duration(milliseconds: 300),
        curve: Curves.easeOut,
      );
    });
  }

  void _submitForm() {
    // This is where you'd typically send data to an authentication service
    if (_stepTwoFormKey.currentState!.validate()) {
      final username = _usernameController.text;
      final password = _passwordController.text;

      print('Attempting to log in with:');
      print('Username: $username');
      print('Password: $password');

      // Simulate API call
      ScaffoldMessenger.of(context).showSnackBar(
        SnackBar(content: Text('Logging in...')),
      );

      // In a real app, you would handle the actual login logic here,
      // navigate to home screen on success, or show error on failure.
    }
  }

  @override
  Widget build(BuildContext context) {
    return Scaffold(
      appBar: AppBar(
        title: Text('Multi-Step Login'),
      ),
      body: Padding(
        padding: const EdgeInsets.all(16.0),
        child: Column(
          children: [
            // Optional: Progress indicator
            LinearProgressIndicator(
              value: (_currentPage + 1) / 2, // Assuming 2 steps
              backgroundColor: Colors.grey[300],
              valueColor: AlwaysStoppedAnimation(Colors.blue),
            ),
            SizedBox(height: 20),
            Expanded(
              child: PageView(
                controller: _pageController,
                physics: NeverScrollableScrollPhysics(), // Disable swiping
                onPageChanged: (int page) {
                  setState(() {
                    _currentPage = page;
                  });
                },
                children: [
                  _buildStepOne(),
                  _buildStepTwo(),
                  // Add more steps here
                ],
              ),
            ),
          ],
        ),
      ),
    );
  }

  // ... _buildStepOne() and _buildStepTwo() methods will go here
}
Implementing Step 1: Username/Email Input
The first step typically involves gathering the username or email. We'll use a Form widget with a TextFormField and basic validation.
  Widget _buildStepOne() {
    return Form(
      key: _stepOneFormKey,
      child: Column(
        mainAxisAlignment: MainAxisAlignment.center,
        children: [
          Text(
            'Step 1 of 2: Enter Username',
            style: TextStyle(fontSize: 24, fontWeight: FontWeight.bold),
          ),
          SizedBox(height: 30),
          TextFormField(
            controller: _usernameController,
            decoration: InputDecoration(
              labelText: 'Username or Email',
              border: OutlineInputBorder(),
              prefixIcon: Icon(Icons.person),
            ),
            validator: (value) {
              if (value == null || value.isEmpty) {
                return 'Please enter your username or email';
              }
              // Basic email validation regex example
              if (!value.contains('@') && value.length < 3) {
                return 'Please enter a valid username or email';
              }
              return null;
            },
            keyboardType: TextInputType.emailAddress,
          ),
          SizedBox(height: 30),
          ElevatedButton(
            onPressed: () {
              if (_stepOneFormKey.currentState!.validate()) {
                _nextStep();
              }
            },
            child: Padding(
              padding: const EdgeInsets.symmetric(horizontal: 20, vertical: 10),
              child: Text(
                'Next',
                style: TextStyle(fontSize: 18),
              ),
            ),
          ),
        ],
      ),
    );
  }
Implementing Step 2: Password Input and Login
The second step will collect the password and provide the final login button. It will also include a "Back" button to navigate to the previous step.
  Widget _buildStepTwo() {
    return Form(
      key: _stepTwoFormKey,
      child: Column(
        mainAxisAlignment: MainAxisAlignment.center,
        children: [
          Text(
            'Step 2 of 2: Enter Password',
            style: TextStyle(fontSize: 24, fontWeight: FontWeight.bold),
          ),
          SizedBox(height: 30),
          TextFormField(
            controller: _passwordController,
            obscureText: true,
            decoration: InputDecoration(
              labelText: 'Password',
              border: OutlineInputBorder(),
              prefixIcon: Icon(Icons.lock),
            ),
            validator: (value) {
              if (value == null || value.isEmpty) {
                return 'Please enter your password';
              }
              if (value.length < 6) {
                return 'Password must be at least 6 characters long';
              }
              return null;
            },
          ),
          SizedBox(height: 30),
          Row(
            mainAxisAlignment: MainAxisAlignment.spaceEvenly,
            children: [
              ElevatedButton(
                onPressed: _previousStep,
                child: Padding(
                  padding: const EdgeInsets.symmetric(horizontal: 20, vertical: 10),
                  child: Text(
                    'Back',
                    style: TextStyle(fontSize: 18),
                  ),
                ),
                style: ElevatedButton.styleFrom(
                  backgroundColor: Colors.grey, // Background color
                ),
              ),
              ElevatedButton(
                onPressed: _submitForm,
                child: Padding(
                  padding: const EdgeInsets.symmetric(horizontal: 20, vertical: 10),
                  child: Text(
                    'Login',
                    style: TextStyle(fontSize: 18),
                  ),
                ),
              ),
            ],
          ),
        ],
      ),
    );
  }
Putting It All Together (Full Example Structure)
To use this widget, you would simply place MultiStepLoginForm() inside your MaterialApp's home or as a route.
// This code snippet illustrates where the build methods fit into the overall class.
// The complete implementation is a combination of the above code blocks.

import 'package:flutter/material.dart';

class MultiStepLoginForm extends StatefulWidget {
  @override
  _MultiStepLoginFormState createState() => _MultiStepLoginFormState();
}

class _MultiStepLoginFormState extends State {
  final PageController _pageController = PageController();
  int _currentPage = 0;

  final TextEditingController _usernameController = TextEditingController();
  final TextEditingController _passwordController = TextEditingController();

  final GlobalKey _stepOneFormKey = GlobalKey();
  final GlobalKey _stepTwoFormKey = GlobalKey();

  @override
  void dispose() {
    _pageController.dispose();
    _usernameController.dispose();
    _passwordController.dispose();
    super.dispose();
  }

  void _nextStep() {
    setState(() {
      _currentPage++;
      _pageController.animateToPage(
        _currentPage,
        duration: Duration(milliseconds: 300),
        curve: Curves.easeIn,
      );
    });
  }

  void _previousStep() {
    setState(() {
      _currentPage--;
      _pageController.animateToPage(
        _currentPage,
        duration: Duration(milliseconds: 300),
        curve: Curves.easeOut,
      );
    });
  }

  void _submitForm() {
    if (_stepTwoFormKey.currentState!.validate()) {
      final username = _usernameController.text;
      final password = _passwordController.text;

      print('Attempting to log in with:');
      print('Username: $username');
      print('Password: $password');

      ScaffoldMessenger.of(context).showSnackBar(
        SnackBar(content: Text('Logging in...')),
      );
      // Implement actual login API call here
    }
  }

  Widget _buildStepOne() {
    return Form(
      key: _stepOneFormKey,
      child: Column(
        mainAxisAlignment: MainAxisAlignment.center,
        children: [
          Text(
            'Step 1 of 2: Enter Username',
            style: TextStyle(fontSize: 24, fontWeight: FontWeight.bold),
          ),
          SizedBox(height: 30),
          TextFormField(
            controller: _usernameController,
            decoration: InputDecoration(
              labelText: 'Username or Email',
              border: OutlineInputBorder(),
              prefixIcon: Icon(Icons.person),
            ),
            validator: (value) {
              if (value == null || value.isEmpty) {
                return 'Please enter your username or email';
              }
              if (!value.contains('@') && value.length < 3) {
                return 'Please enter a valid username or email';
              }
              return null;
            },
            keyboardType: TextInputType.emailAddress,
          ),
          SizedBox(height: 30),
          ElevatedButton(
            onPressed: () {
              if (_stepOneFormKey.currentState!.validate()) {
                _nextStep();
              }
            },
            child: Padding(
              padding: const EdgeInsets.symmetric(horizontal: 20, vertical: 10),
              child: Text(
                'Next',
                style: TextStyle(fontSize: 18),
              ),
            ),
          ),
        ],
      ),
    );
  }

  Widget _buildStepTwo() {
    return Form(
      key: _stepTwoFormKey,
      child: Column(
        mainAxisAlignment: MainAxisAlignment.center,
        children: [
          Text(
            'Step 2 of 2: Enter Password',
            style: TextStyle(fontSize: 24, fontWeight: FontWeight.bold),
          ),
          SizedBox(height: 30),
          TextFormField(
            controller: _passwordController,
            obscureText: true,
            decoration: InputDecoration(
              labelText: 'Password',
              border: OutlineInputBorder(),
              prefixIcon: Icon(Icons.lock),
            ),
            validator: (value) {
              if (value == null || value.isEmpty) {
                return 'Please enter your password';
              }
              if (value.length < 6) {
                return 'Password must be at least 6 characters long';
              }
              return null;
            },
          ),
          SizedBox(height: 30),
          Row(
            mainAxisAlignment: MainAxisAlignment.spaceEvenly,
            children: [
              ElevatedButton(
                onPressed: _previousStep,
                child: Padding(
                  padding: const EdgeInsets.symmetric(horizontal: 20, vertical: 10),
                  child: Text(
                    'Back',
                    style: TextStyle(fontSize: 18),
                  ),
                ),
                style: ElevatedButton.styleFrom(
                  backgroundColor: Colors.grey,
                ),
              ),
              ElevatedButton(
                onPressed: _submitForm,
                child: Padding(
                  padding: const EdgeInsets.symmetric(horizontal: 20, vertical: 10),
                  child: Text(
                    'Login',
                    style: TextStyle(fontSize: 18),
                  ),
                ),
              ),
            ],
          ),
        ],
      ),
    );
  }

  @override
  Widget build(BuildContext context) {
    return Scaffold(
      appBar: AppBar(
        title: Text('Multi-Step Login'),
      ),
      body: Padding(
        padding: const EdgeInsets.all(16.0),
        child: Column(
          children: [
            LinearProgressIndicator(
              value: (_currentPage + 1) / 2,
              backgroundColor: Colors.grey[300],
              valueColor: AlwaysStoppedAnimation(Colors.blue),
            ),
            SizedBox(height: 20),
            Expanded(
              child: PageView(
                controller: _pageController,
                physics: NeverScrollableScrollPhysics(),
                onPageChanged: (int page) {
                  setState(() {
                    _currentPage = page;
                  });
                },
                children: [
                  _buildStepOne(),
                  _buildStepTwo(),
                ],
              ),
            ),
          ],
        ),
      ),
    );
  }
}
Further Enhancements
While the basic multi-step login is now functional, consider these enhancements for a production-ready application:
- Progress Indicators: Implement custom step indicators (e.g., dots or numbered steps) to clearly show users their progress.
- Error Handling: Display specific error messages from your authentication service when login fails.
- Loading States: Show a loading spinner or disable buttons when an API call is in progress.
- Accessibility: Ensure proper semantic labels and focus management for users with accessibility needs.
- Keyboard Navigation: Improve keyboard handling for desktop or web applications.
- Responsive Design: Adapt the layout for different screen sizes and orientations.
- Animations: Utilize Flutter's animation capabilities for more engaging transitions between steps, beyond what
PageViewoffers by default. - Security: Always follow best practices for handling sensitive user data, including secure storage, encryption, and secure API communication.
- State Management: For more complex forms or applications, consider using a dedicated state management solution (Provider, BLoC, Riverpod) to manage form state more robustly.
Conclusion
Building a multi-step login form in Flutter using PageView and Form widgets is straightforward and offers a flexible way to improve user experience. By breaking down complex forms into smaller, digestible pieces, you can create more intuitive and user-friendly authentication flows. This foundation provides a solid starting point for building sophisticated multi-step forms tailored to your application's specific needs.


