

Building a Comprehensive Flutter Shopping Cart Widget
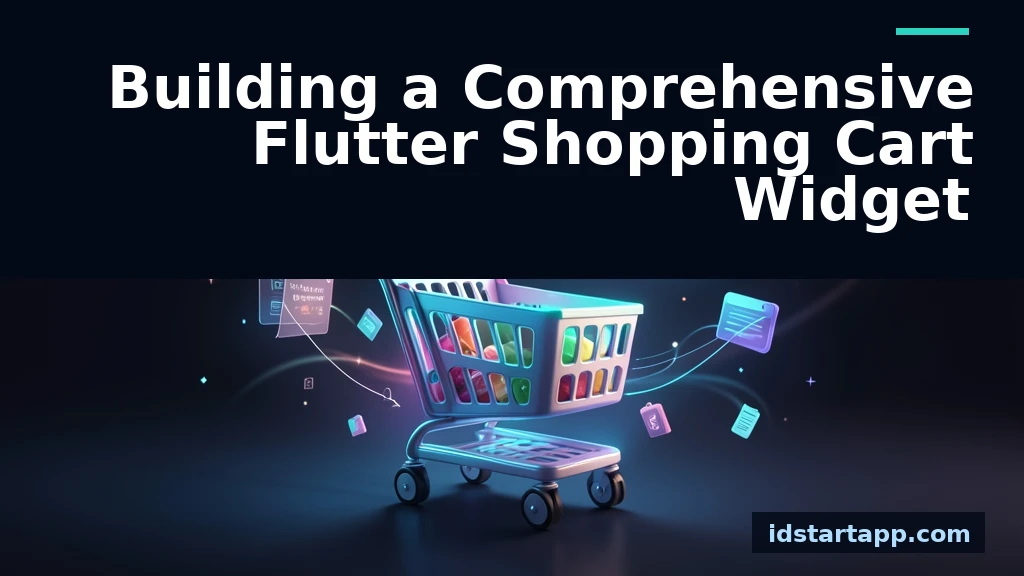
Creating a robust shopping cart is a fundamental task for any e-commerce application. A well-designed cart widget in Flutter must handle state management efficiently while providing a clear summary of discounts, total prices, and a smooth checkout transition. In this guide, we will explore how to build a modular cart interface that includes a promotional banner, item management, and dynamic price calculation.
Prerequisites for Your Cart Widget
To implement this, you should have a basic understanding of Flutter state management. We recommend using Provider or Riverpod to ensure that the cart state updates reactively across the application. Ensure your development environment is set up with the latest Flutter SDK.
Designing the Promotional Banner
The promo banner serves as a visual hook to encourage users to complete their purchase. A clean, high-contrast Container with a BoxDecoration works best to highlight active offers.
Widget buildPromoBanner(String message) { return Container( padding: EdgeInsets.all(16), margin: EdgeInsets.only(bottom: 16), decoration: BoxDecoration( color: Colors.blueAccent.shade100, borderRadius: BorderRadius.circular(8), ), child: Text(message, style: TextStyle(color: Colors.white, fontWeight: FontWeight.bold)), ); }Managing Cart State and Calculations
Centralizing your logic within a ChangeNotifier class is the best way to maintain a single source of truth for the cart items, applied discounts, and final totals. This approach ensures that whenever an item is added or a coupon is applied, the UI refreshes automatically.
class CartProvider extends ChangeNotifier { List<Item> _items = []; double _discount = 0.0; double get total => _items.fold(0, (sum, item) => sum + item.price) - _discount; void applyDiscount(double amount) { _discount = amount; notifyListeners(); } }Building the Summary and Checkout Section
The summary section should clearly display the subtotal, the discount amount, and the final total price. Placing the checkout button at the bottom of the screen, often within a SafeArea, ensures it remains accessible regardless of the device screen size.
Implementing the Checkout Action
The checkout button should trigger a validation process before navigating to the payment gateway. Always disable the button if the cart is empty to prevent unnecessary user errors.
ElevatedButton( onPressed: cart.items.isEmpty ? null : () { /* Trigger checkout logic */ }, child: Text('Proceed to Checkout'), )Best Practices for E-commerce UI
- Visual Feedback: Always provide immediate feedback when an item is removed or a discount is applied.
- Persistence: Use local storage packages like
shared_preferencesto save the cart state so it persists after the app is closed. - Performance: Use
ListView.builderfor the cart items list to ensure efficient memory usage when the cart contains many items.
Conclusion
Building a functional shopping cart widget in Flutter involves balancing state management with a clean, responsive UI. By separating your logic into a provider and using modular widgets for the promo banner and summary sections, you create a maintainable and scalable foundation for your e-commerce application.
Frequently Asked Questions
How do I handle cart persistence?
You can use the shared_preferences or hive package to serialize your cart object to JSON and store it locally, loading it back into your provider on app startup.
Can I add multiple promo codes?
Yes, you can modify your CartProvider to hold a list of applied codes and calculate the total discount by iterating through that list.
How do I prevent the checkout button from overflowing?
Ensure your checkout button is wrapped in a SafeArea or a Padding widget within a Column, and use Expanded or Flexible widgets to manage the layout of the cart items list.