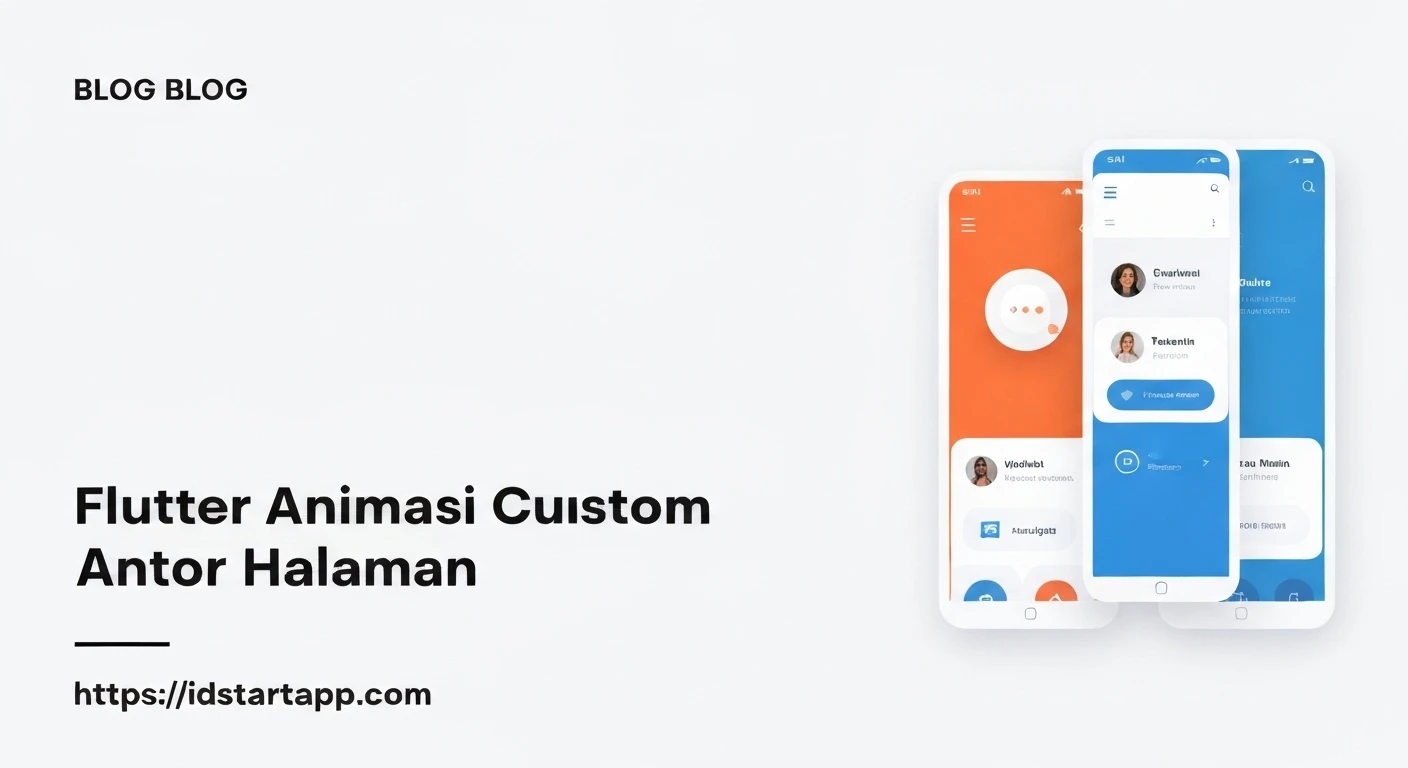

Custom Page Transition Animations in Flutter
Flutter's declarative UI framework makes it incredibly powerful for building beautiful and performant applications. One area where Flutter truly shines is animation. While it provides many built-in widgets and tools for animations, creating custom page transition animations takes your app's user experience to the next level, offering seamless, branded, and intuitive navigation. This article will delve into the techniques for crafting bespoke custom page transitions in Flutter, allowing you to move beyond the default platform-specific transitions.
Why Custom Transitions Matter
Standard page transitions, while functional, often lack the unique flair that can differentiate an application. Custom transitions allow developers to:
- Enhance User Experience: Smooth, well-designed transitions make an app feel more fluid and responsive, guiding users naturally through the interface.
- Reinforce Brand Identity: Animations can be tailored to align with an app's visual language and brand, creating a more cohesive and memorable experience.
- Communicate State Changes: Thoughtful animations can help users understand how screens relate to each other, improving cognitive load.
- Add Delight: Subtle, beautiful animations can make an app more enjoyable to use.
Core Concepts for Custom Transitions
At the heart of custom page transitions in Flutter lies the PageRouteBuilder. This powerful widget allows you to define your own
route transition animations. Here are the key components you'll typically interact with:
PageRouteBuilder: A generic route that provides full control over the page transition animation. It takes apageBuilderand atransitionsBuilder.pageBuilder: A function that builds the content of the new page. This is where your actual destination widget resides.transitionsBuilder: A function that defines the transition animation. It provides anAnimation<double>for the primary transition (animation) and optionally for the secondary transition (secondaryAnimation), along with thechild(the page content).Animation<double>: Represents the progress of an animation, typically ranging from 0.0 to 1.0.Tween: Defines a range of values over which an animation should operate (e.g., from 0.0 to 1.0 for opacity, or fromOffset(1.0, 0.0)toOffset(0.0, 0.0)for a slide).CurvedAnimation: Applies a non-linear curve to an animation, making it more natural (e.g.,Curves.easeOut,Curves.bounceIn).
Practical Example: Custom Fade and Slide Transition
Let's create a custom page transition that combines a fade effect with a horizontal slide, making the new page slide in from the right while simultaneously fading in.
1. Create the Destination Page
First, we need a simple destination page to navigate to.
import 'package:flutter/material.dart';

class SecondPage extends StatelessWidget {
  @override
  Widget build(BuildContext context) {
    return Scaffold(
      appBar: AppBar(
        title: const Text('Second Page'),
      ),
      body: const Center(
        child: Text(
          'Welcome to the Second Page!',
          style: TextStyle(fontSize: 24),
        ),
      ),
    );
  }
}
2. Define the Custom Page Transition
Now, let's create a helper function or a class that returns our custom PageRouteBuilder.
import 'package:flutter/material.dart';

class CustomPageRoute extends PageRouteBuilder {
  final Widget child;

  CustomPageRoute({required this.child})
      : super(
          pageBuilder: (context, animation, secondaryAnimation) => child,
          transitionsBuilder: (context, animation, secondaryAnimation, child) {
            // Combine a fade transition with a slide transition

            // 1. Fade Transition
            final fadeTween = Tween(begin: 0.0, end: 1.0);
            final fadeAnimation = fadeTween.animate(
              CurvedAnimation(
                parent: animation,
                curve: Curves.easeOut,
              ),
            );

            // 2. Slide Transition (from right)
            final offsetTween = Tween(
              begin: const Offset(1.0, 0.0), // Start from right
              end: Offset.zero,              // End at its original position
            );
            final slideAnimation = offsetTween.animate(
              CurvedAnimation(
                parent: animation,
                curve: Curves.easeOutCubic,
              ),
            );

            return FadeTransition(
              opacity: fadeAnimation,
              child: SlideTransition(
                position: slideAnimation,
                child: child,
              ),
            );
          },
          transitionDuration: const Duration(milliseconds: 700), // Adjust duration
          reverseTransitionDuration: const Duration(milliseconds: 400),
        );
}
3. Implement Navigation with the Custom Transition
Finally, use this CustomPageRoute when navigating from your main page.
import 'package:flutter/material.dart';
import 'second_page.dart'; // Import your SecondPage
import 'custom_page_route.dart'; // Import your CustomPageRoute

class HomePage extends StatelessWidget {
  @override
  Widget build(BuildContext context) {
    return Scaffold(
      appBar: AppBar(
        title: const Text('Home Page'),
      ),
      body: Center(
        child: ElevatedButton(
          onPressed: () {
            Navigator.of(context).push(
              CustomPageRoute(child: SecondPage()),
            );
          },
          child: const Text('Go to Second Page'),
        ),
      ),
    );
  }
}

void main() {
  runApp(const MyApp());
}

class MyApp extends StatelessWidget {
  const MyApp({super.key});

  @override
  Widget build(BuildContext context) {
    return MaterialApp(
      title: 'Custom Transition Demo',
      theme: ThemeData(
        primarySwatch: Colors.blue,
      ),
      home: HomePage(),
    );
  }
}
Explanation of the Code
- The
CustomPageRouteextendsPageRouteBuilder. Its constructor takes thechildwidget (ourSecondPage). - The
pageBuildersimply returns thechild, as it's responsible for building the actual UI of the target page. - The magic happens in the
transitionsBuilder:- It receives the
animation(the primary animation for the route transition) and thechild(the target page's widget). - We create two
Tweenobjects: one for opacity (fadeTween) and one for position (offsetTween). - Each
Tweenis animated using aCurvedAnimation, which applies an easing curve to the raw animation progress, making the motion more natural.Curves.easeOutandCurves.easeOutCubicare good choices for entry animations. FadeTransitionandSlideTransitionare built-in Flutter widgets that apply these animations to theirchild. By nesting them, we combine their effects.- The
transitionDurationandreverseTransitionDurationproperties control how long the animation takes for forward and reverse transitions, respectively.
- It receives the
- In
HomePage, instead of usingMaterialPageRoute, we push ourCustomPageRouteinstance.
Tips for More Complex Transitions
- Hero Animations: For animating a shared widget between two screens, consider using Flutter's built-in
Herowidget, often combined with custom page transitions. - Staggered Animations: If you need multiple properties to animate at different times or speeds, use
Intervalwithin yourCurvedAnimation. - Custom Painters: For truly unique and dynamic visual effects during transitions (e.g., ripple, blob shapes), you might need to use
CustomPainter. AnimatedBuilder: While not explicitly used in this simple example (FadeTransitionandSlideTransitionare essentially specializedAnimatedBuilders), for very custom animations, you'd wrap your widget tree withAnimatedBuilderand use theanimation.valuedirectly to manipulate properties like transforms, colors, or sizes.- Performance: Always test your animations on real devices. Overly complex animations can impact performance. Focus on properties that are efficient to animate (opacity, transforms).
Conclusion
Custom page transition animations in Flutter offer an unparalleled opportunity to elevate your application's design
and user experience. By leveraging PageRouteBuilder, Tweens, and CurvedAnimations, you can craft transitions that are not
only visually appealing but also deeply integrated with your app's brand and functionality. Experiment with different
curves, combinations of transitions, and durations to find the perfect flow for your users. Happy animating!


